Backing up and Restoring VCSA
Backup steps
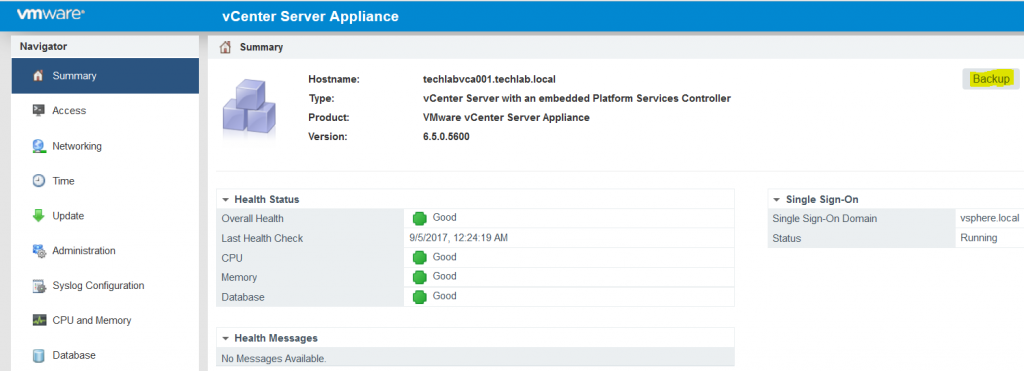
- Log into the VCSA appliance screen. In my case https://192.168.1.106:5480
- Select Backup from the Summary Screen
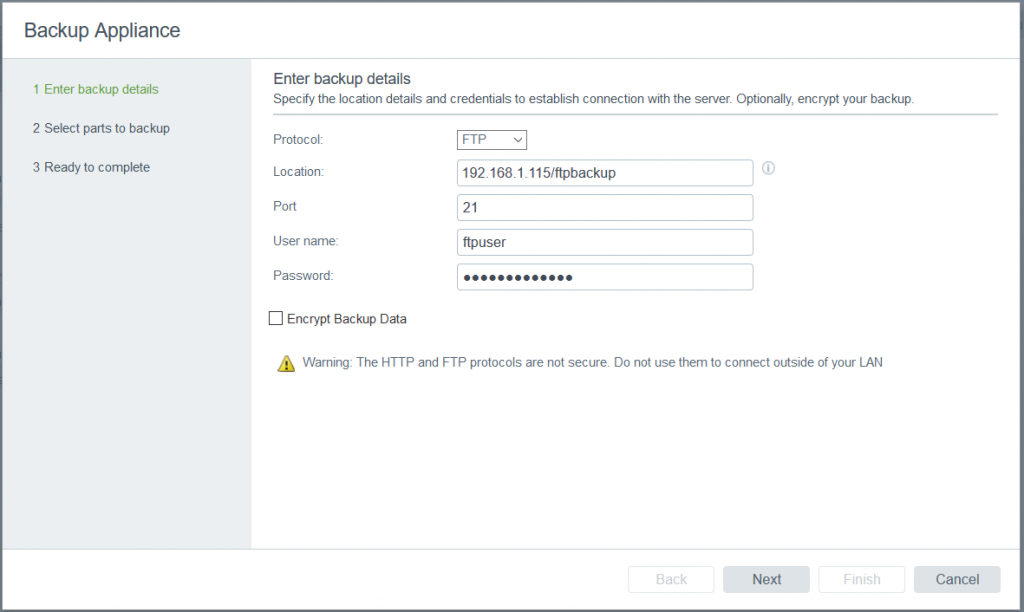
- Put in the backup details. As a test I have set up a Filezilla FTP server on a Windows box to use as my backup location
You can choose to optionally encrypt the backup with a password. This uses AES256 encryption
- Click Next and it will validate the inputs
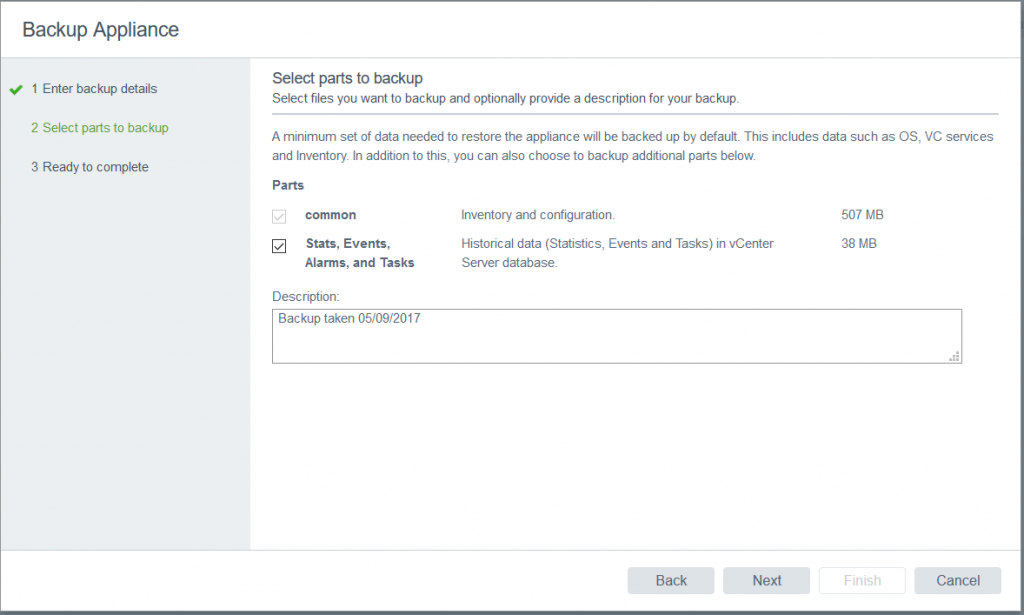
- Choose what to backup
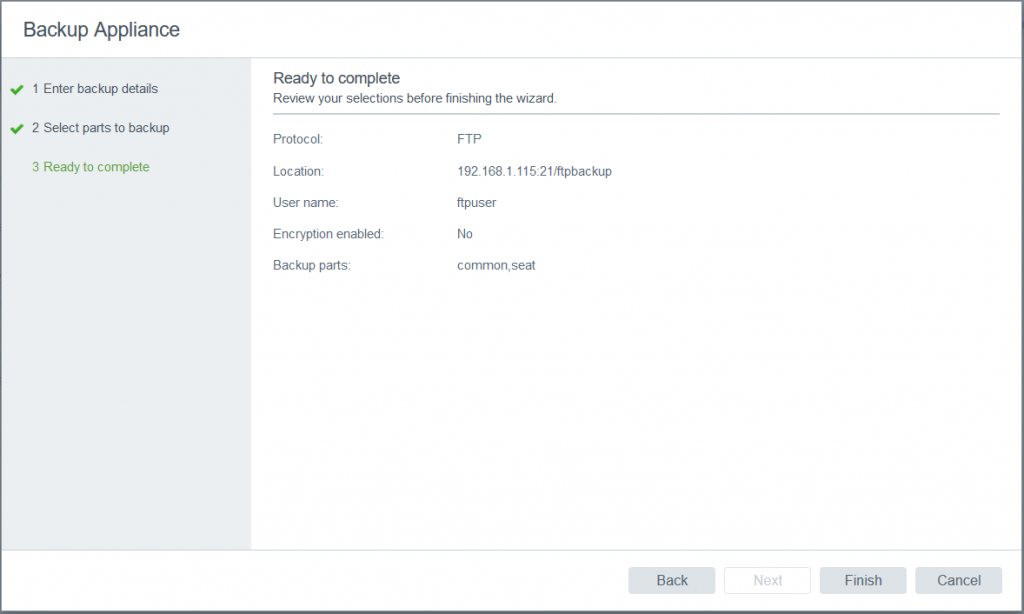
- Click Next and Complete the Backup
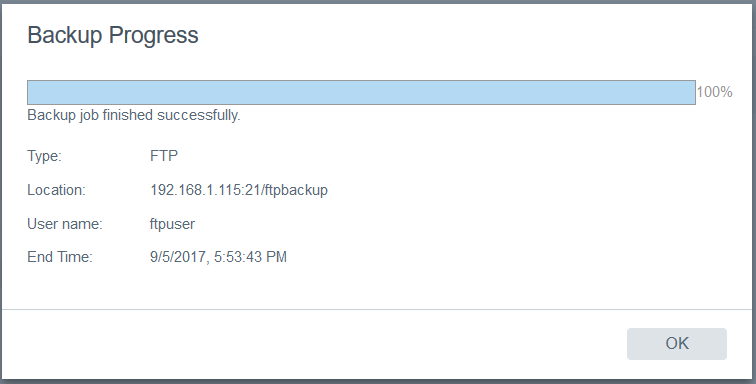
- The Backup should run and complete successfully
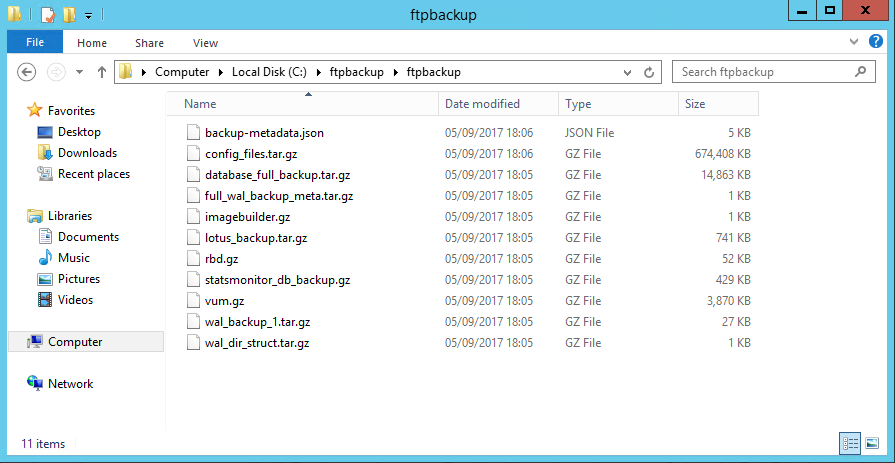
- Check the backup files exist in the ftp directory you specified
Restoring a VCSA 6.5 appliance
The one thing to remember is that is my lab environment. I am going to power off and unregister my current VCSA to simulate that there has been an unrecoverable failure as I am going to need to restore an identical named and IP addressed machine. Obviously you can’t have 2 VMs registered with the same name in the inventory or the same IP address so I have temporarily shutdown and unregistered my current VCSA.
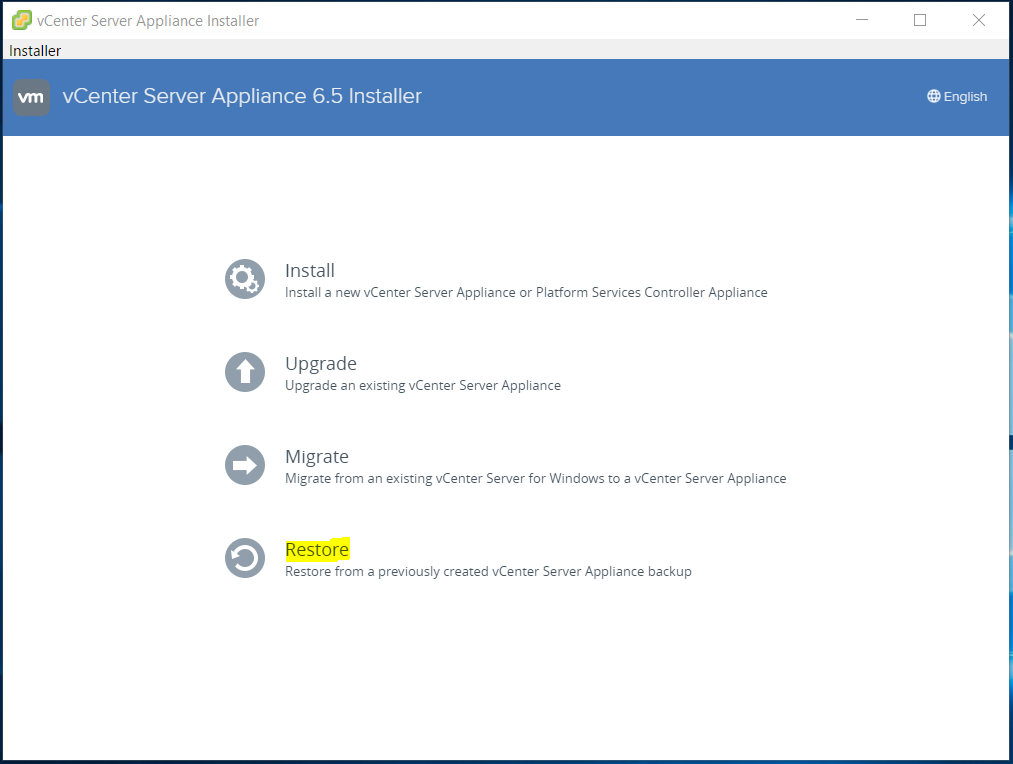
- Mount the vCSA installer ISO and run installer.exe from \vcsa-ui-installer\win32 assuming you’re running this on Windows.
- Click Restore
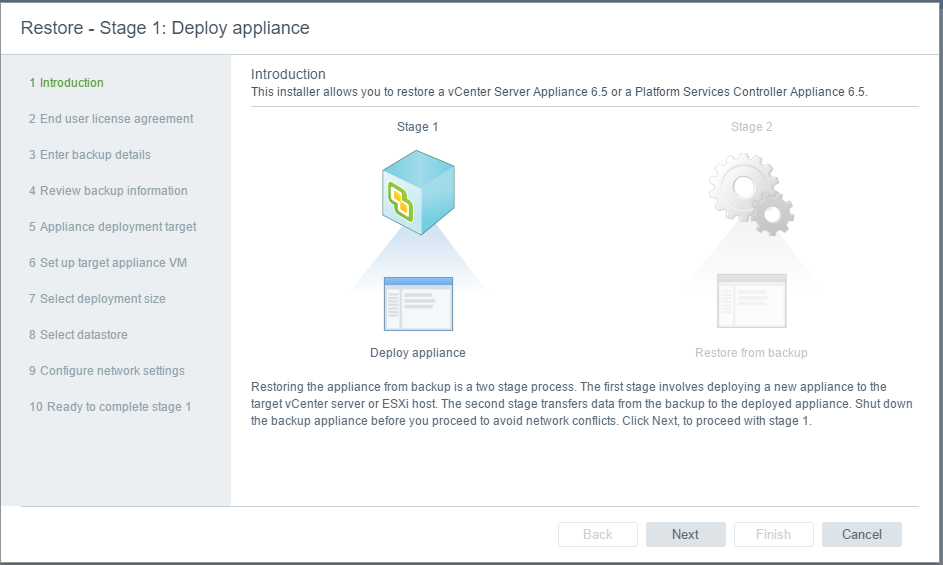
- The Restore Wizard will start and you will see the below screen
- Click Next
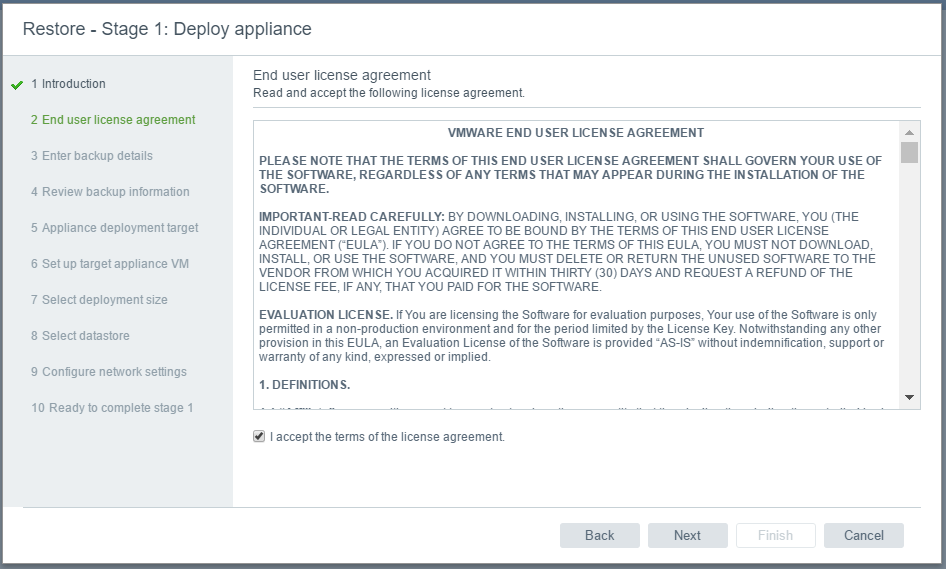
- Accept the License Agreement
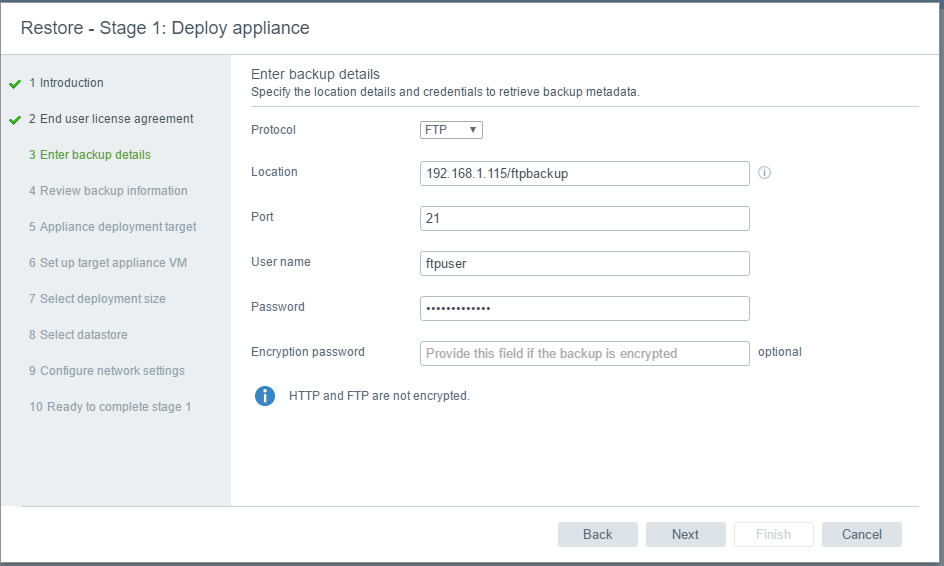
- Fill in the details for the backup file
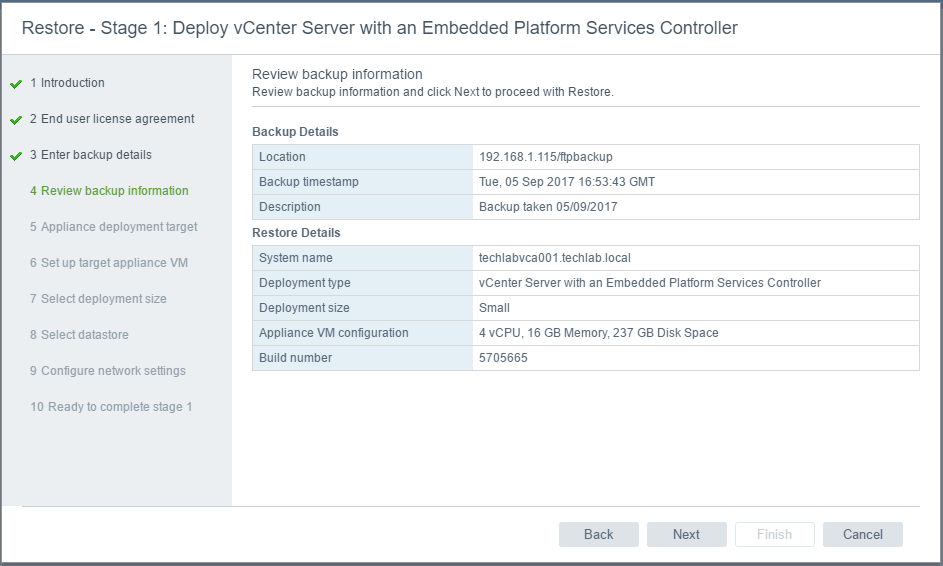
- Check the details
- Click Next
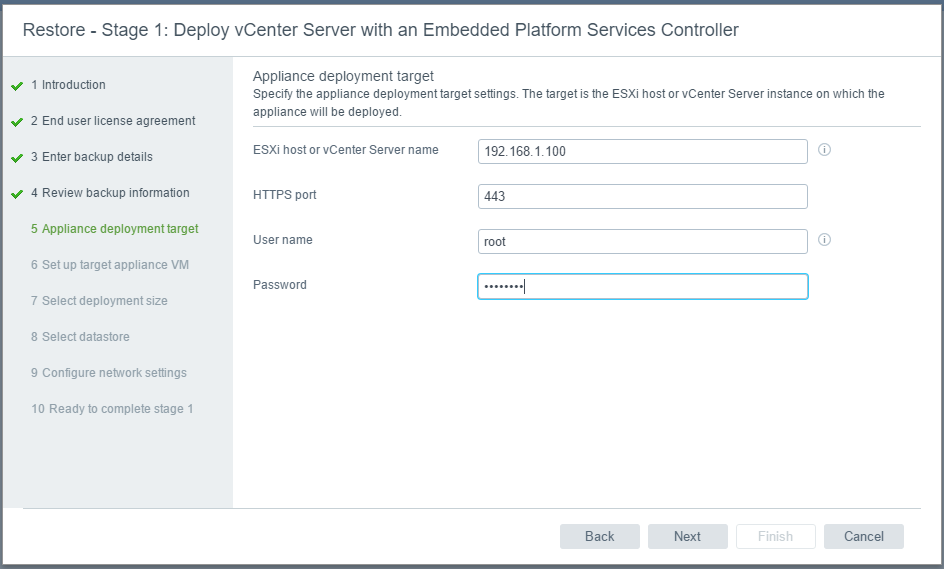
- Put in the host details for deploying the new VCSA
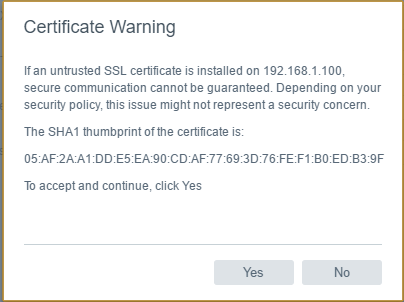
- Accept the Certificate
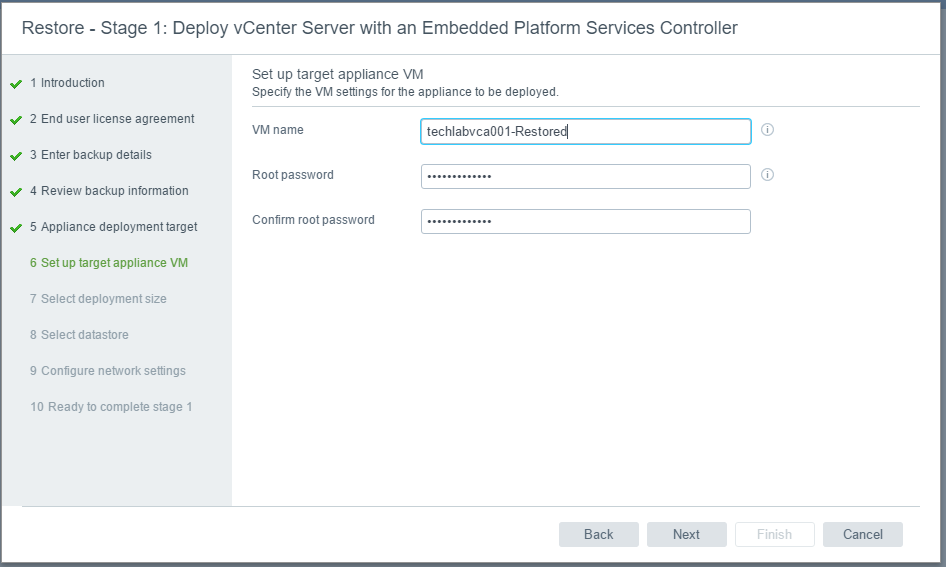
- Set up the target appliance VM
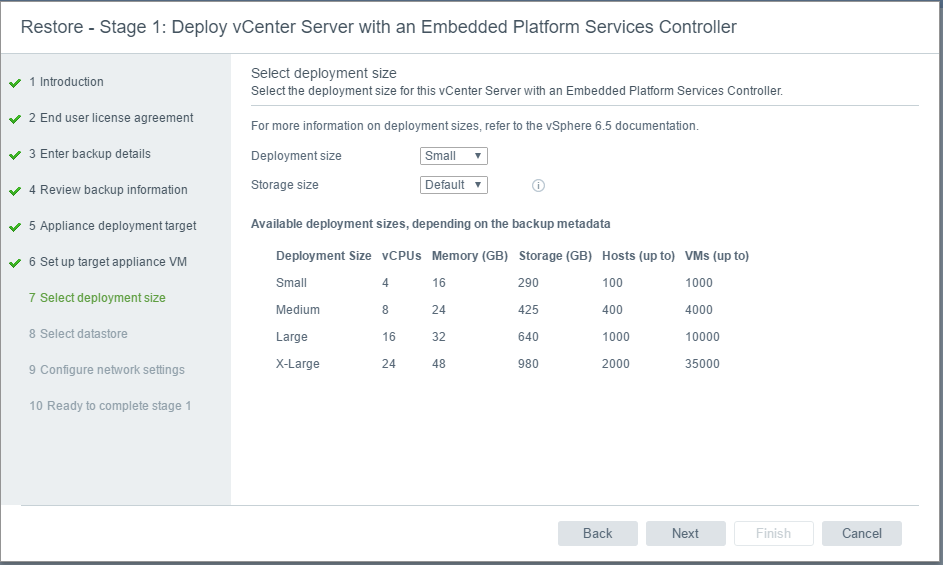
- Set the deployment size
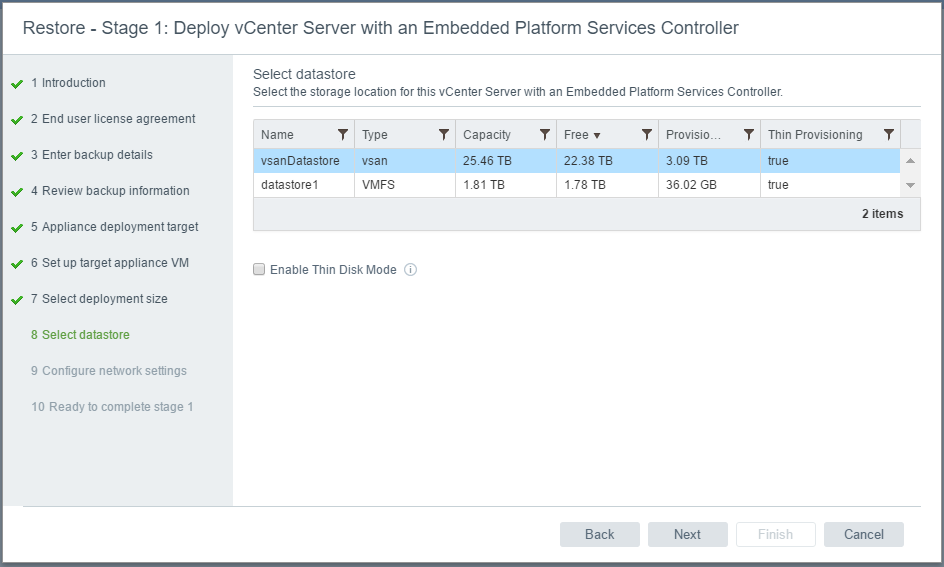
- Select the datastore to restore to. In my case I have a vSAN or a Local datastore to restore to
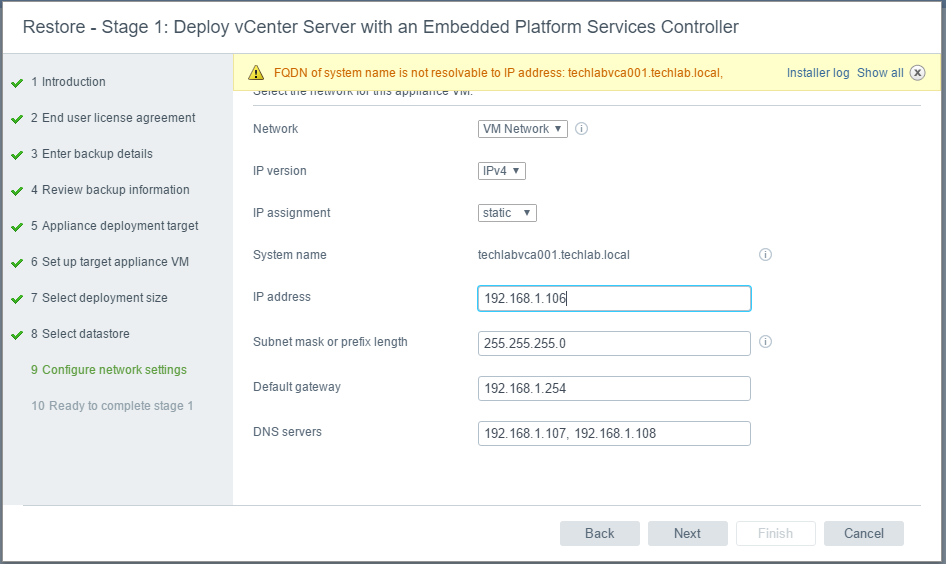
- Enter the IP Address details.
- Click Next
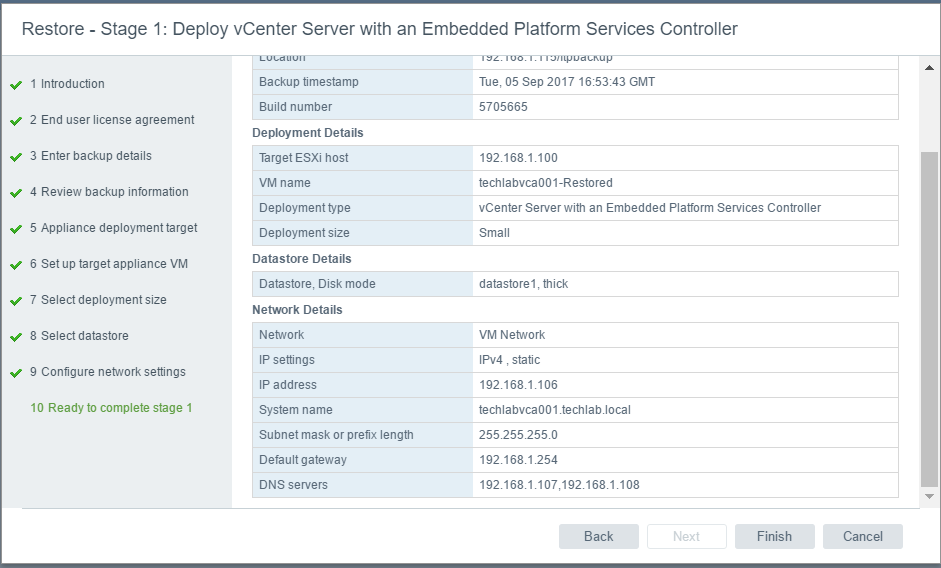
- Check the Details and click Ready to Complete
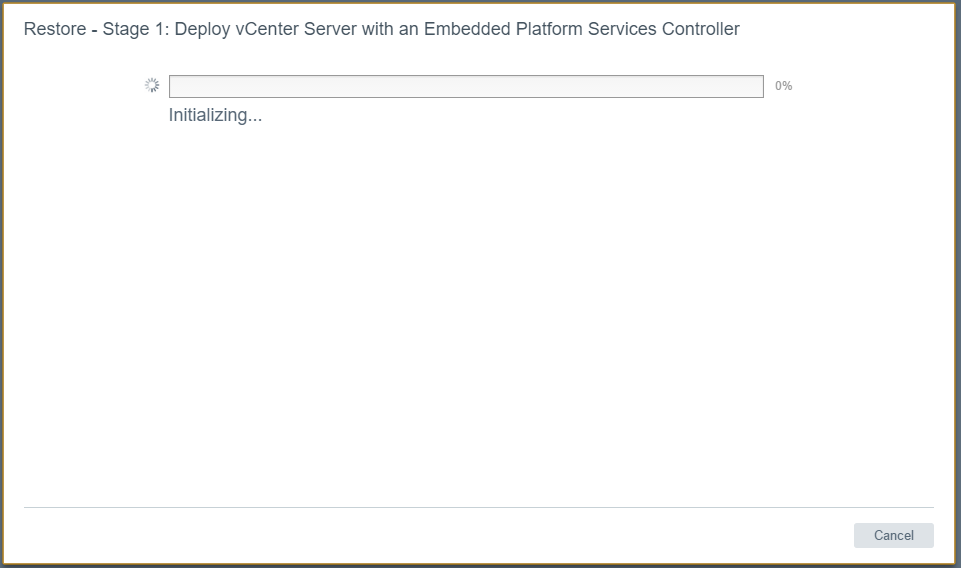
- It will say initializing
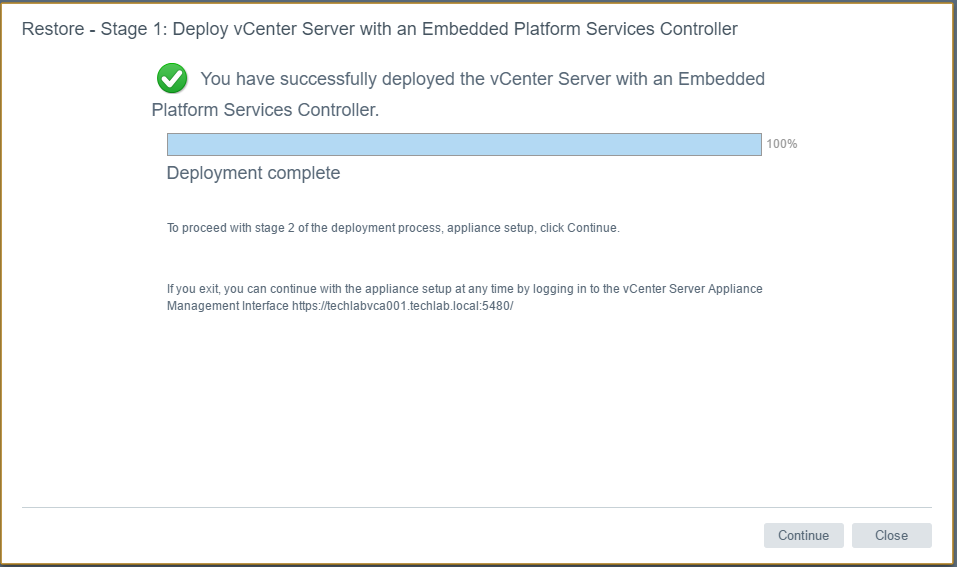
- It will finally complete and should say
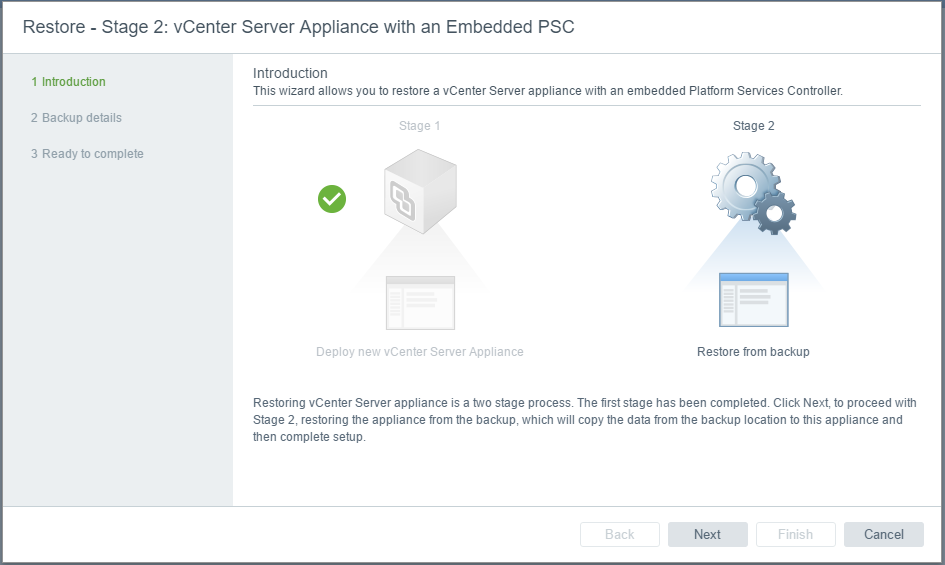
- Click Continue
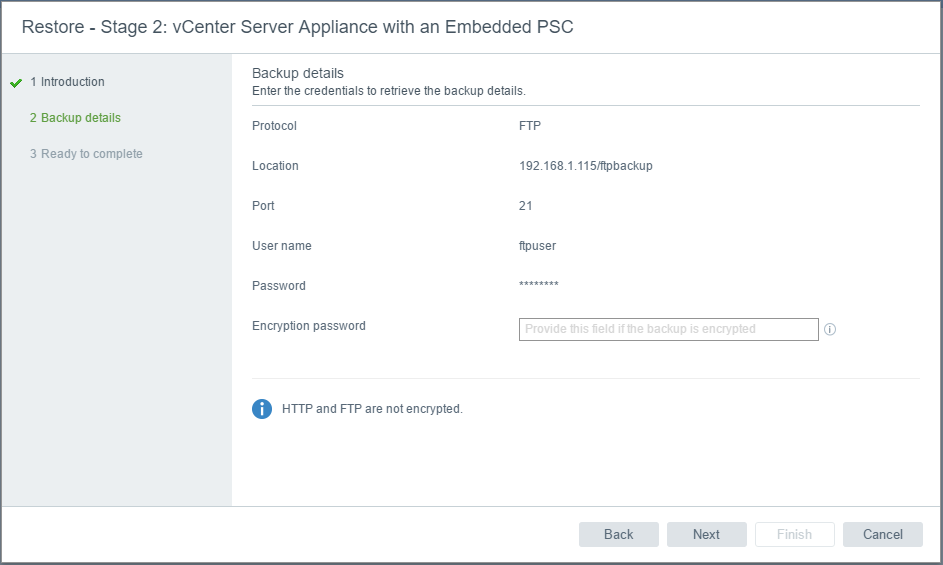
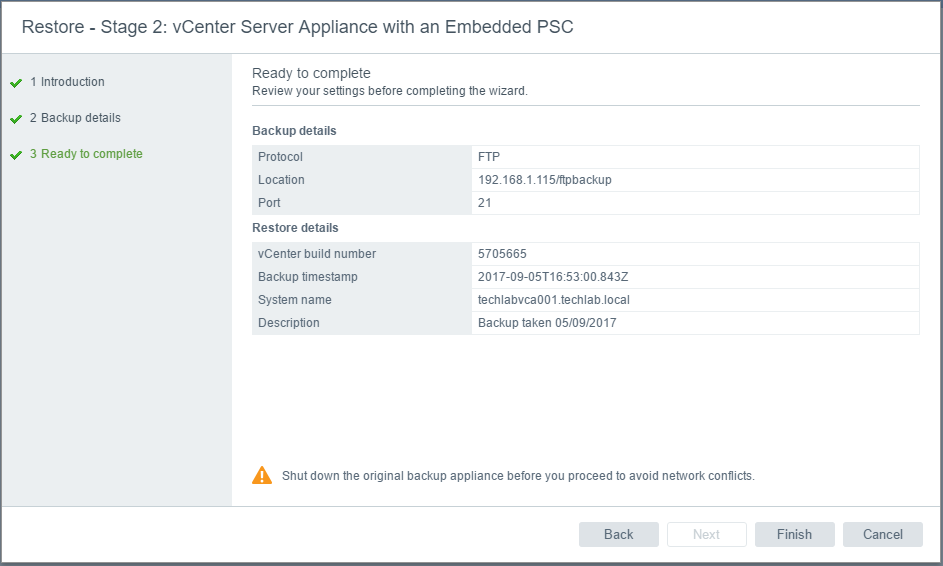
- Check the details
- Complete the second stage of the restore
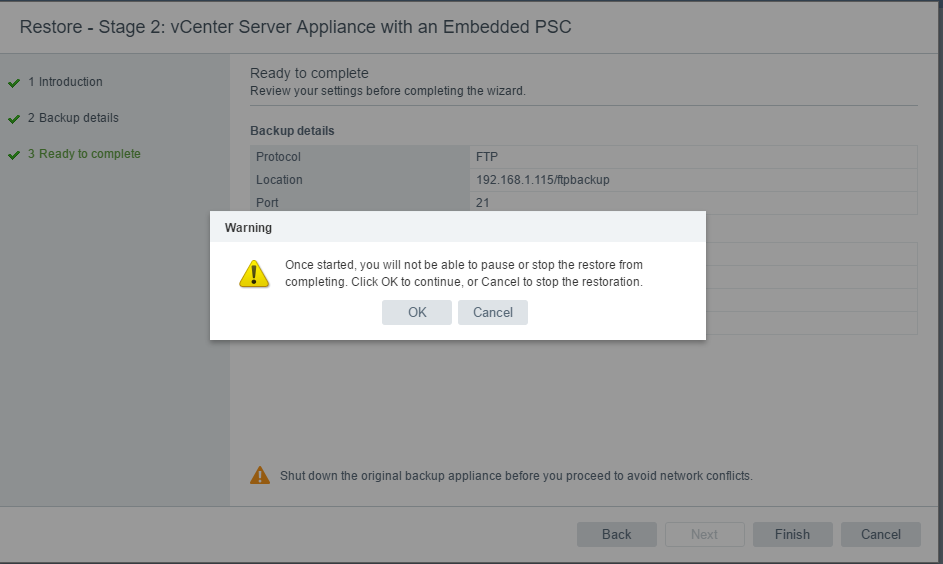
- Take note of the warning
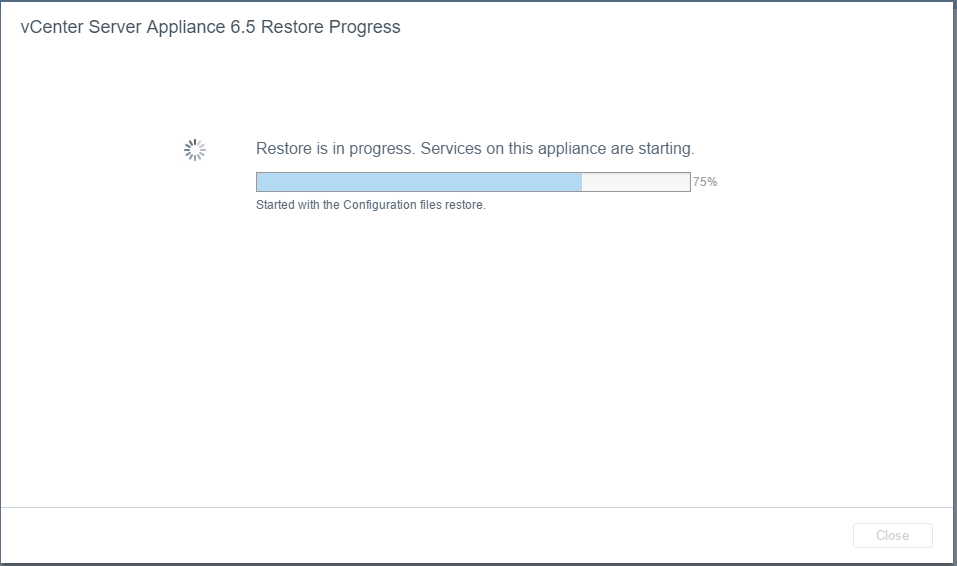
- The restore should start
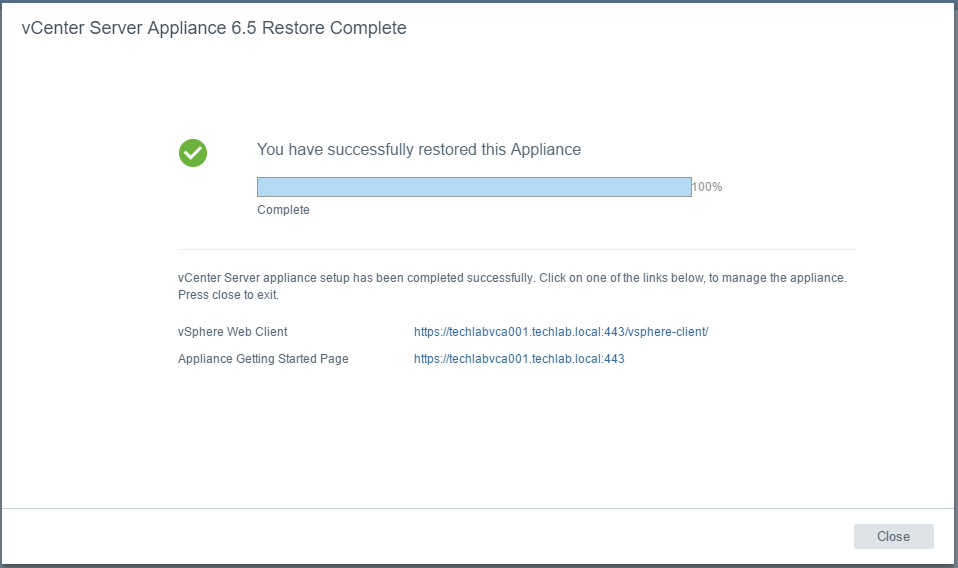
- Once the restore has fully finished, you should see the below screen
- Check the host for the newly restored VCSA
Useful Links



Leave a Reply