
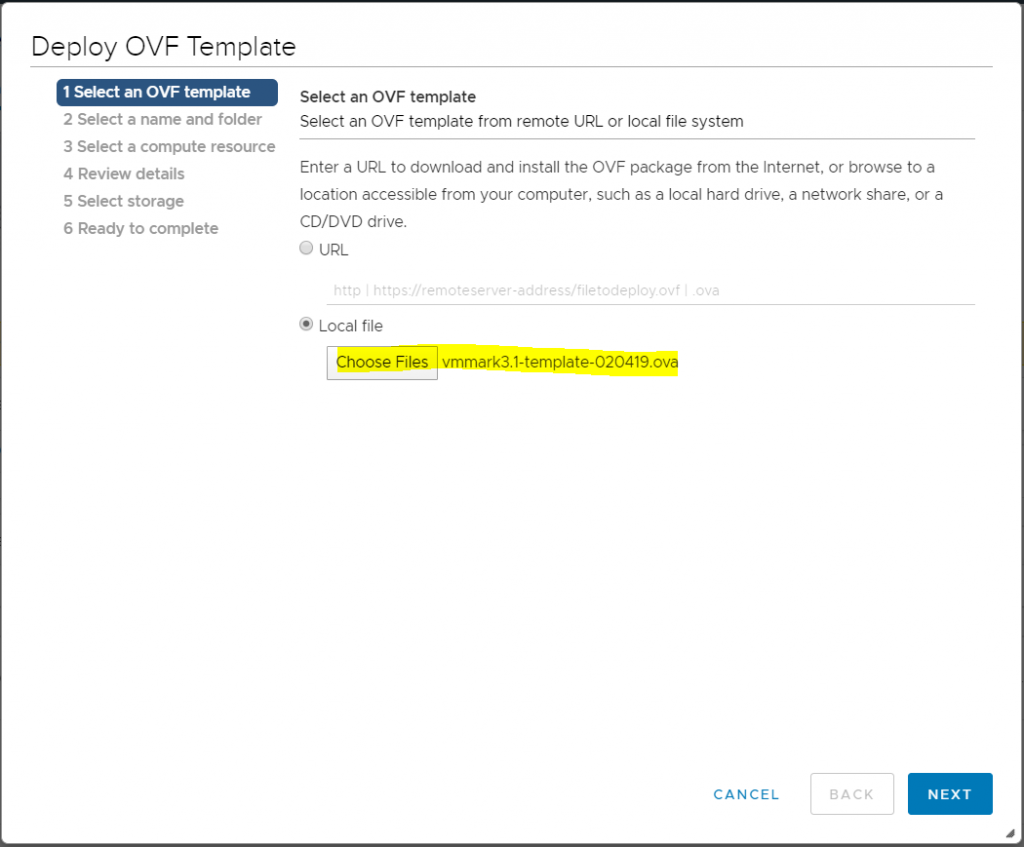
Using the latest VMmark3 template (vmmark3.1-template-020419.ova) as the source, deploy a new VM and name it VMmark3.1.1-template-030520.
(See “Deploy the VMmark Template” on page 46 of the VMmark User’s Guide for detailed instructions.)
Name it VMmark33.1.1-template-030520
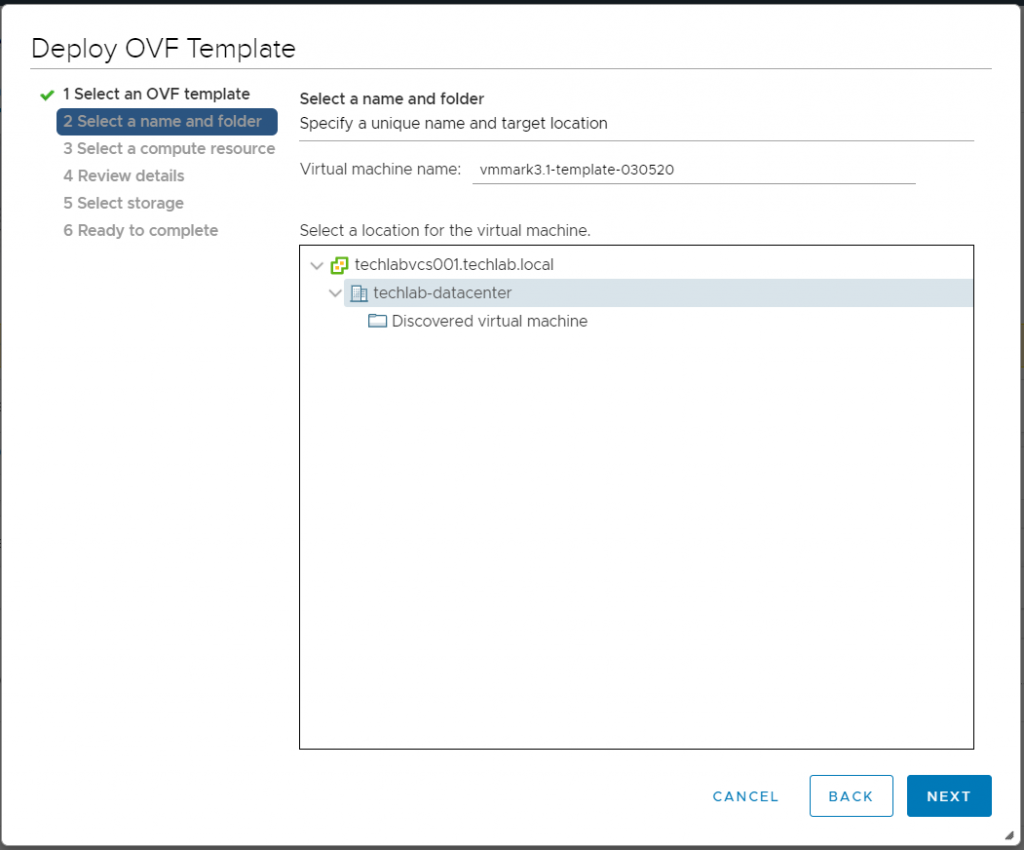
Make sure the new template VM (VMmark3.1.1-template-030520) has network connectivity that allows you to reach it via SSH and note the IP address for use in subsequent steps.
Select a name and folder
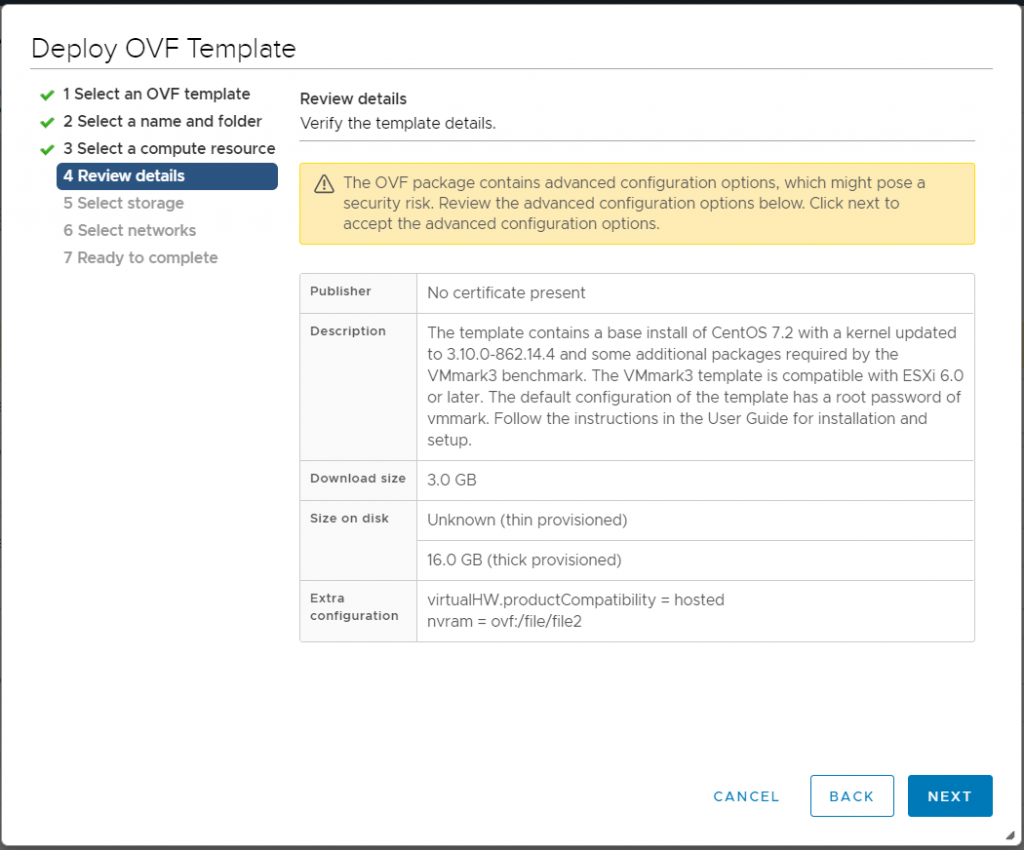
Review details
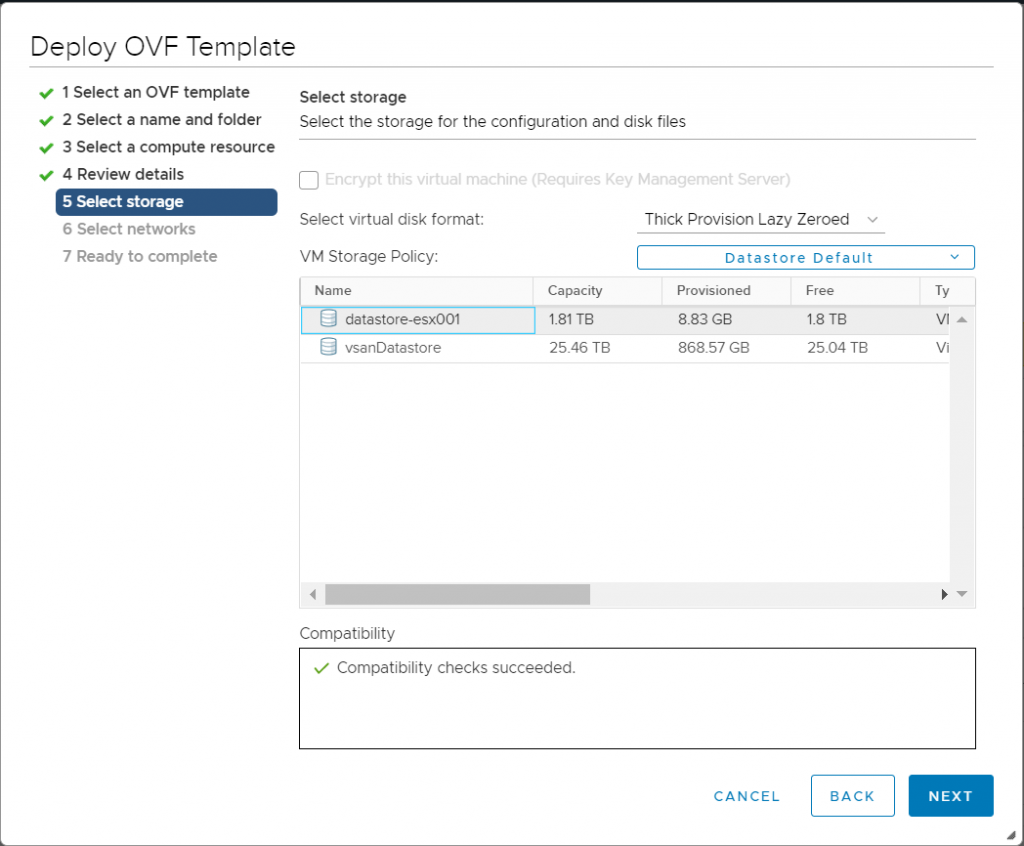
Select storage
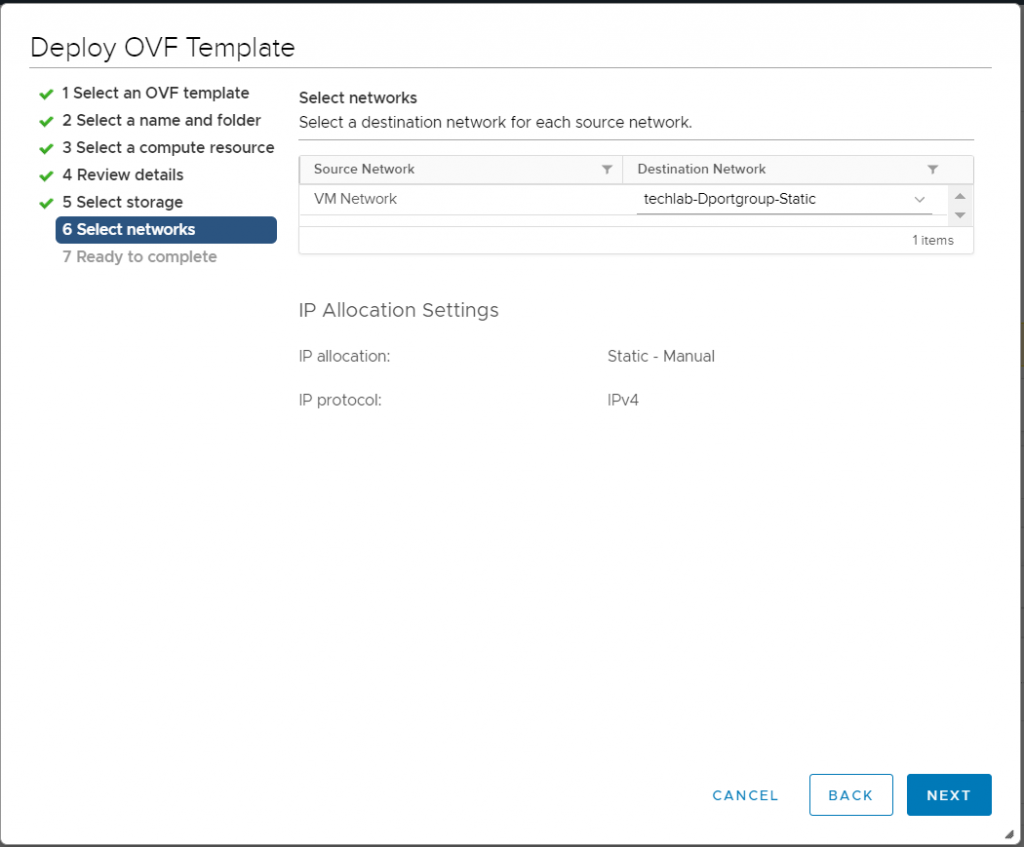
Select networks
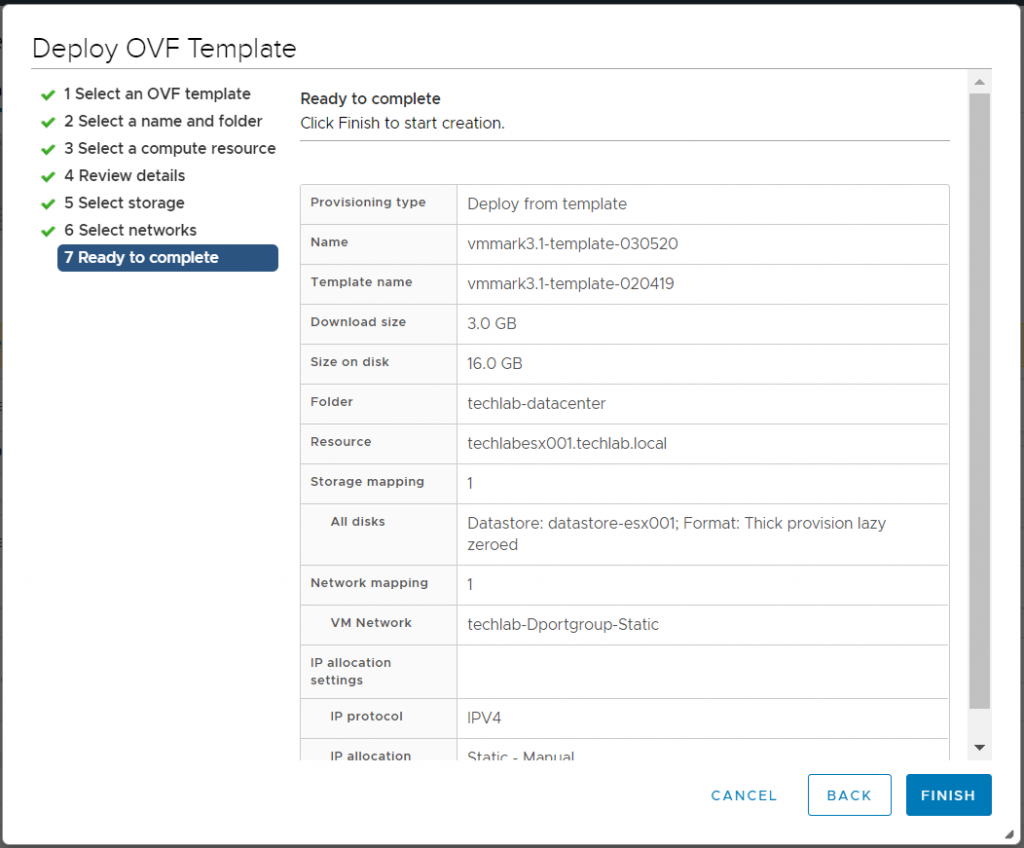
Check the Ready to Complete screen
Power on the new VMmark3.1.1-template-030520 VM
SSH into the new VM: ssh root@vmmark3.1.1-template030520-IP-address
Run the following commands
find /root/weathervane -type f -exec sed -i ‘s/2020-02-02/2120-02-02/g’ {} \;
find /root/ -maxdepth 2 -name version.txt -exec sed -i ‘s/VMmark3.1/VMmark3.1.1/g’ {} \;
cd /root/weathervane; ./gradlew clean release
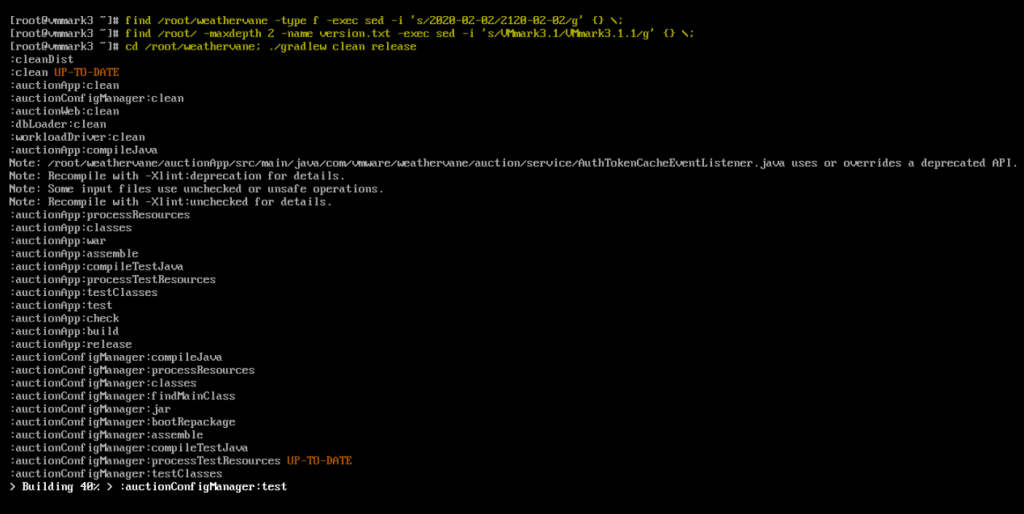
You should see the below when the first 3 commands have completed

Run the following command: cp /root/weathervane/dist/*.war /opt/apache-tomcat-auction1/webapps/

Shut down VMmark3.1.1-template-030520.
Delete the following VMs:
• All existing workload client VMs (but do not delete the prime client).
• All Weathervane workload VMs (that is, all VMs beginning with Auction or Elastic).
Power on all remaining workload VMs (that is, all VMs beginning with DS3 or Standby) and wait until the boot process has completed and they are all online.
Reprovision the client VMs and Weathervane workload VMs you just deleted:
a. In the VMmark3.properties file update the provisioning source and the deploy template:
ProvisioningSource = vmmark3.1.1-template-030520
Deploy/Templates = vmmark3.1.1-template-030520
b. Still in the VMmark3.properties file, modify the ProvisioningDatastores parameter so that only the VMtype:DatastoreName pairs you deleted are listed and will be reprovisioned.
(By removing the VMtype:DatastoreName pairs for the VMs you don’t want to recreate, you prevent the provisioning service from seeing those VMs and issuing an error message.)
These VM types must be reprovisioned:
Client, AuctionLB, AuctionMSQ, AuctionWebA, AuctionWebB, AuctionAppA, AuctionAppB, AuctionNoSQL, AuctionDB, ElasticLB, ElasticWebA, ElasticWebB, ElasticAppA, ElasticAppB, and ElasticDB.
c. Issue a new provisioning request that includes the tile number (or numbers) in which you wish to recreate VMs. (See “Recreating Part of a Tile”)

