What is Microsoft Virtual Machine Manager? Virtual Machine Manager (VMM) is a management solution for the virtualized datacenter, enabling you to configure and manage your virtualization host, networking, and storage resources in order to create and deploy virtual machines and services to private clouds that you have created A deployment of VMM consists of the following: 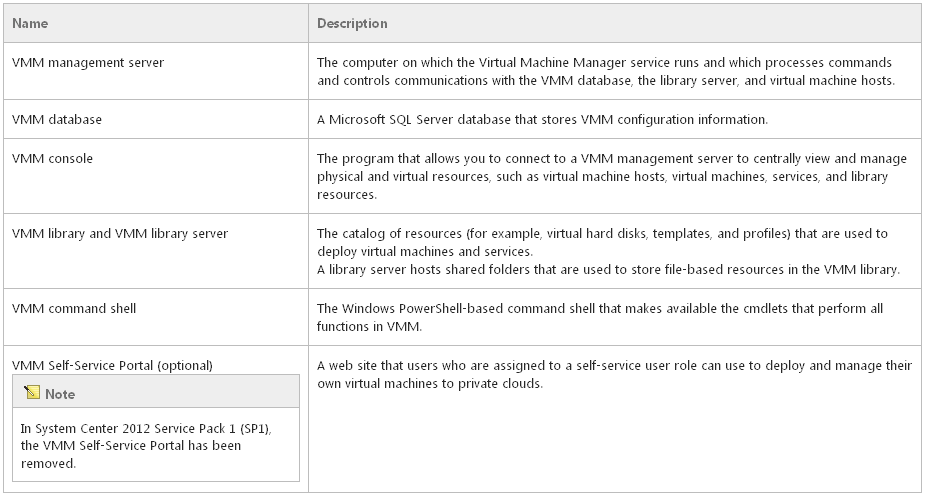 Pre-Requisites Your servers may slightly differ as to how many roles you put on one server but you will generally need the following. I am going to presume you have a Domain Controller and a Hyper V Server.
- 1 x Windows 2008 or Windows 2012 Domain Controller
- 1 x Windows 2012 Server running Microsoft Virtual Machine Manager
- 1 x Windows 2012 Server running Microsoft SQL Server 2008 or 2012
- 1 x Windows 2012 Server running Hyper V 2012 Server for testing VMM. Note: You will need to add hypervisor.cpuid.v0 = “FALSE” and mce.enable = “TRUE” and vhv.enable = “True” to the .vmx file if this server is a VM running on VMware
- For System Center 2012 – Virtual Machine Manager: Windows Automated Installation Kit (AIK) for Windows 7
- For VMM in System Center 2012 SP1: Windows Assessment and Deployment Kit (ADK) for Windows 8. SCVMM Management Server only requires the Deployment Tools and Windows PE components.
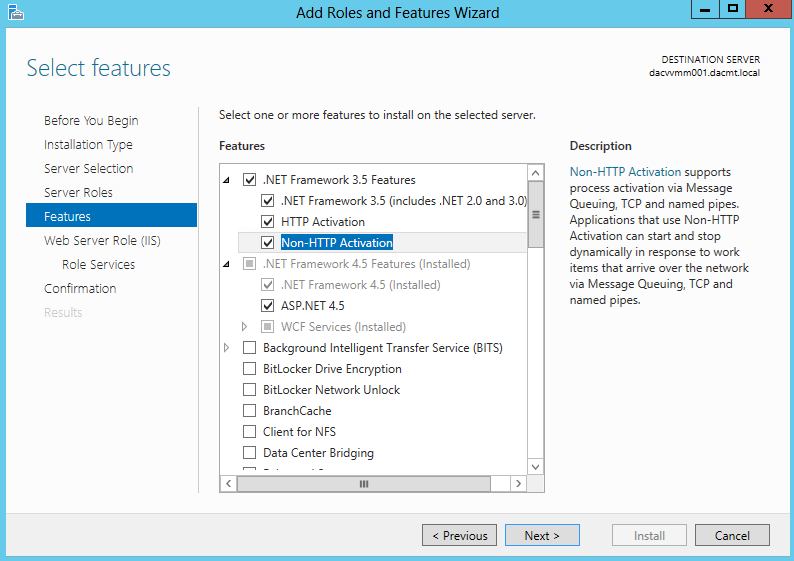
- For System Center 2012 – Virtual Machine Manager: At least Microsoft .NET Framework 3.5 Service Pack 1 (SP1)
- For VMM in System Center 2012 SP1: Microsoft .NET Framework 4, or Microsoft .NET Framework 4.
- The computer on which you install the VMM management server must be a member of an Active Directory domain.
- The name of the computer on which you install the VMM management server cannot exceed 15 characters.
- The SCVMM machine name can’t include –SCVMM- for example My-SCVMM-Server but can be called SCVMM.
- If using Dynamic memory the start-up RAM must be at least 2048 MB. This demo uses 4096 MB of RAM.
- It is also recommended that the SQL Command Line Tools and Native Client Tools are also installed on the SCVMM server. See links at the end of this article. We have used the SQL 2012 versions here.
- Membership in the local Administrators group, or equivalent, on the computer that you are configuring is the minimum required to complete this procedure.
Extra Notes on SQL Server In System Center 2012 Service Pack 1 (SP1) you can take advantage of the AlwaysOn feature in Microsoft SQL Server 2012 to ensure high availability of the VMM database. To configure SQL Server with the AlwaysOn feature, complete both procedures below. For more information about the AlwaysOn feature, and AlwaysOn availability groups see the followings:
Before you begin the installation of the VMM management server, ensure that you have a computer with a supported version of Microsoft SQL Server installed and running. Unlike VMM 2008 R2, System Center 2012 – Virtual Machine Manager will not automatically install an Express edition of SQL Server Instructions
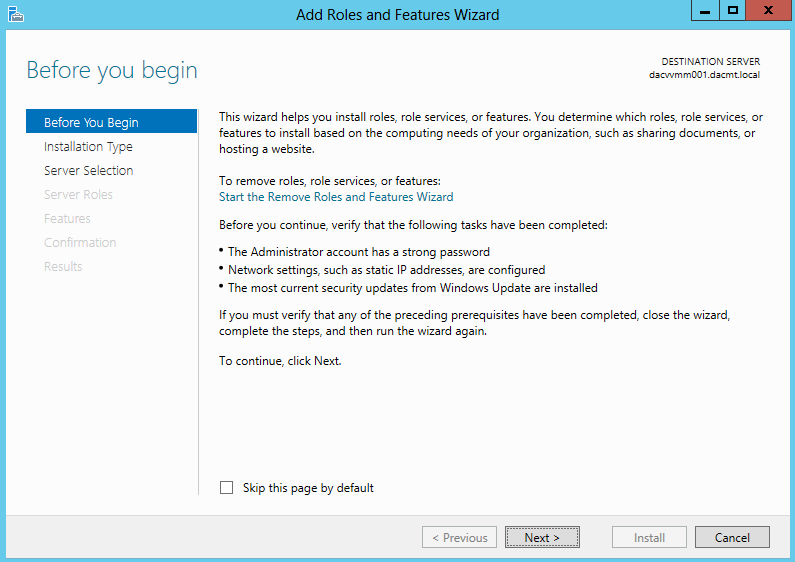
- Firstly make sure you have Windows Server 2012 installed on your VMM Server
- Click Manage > Install Roles and Features on your VMM Server
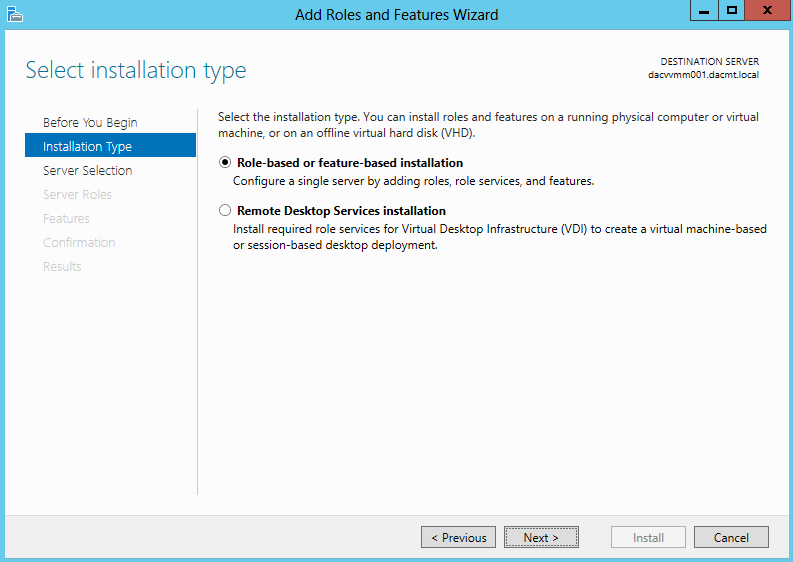
- Select Installation type as Role based or Feature based installation
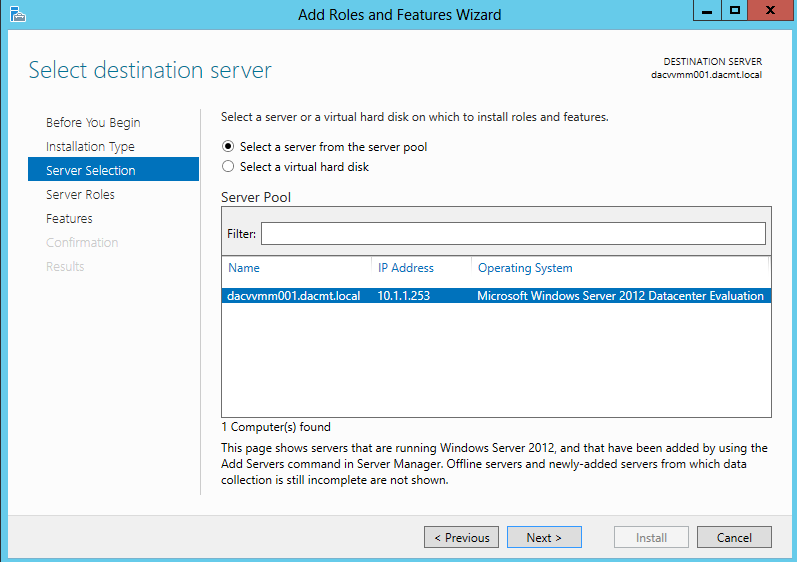
- Select Destination Server
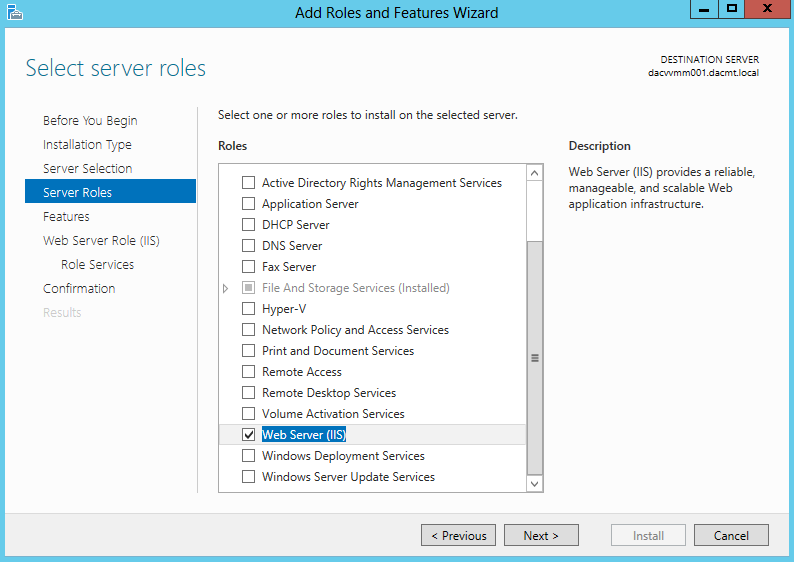
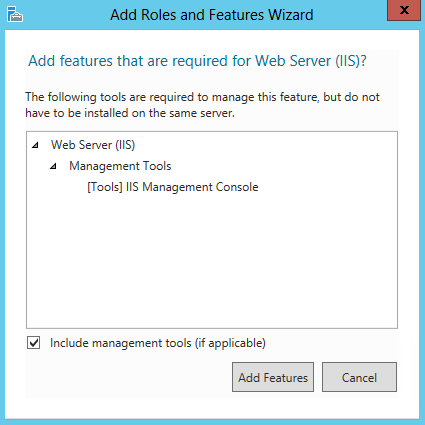
- Go to Roles and select Web Server (IIS)
- Click Add Features > Next
- Select Features
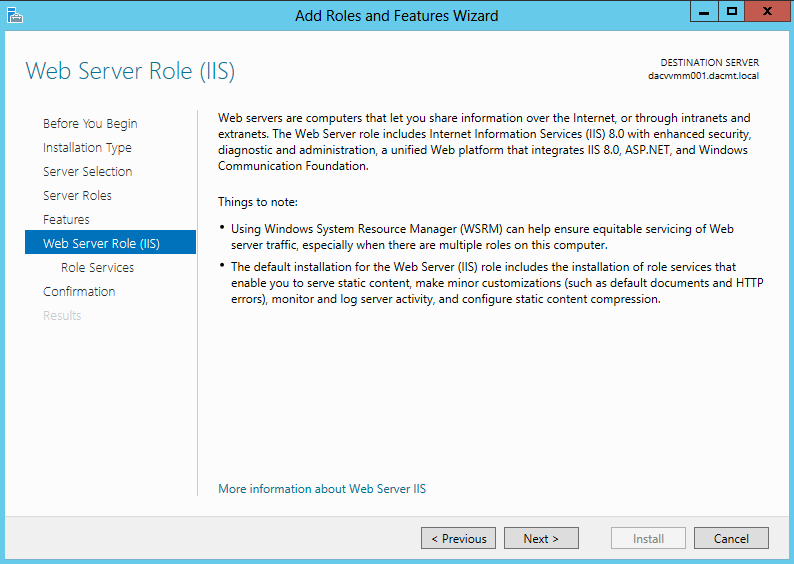
- Read the Information
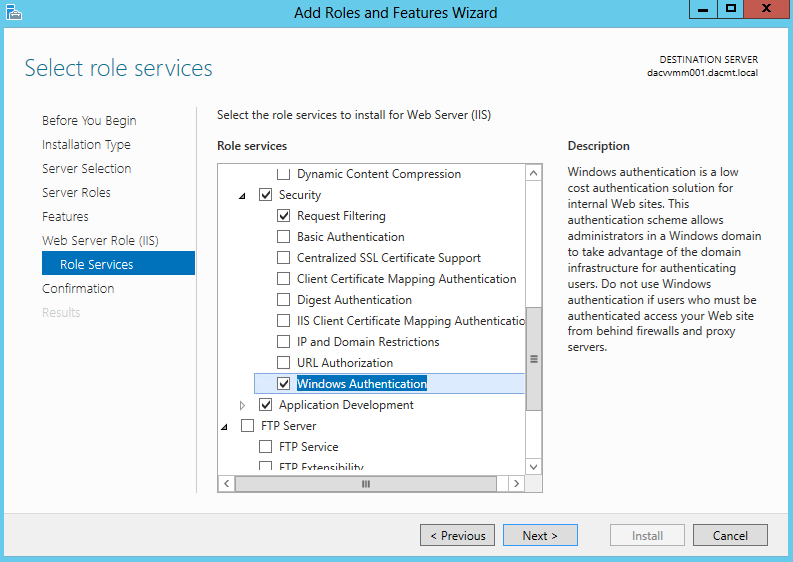
- Add Windows Authentication
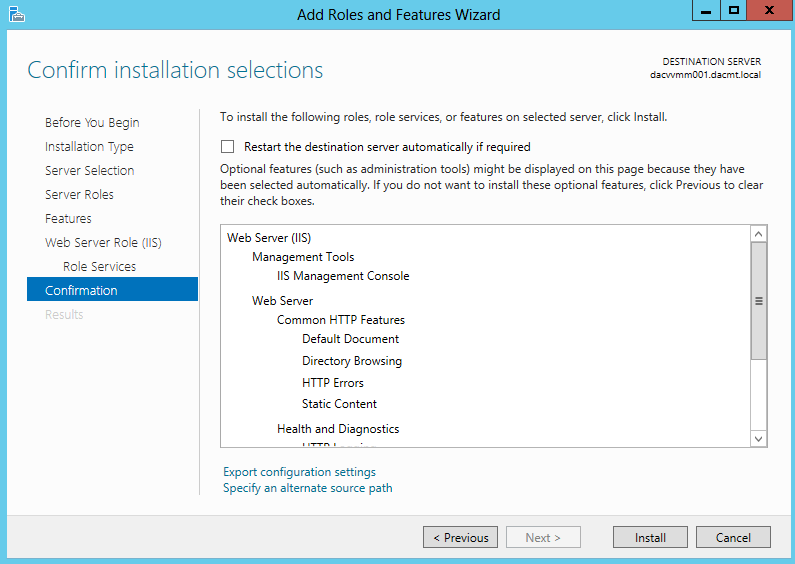
- Check Install Information and tick Restart if required
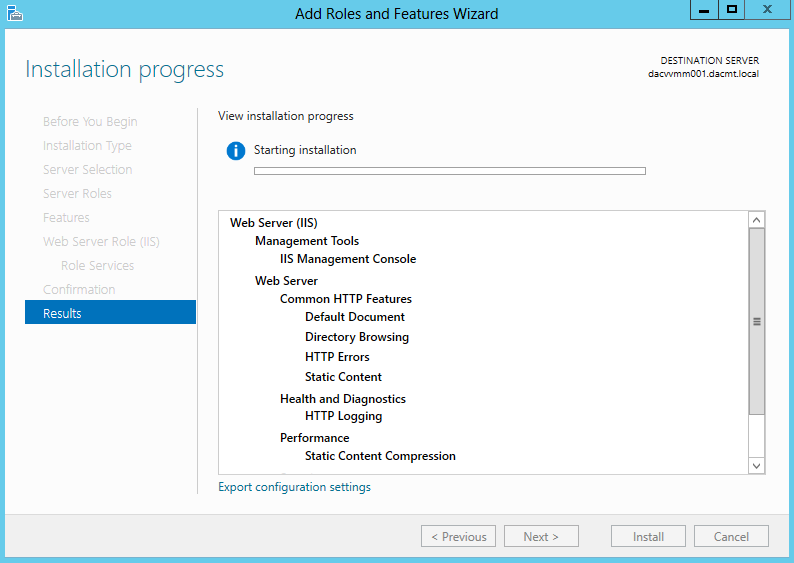
- Click Install
- Next Install Windows Assessment and Deployment Kit which you should have downloaded and copied to your VMM Server ready to install
- Note this seems to take long to install!
- The Windows ADK is a collection of tools that you can use to customise, assess and deploy Windows Operating Systems to new computers, is a pre-requisite for VMM 2012 SP1 and is used for bare metal deployment of Hyper-V Servers
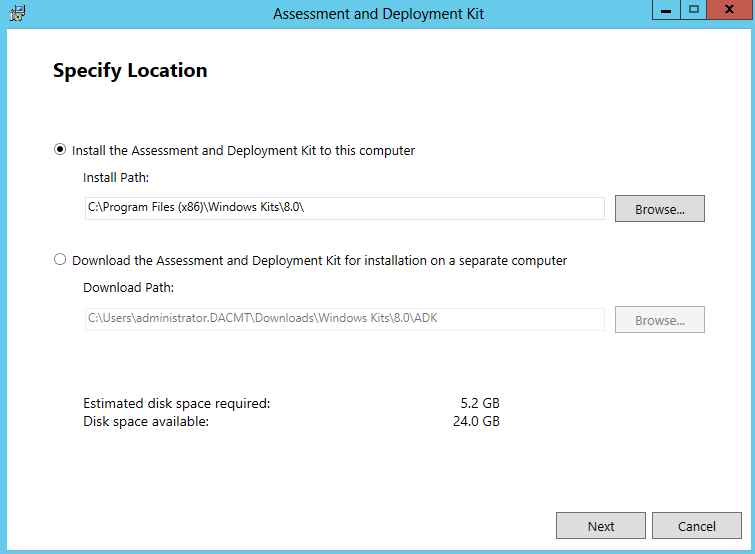
- Specify Location
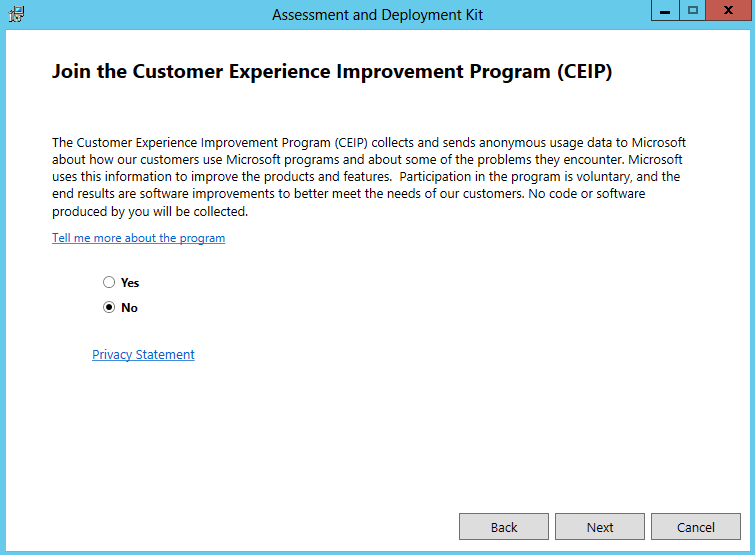
- Join the Customer Improvement Program
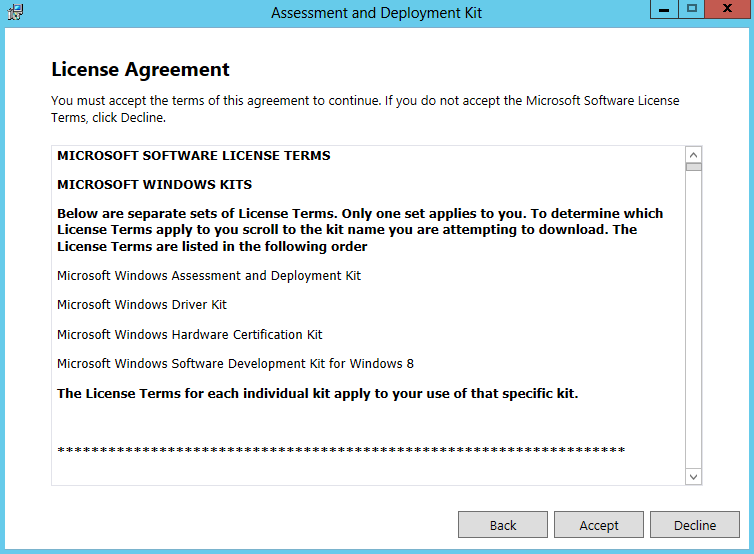
- Accept the License Agreement
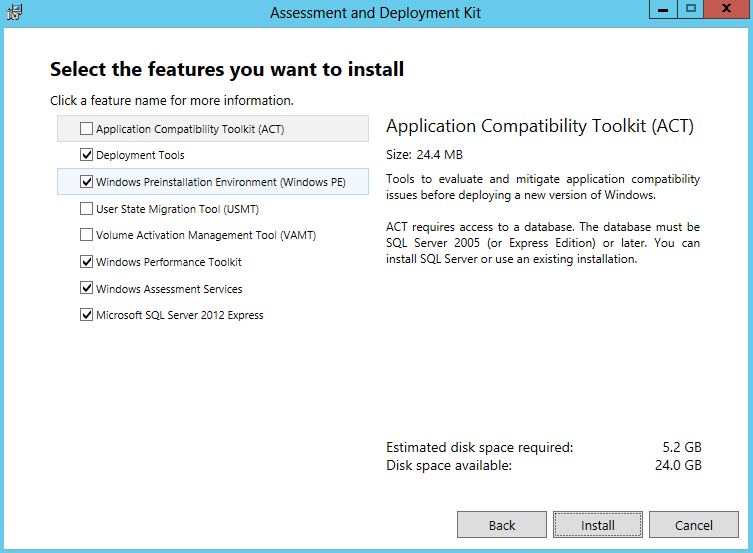
- Select the Features to Install. You generally need Deployment Tools and Windows Pre-Installation Environment (Windows PE)
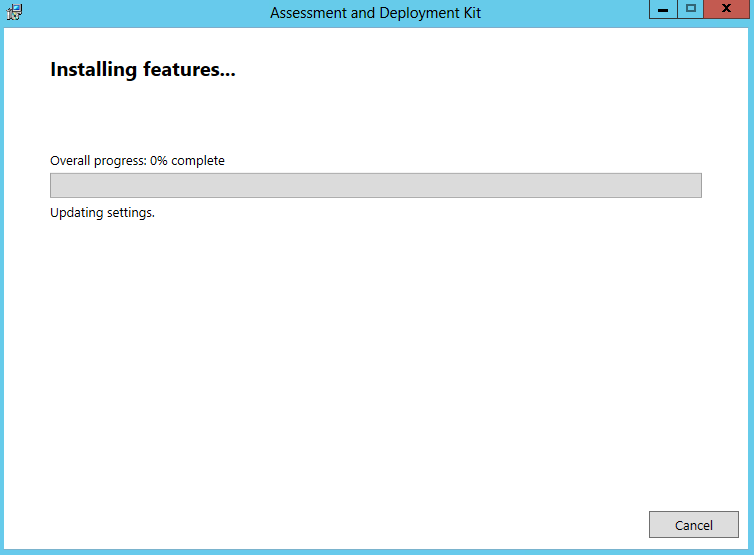
- Click Install
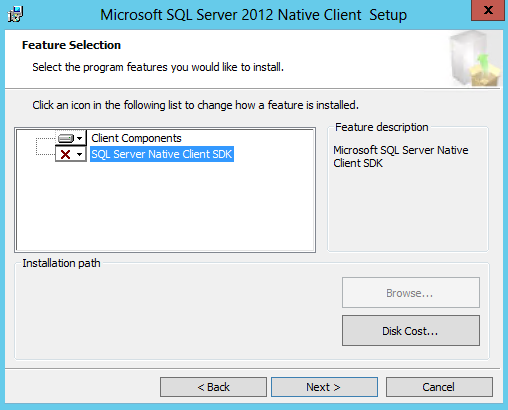
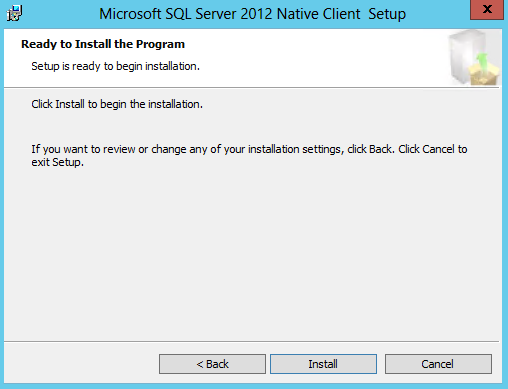
- On the SCVMM server – install the SQL 2012 Native Client with SQL 2012 Command Line Utilities to follow
- SQL Native Client contains runtime support for applications using native code APIs (ODBC, OLE DB and ADO) to connect to Microsoft SQL Server 2005, 2008, 2008 R2 and 2012. SQL Native Client is used to enhance applications that need to take advantage of new SQL Server 2012 features
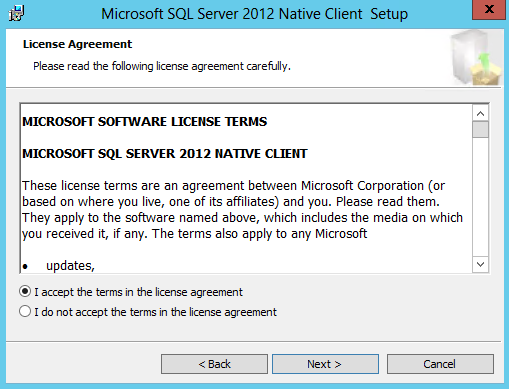
- Accept the License Agreement
- Choose your Features in the Feature Selection Box
- Install
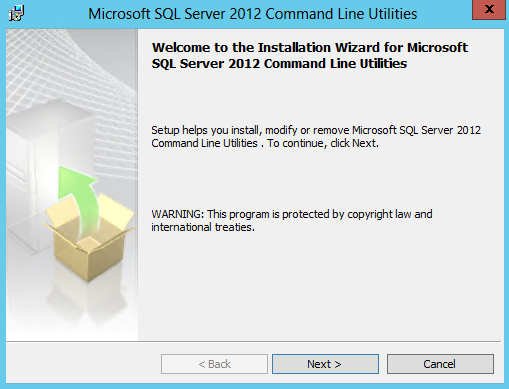
- Next Install SQL 2012 Command Line Utilities
- The SQLCMD utility allows users to connect to, send Transact SQL batches from and output row set information from SQL Server 2008, 2008 R2 and 2012. It is used to enhance applications that need to take advantage of new SQL Server 2012 features
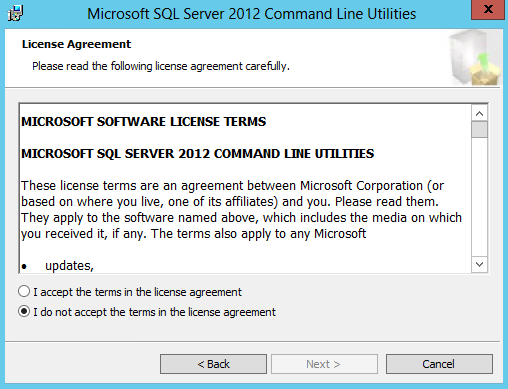
- Accept License Agreement
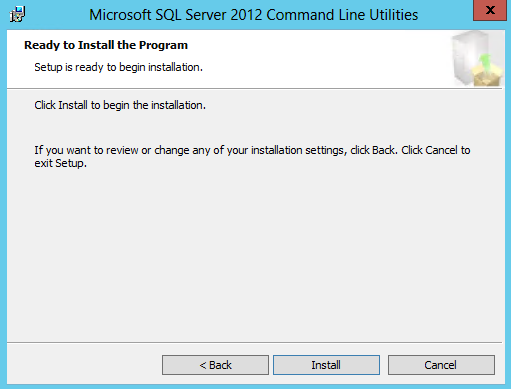
- Click Install
- Next go to your SQL Server 2012 Server
- Attach the SQL ISO
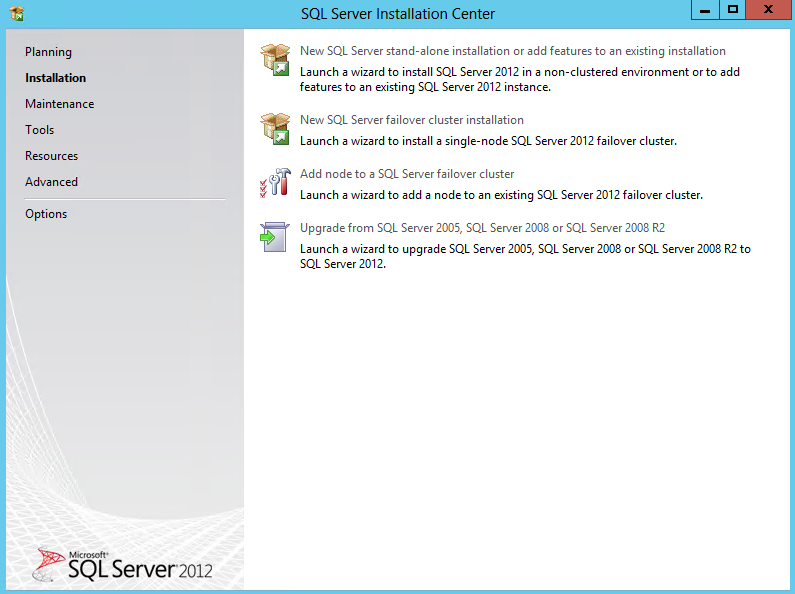
- Run the Installer > New SQL Server stand-alone installation
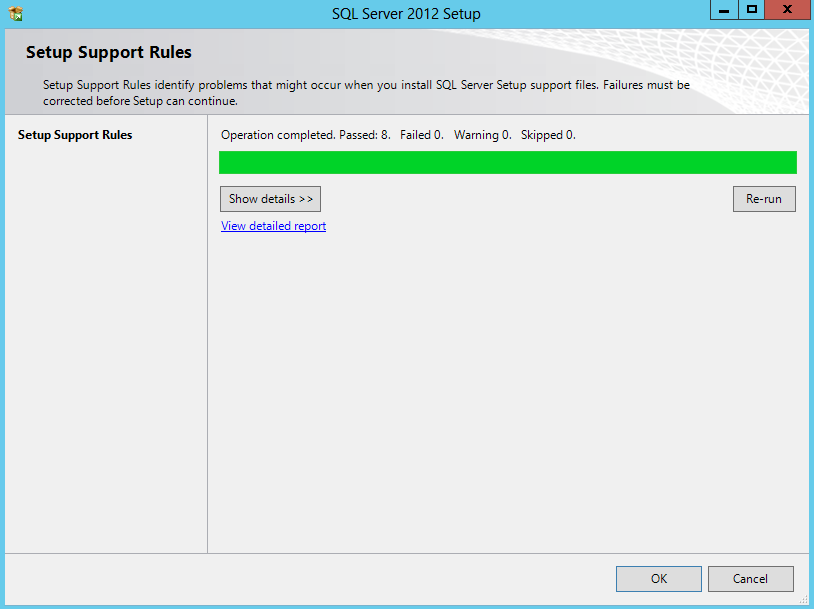
- Setup Support Rules will run > Click Next
- Choose Specify the free edition
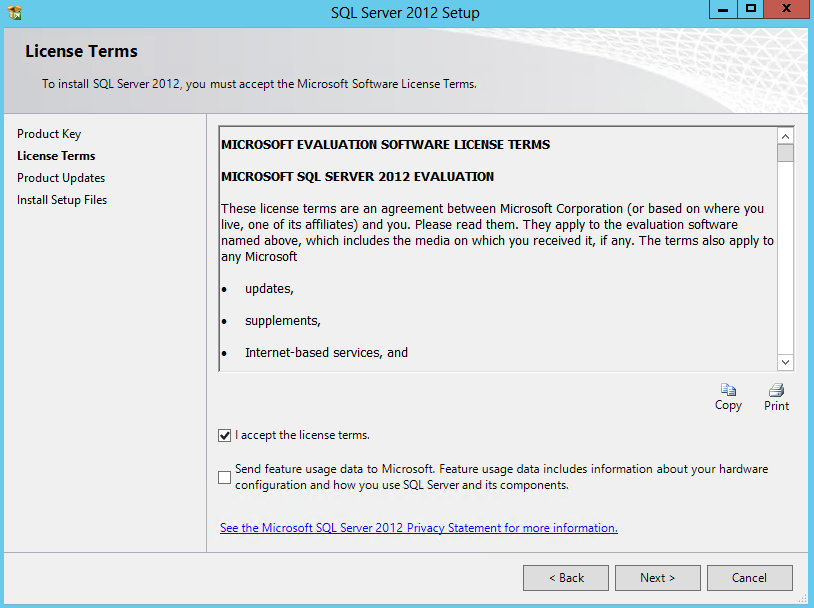
- Accept the License Terms
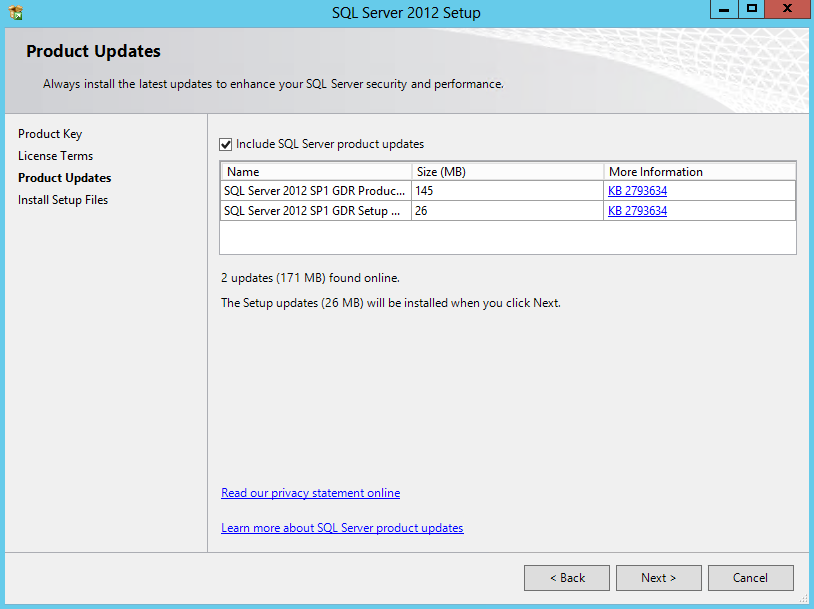
- Select Next to Install Product Updates if connected to the internet
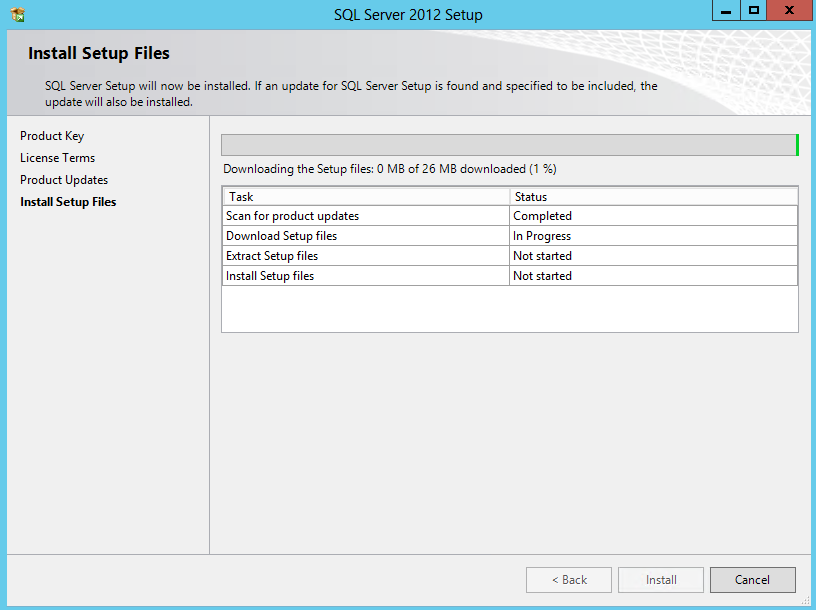
- You will see the status of the updating
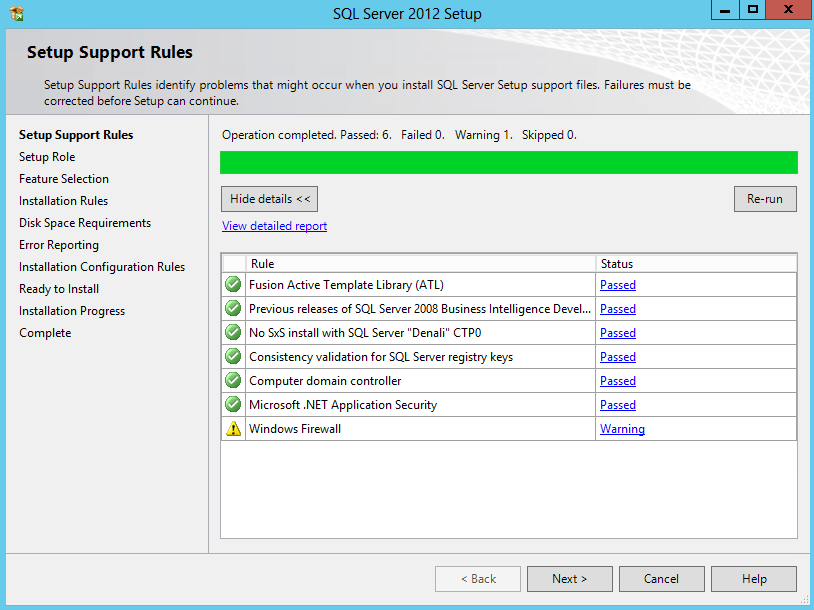
- Check Setup Support Rules
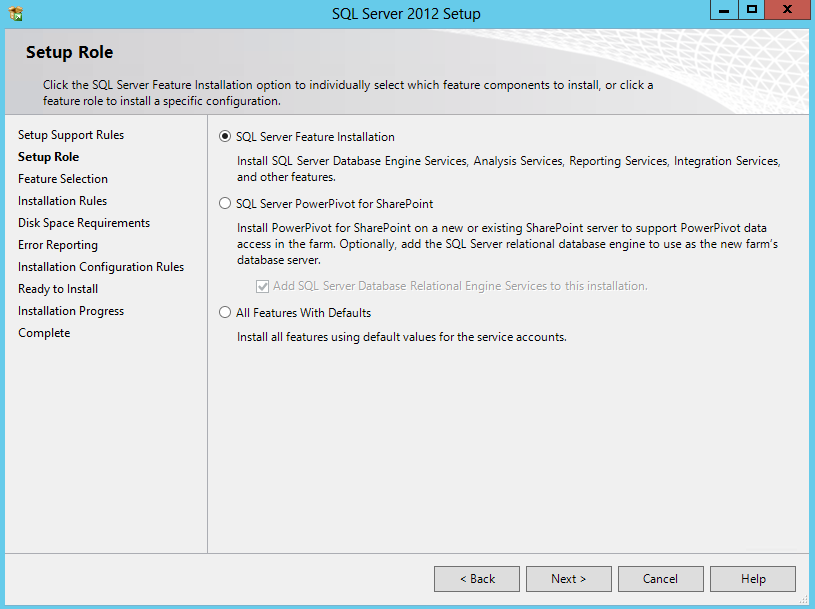
- Choose SQL Server Feature Installation
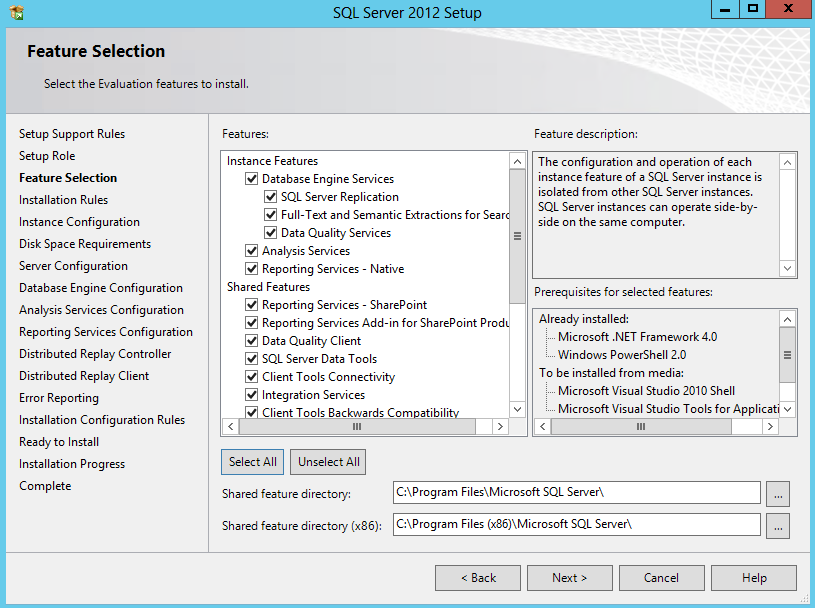
- Select All on the Feature Installation and choose where you want to install the Shared Feature Directories
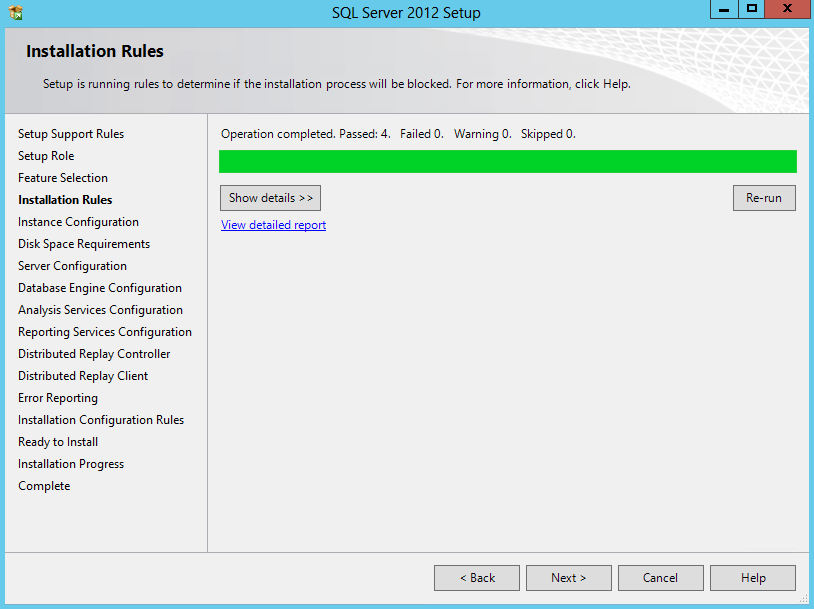
- Check Installation Rules
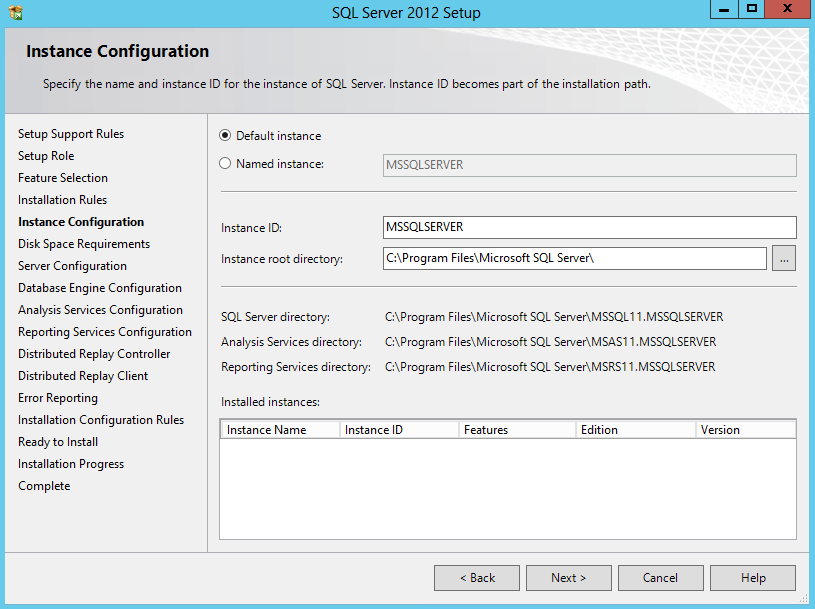
- Just keep the Default Instance for now – MSSQLSERVER
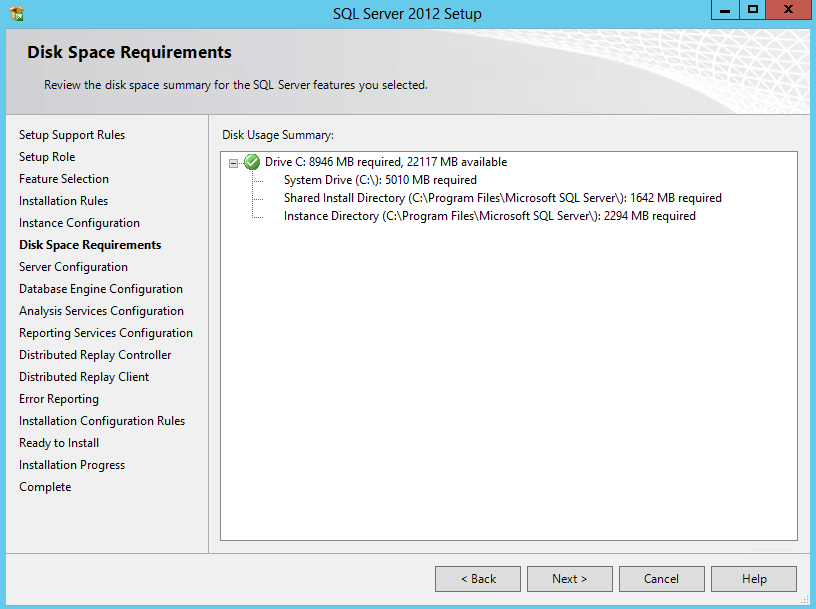
- Check Disk Space Requirements
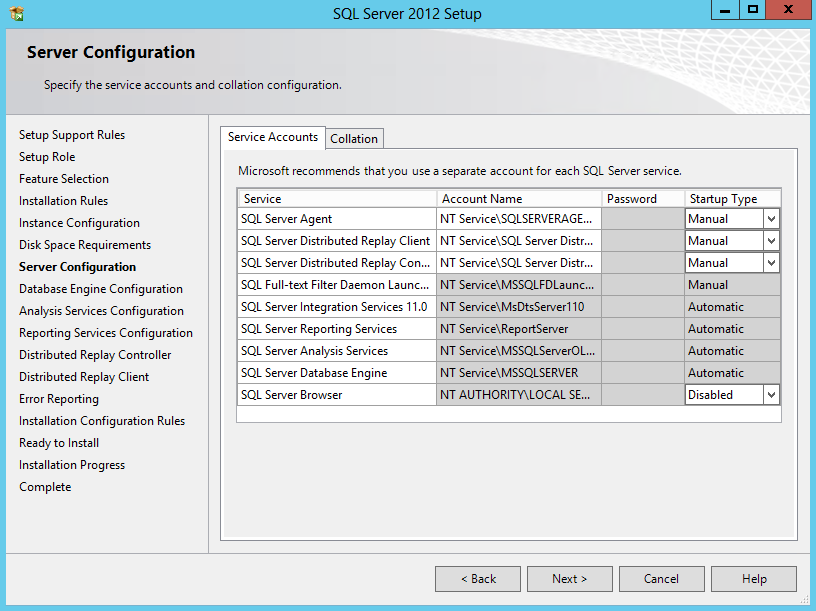
- Check SQL Server Service Accounts and add your own as required
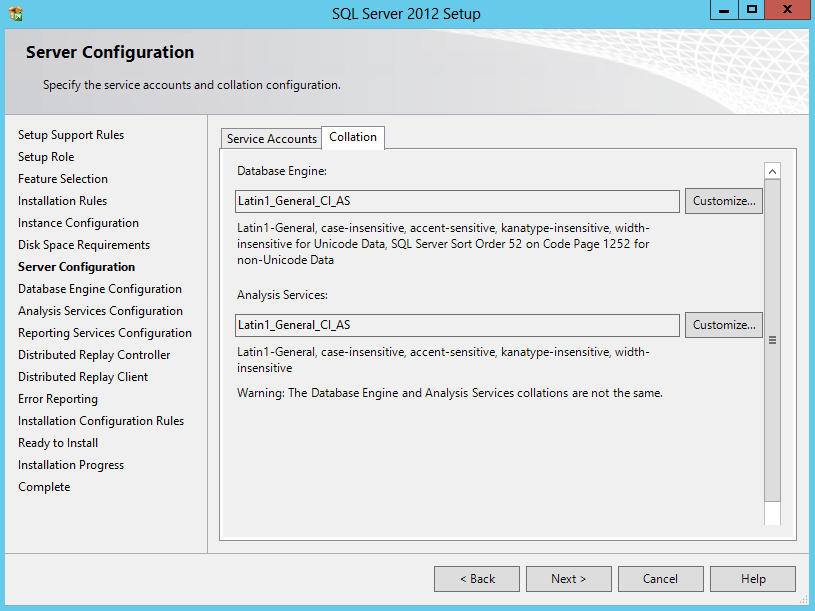
- Check Collation
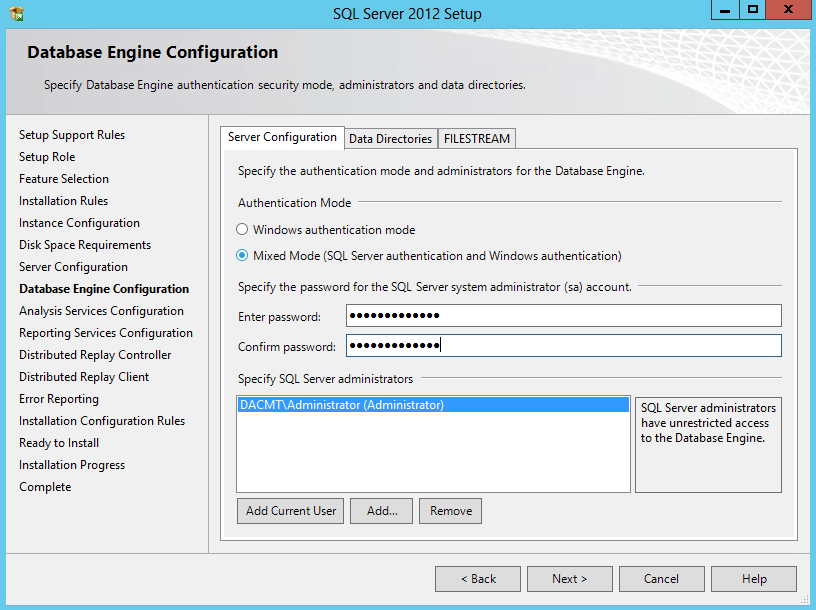
- Database Engine Configuration > Choose Mixed Mode and add the Domain Admin
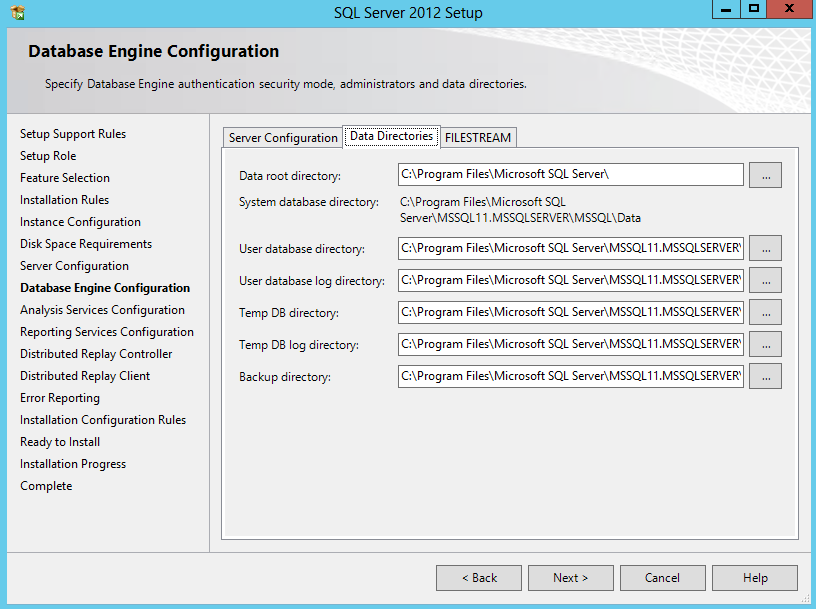
- Choose Data Directories
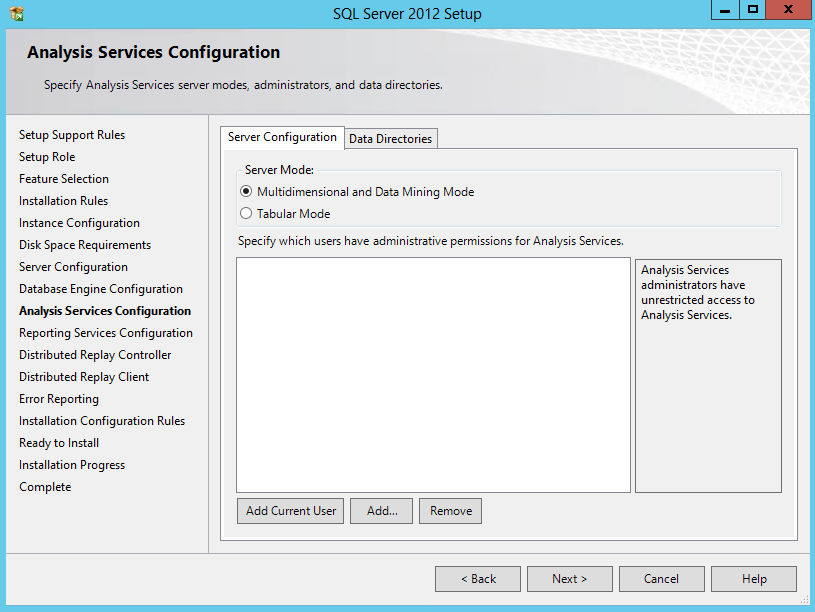
- Check Analysis Services Settings
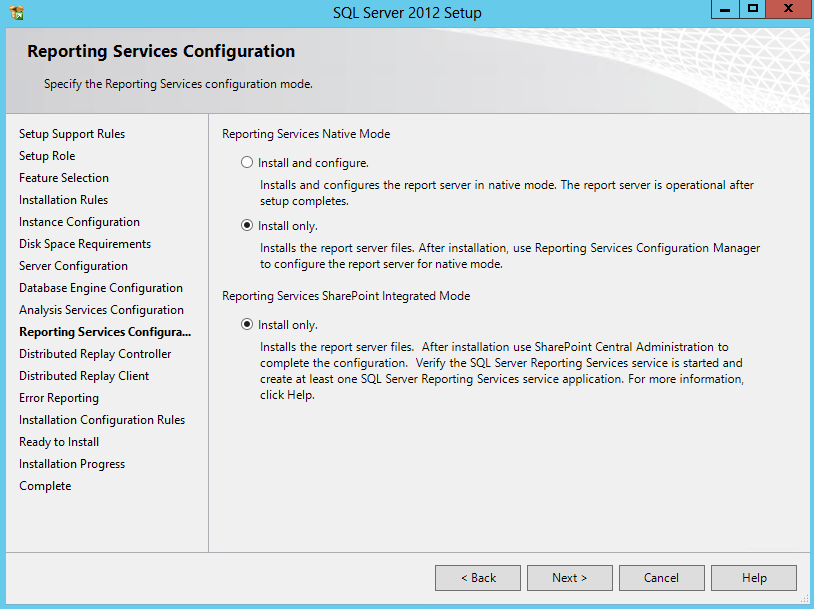
- Reporting Services Configuration > Choose Install Only
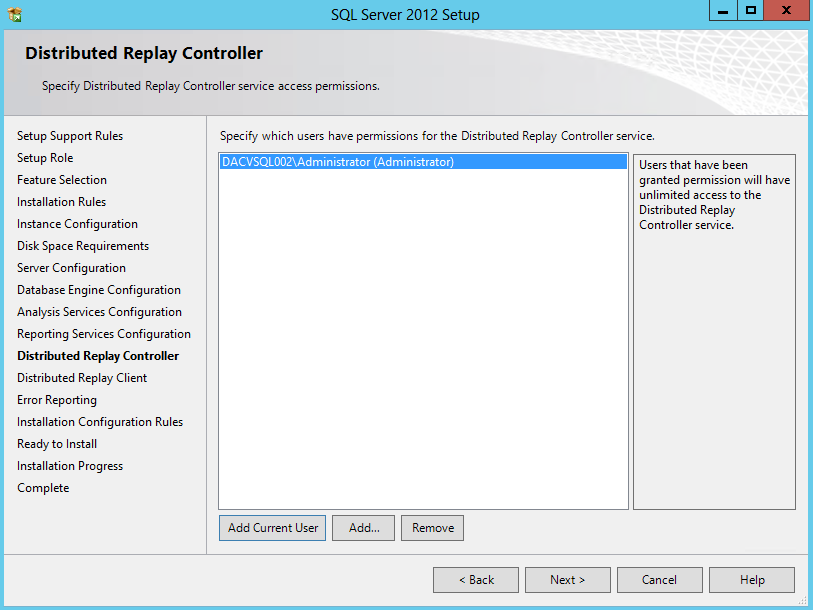
- Distributed Replay Controller > Just add the current user
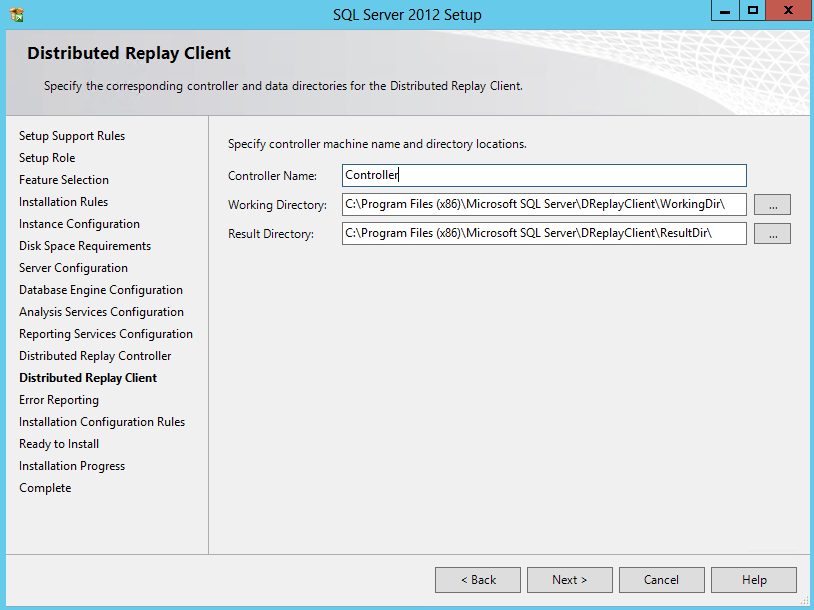
- Distributed Replay Client
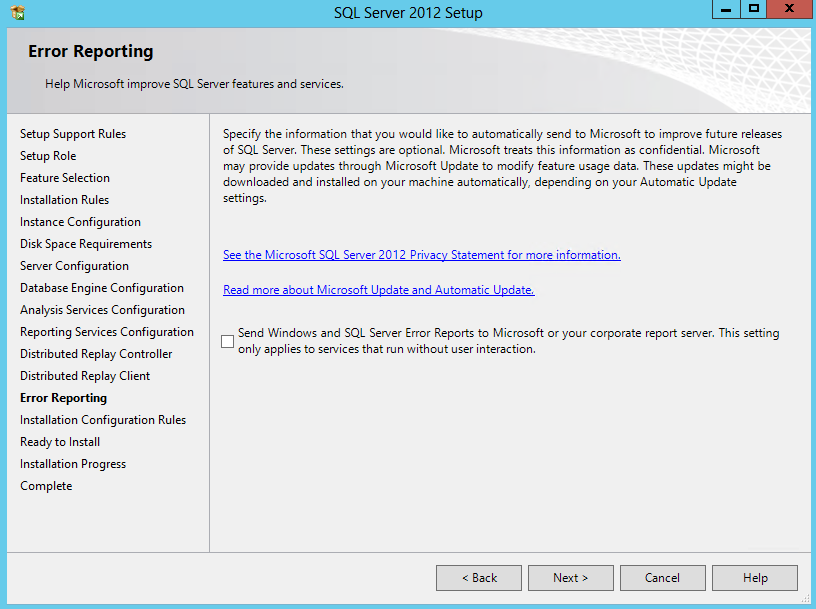
- Check Error Reporting
- Installation Configuration Rules check
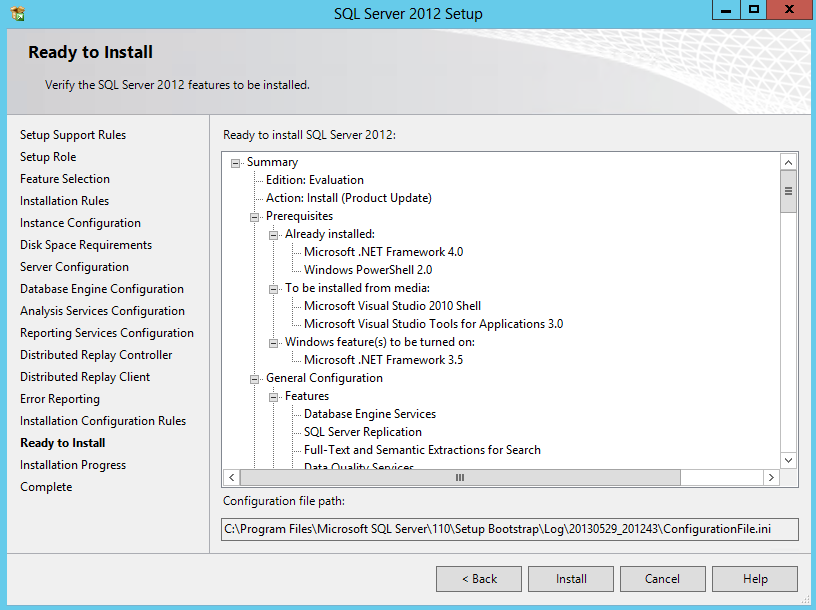
- Ready to Install
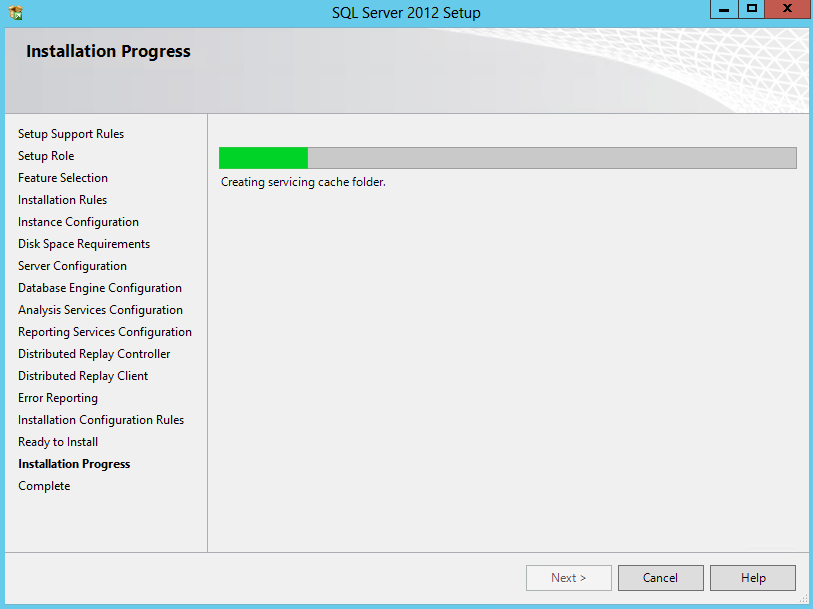
- Click Install
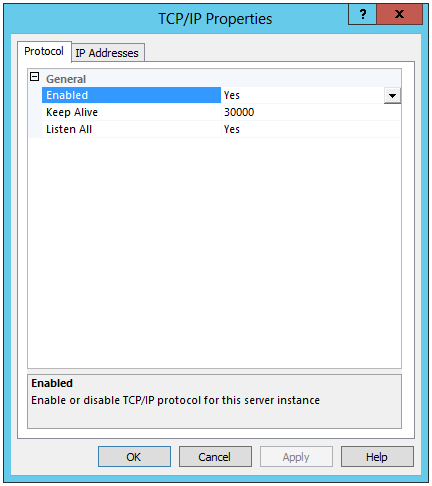
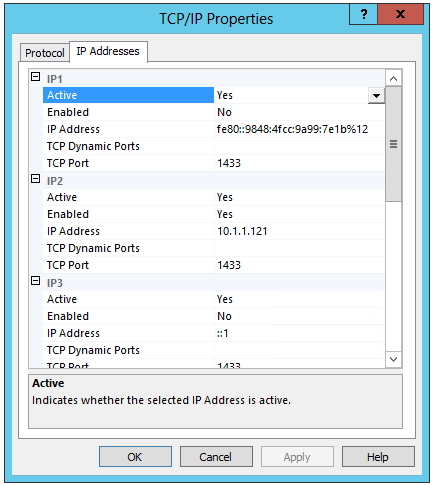
- Don’t forget to go into SQL Server Configuration Manager > SQL Server Network Configuration > Protocols for MSSQLSERVER and enable Named Pipes and TCP/IP
- Restart SQL Services once this is done and it should look like the below
- I also found I had to add my Domain Admin account to the Local Administrators group on the SCVMM and SQL Server or I got a message saying “Setup cannot connect to the specified SQL Server Instance. Ensure the server name is correct etc”
- I also found that I add to adjust the hosts file in c:\Windows\System32\Drivers\etc on both the SCVMM Server and SQL Server and add in a mapping for the SQL Server
- Now you are ready to install Microsoft VMM
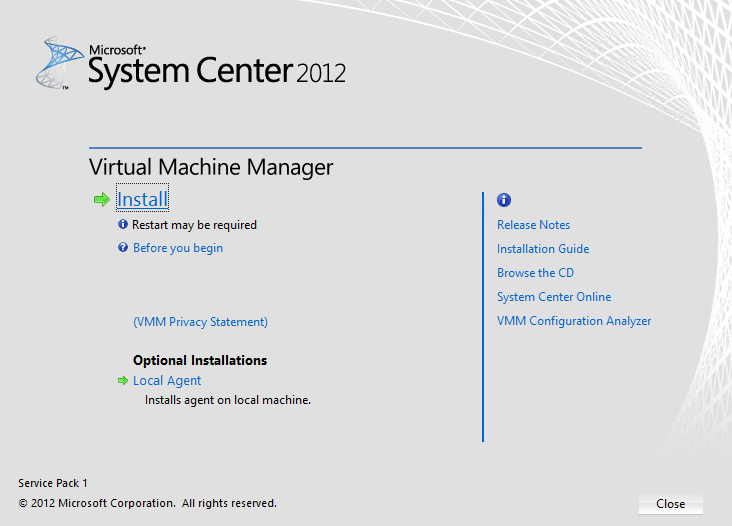
- Launch the Installer
- Click Install
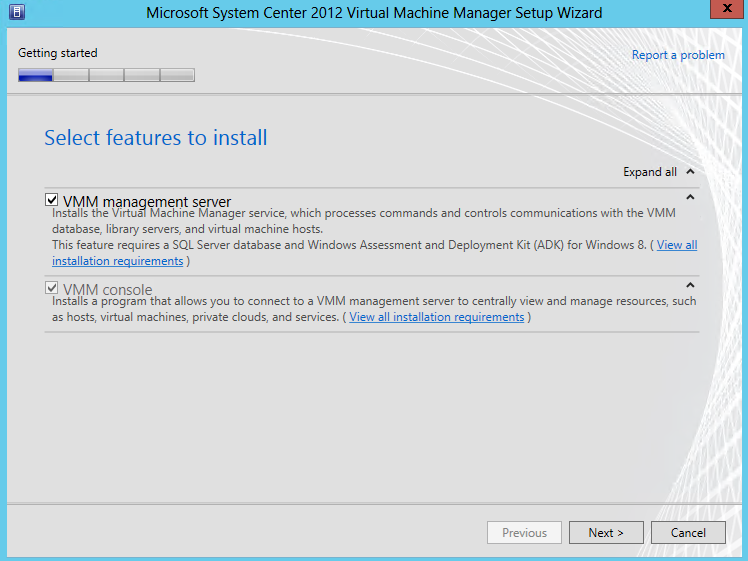
- Choose Features
- Select VMM Server, VMM Administrator Console
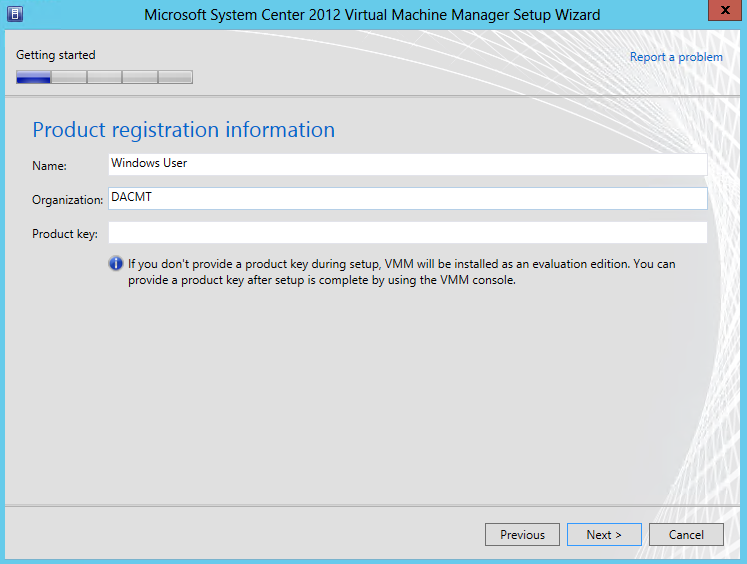
- Put in Product Registration Information > Name, Organisation and Product Key if you have one. If not it will enter Evaluation Mode
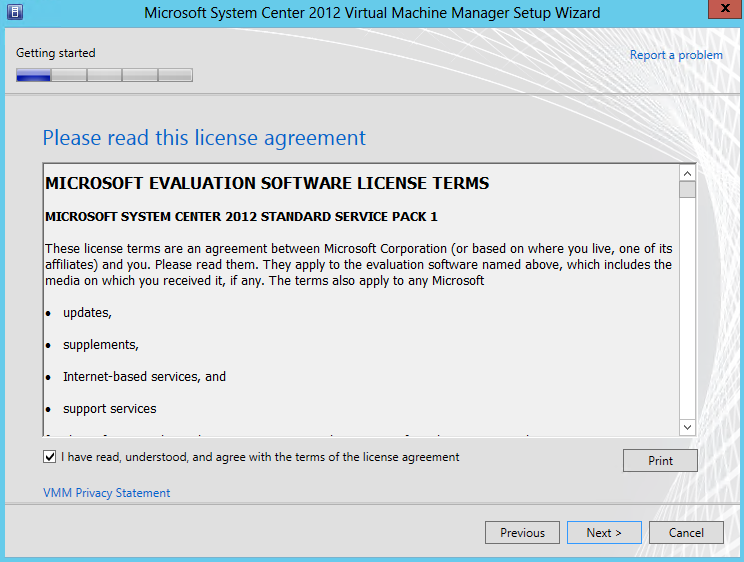
- Accept the License Agreement
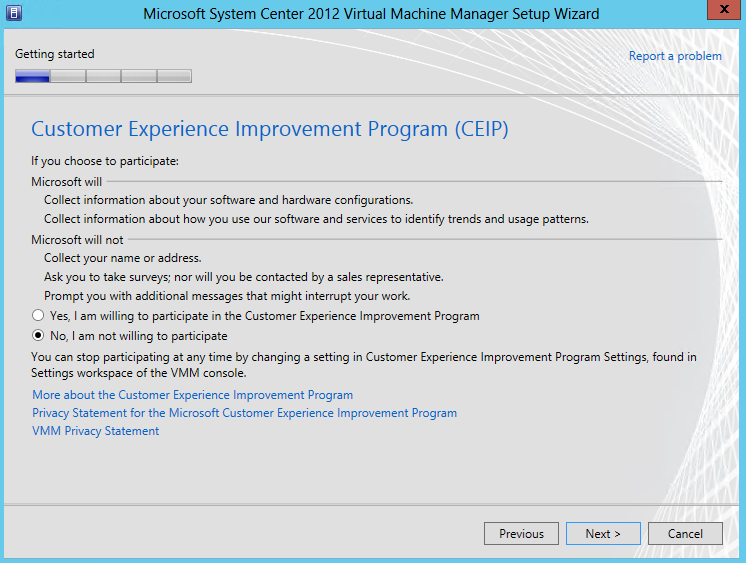
- Choose an option for the Customer Service Program
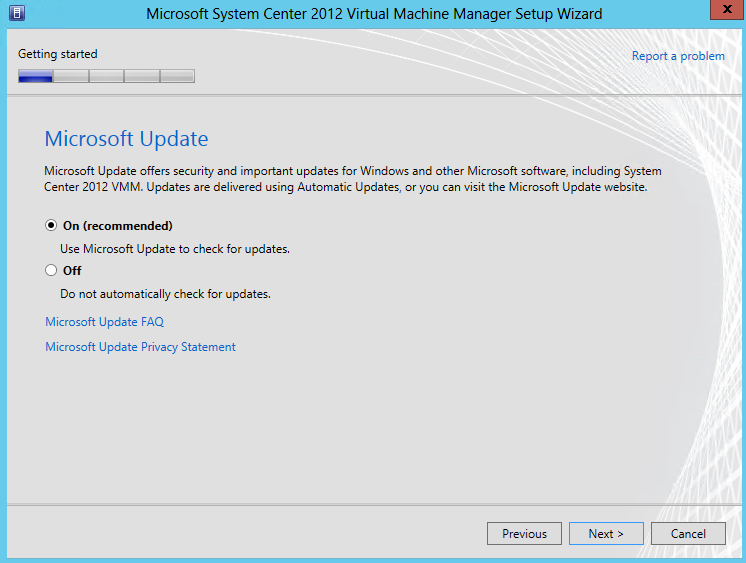
- Turn on Microsoft Update
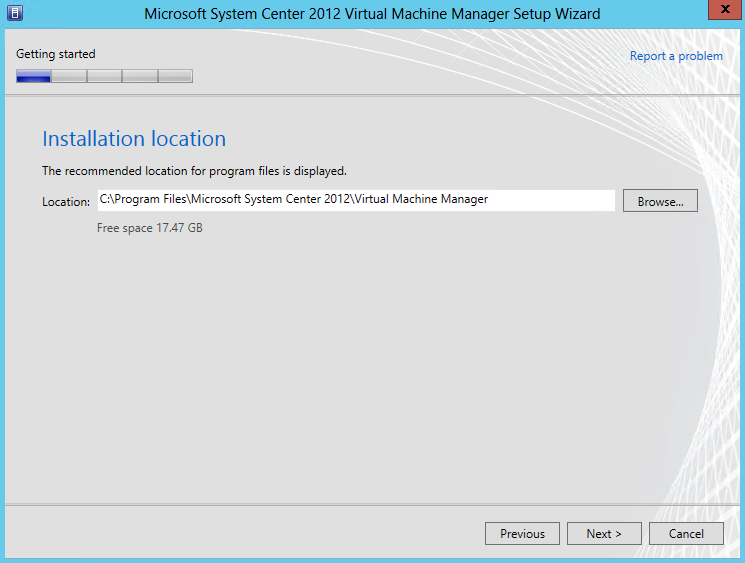
- Select Installation Location
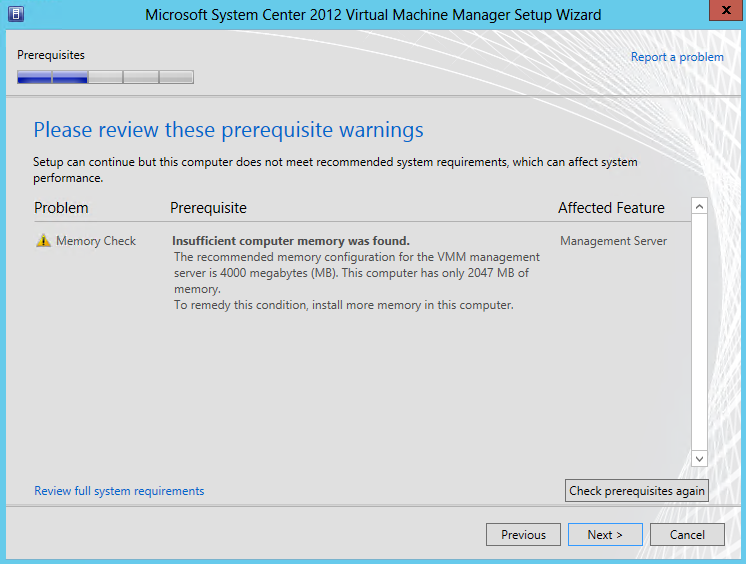
- Pre-Requisite Checking will then run. You can see I need to put more memory in my VM
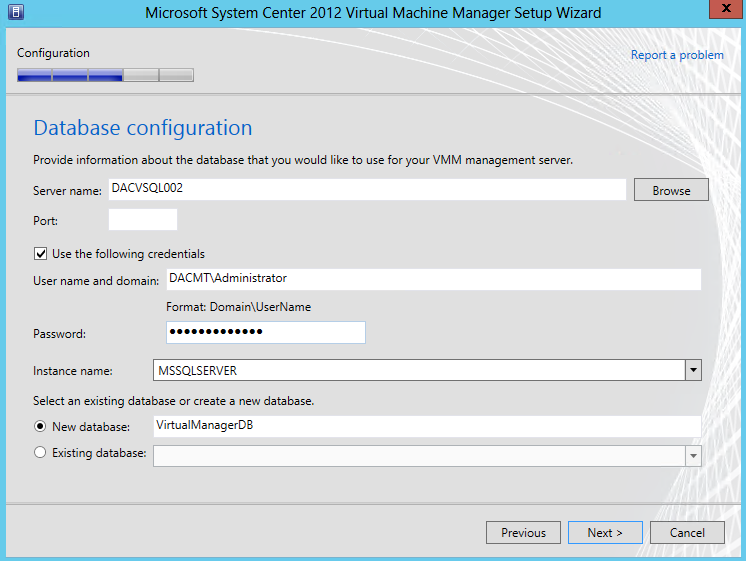
- Put in your Database configuration. In my case I am using a separate SQL 2012 Server called DACVSQL002
- Change the Database Name if you want to and the port is usually 1433
- If you find you experience connection errors, then you will need to adjust firewall ports
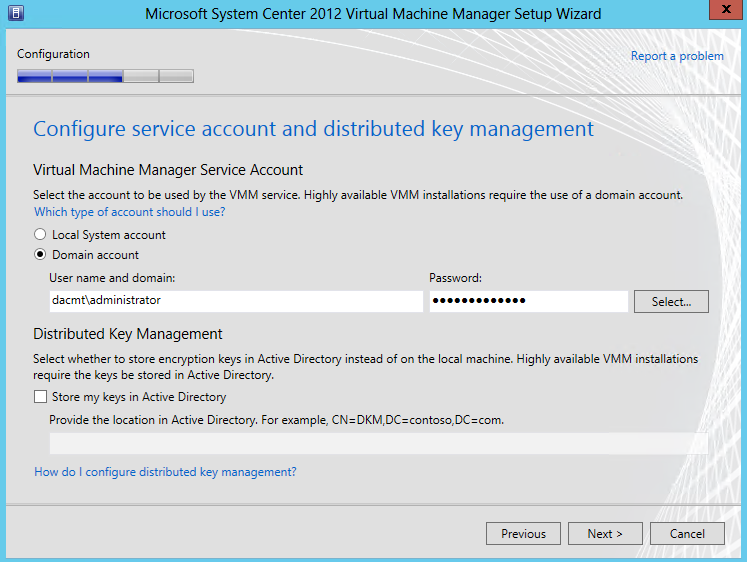
- Put in Service Account Information
- Ignore Distributed Key Management for now
- DKM is used to store VMM encryption keys in Active Directory Domain Services. By default, using the Windows Data Protection API (DPAPI) VMM encrypts some data in the VMM Database (for example the Run As account credentials and passwords) and this data is tied in to the VMM server and the service account used by VMM. However with DKM, different machines can securely access the shared data. Once a HA VMM Node fails over to another node, it will start accessing the VMM database and use the encryption keys conveniently stored under a container in AD to decrypt the data in the VMM database
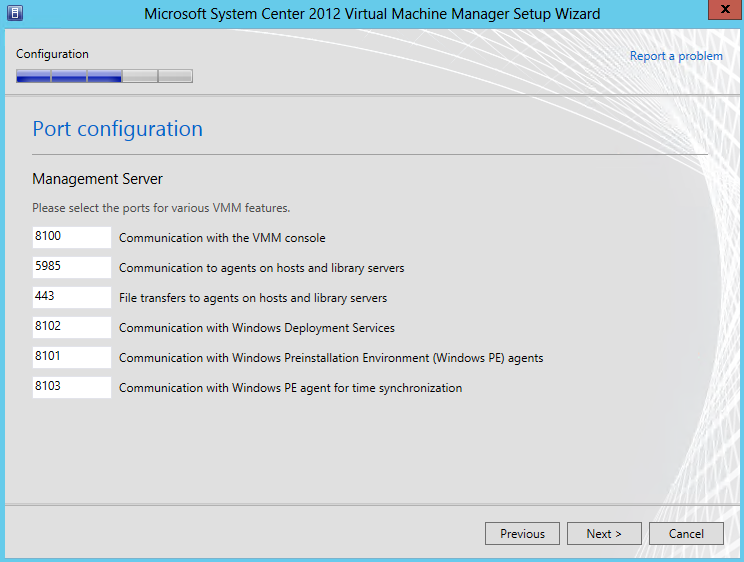
- Check Port Configuration Information
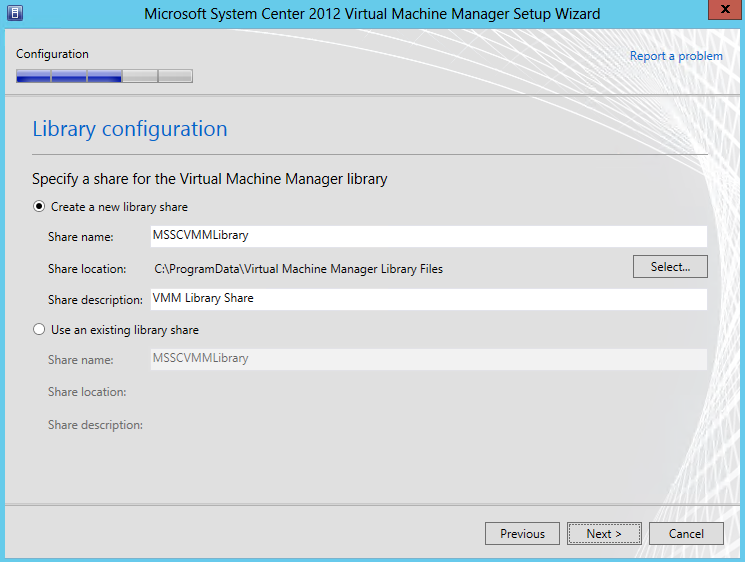
- Specify a Share for the Virtual Machine Manager Library
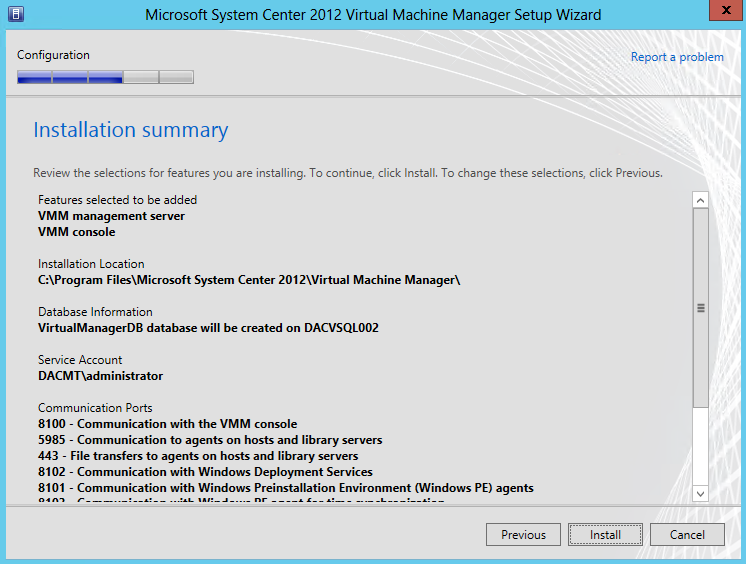
- Check the Installation Summary
- Install
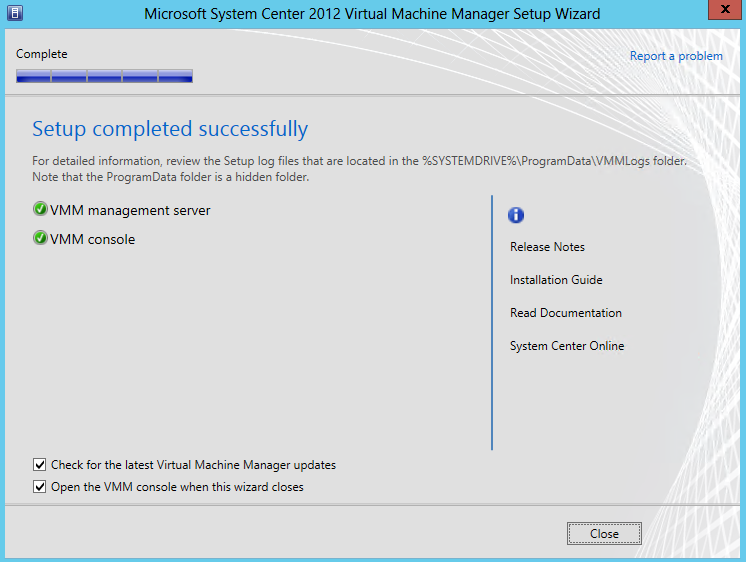
- Once finished it should look like the following
- If there is a problem with setup completing successfully, consult the log files in the %SYSTEMDRIVE%\ProgramData\VMMLogs folder. ProgramData is a hidden folder.
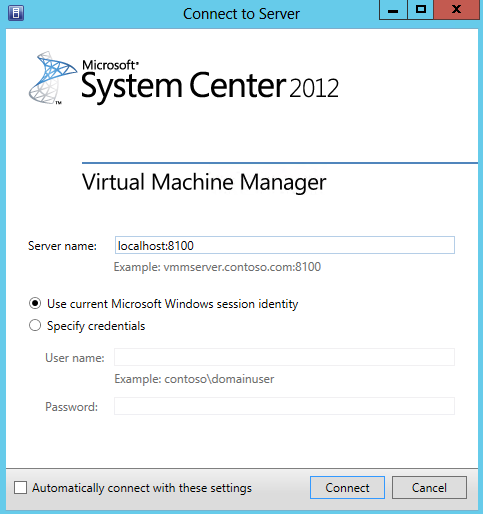
- Connect to VMM Console
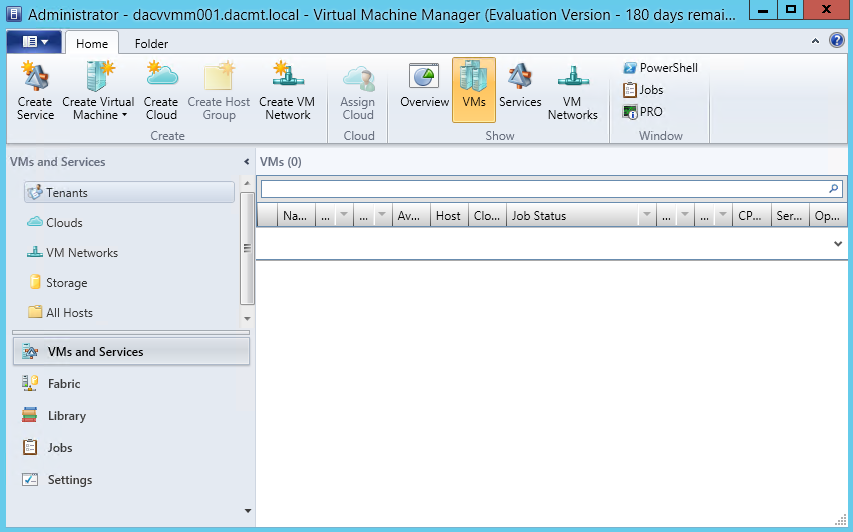
- You will now see the VMM Console
- Next explore around VMM 2012.
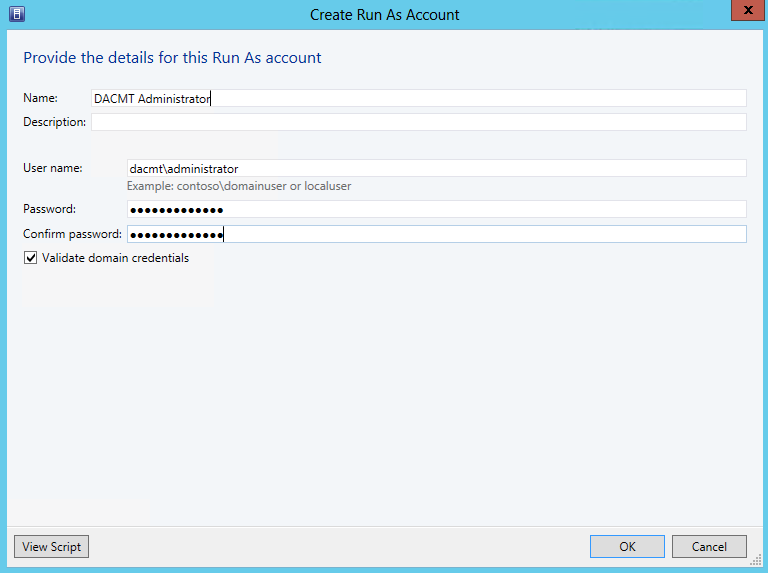
- Create a Run As account
- Practice adding a host Group and a Hyper-V Host
- Right click on All Host and Select Create Host Group
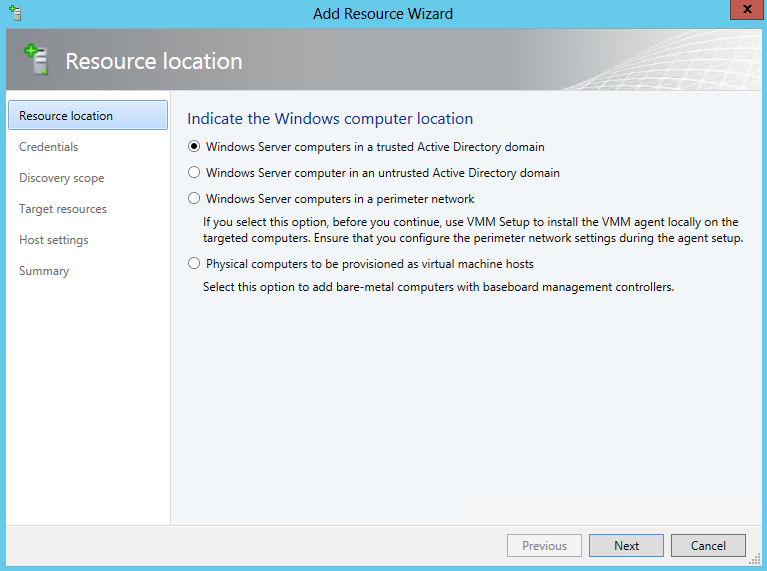
- Right click the New Host Group and select Add Hyper V Hosts and Clusters
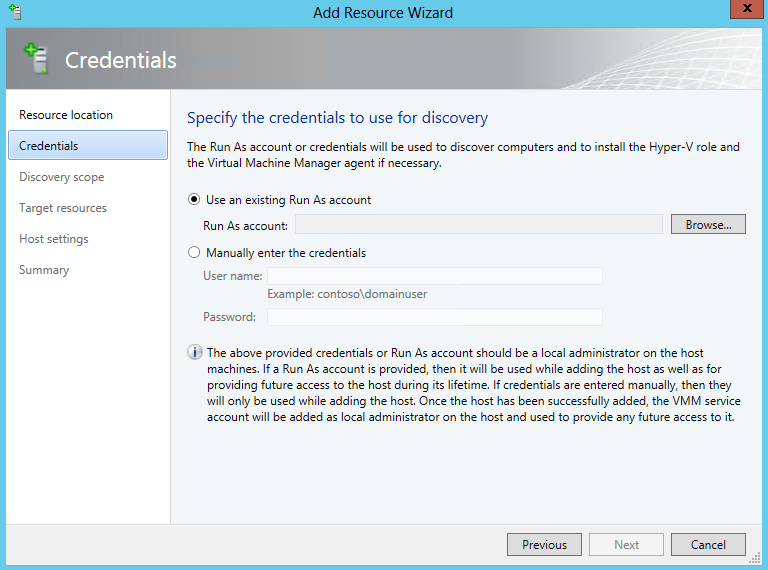
- Specifiy credentials to run for discovery. Use your previously created Run As account
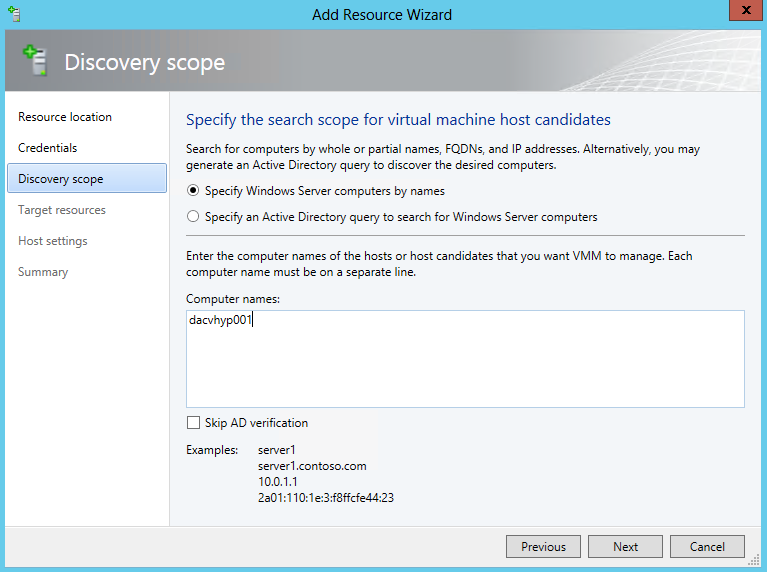
- Choose the scope to search for the Hosts you want or add them manually
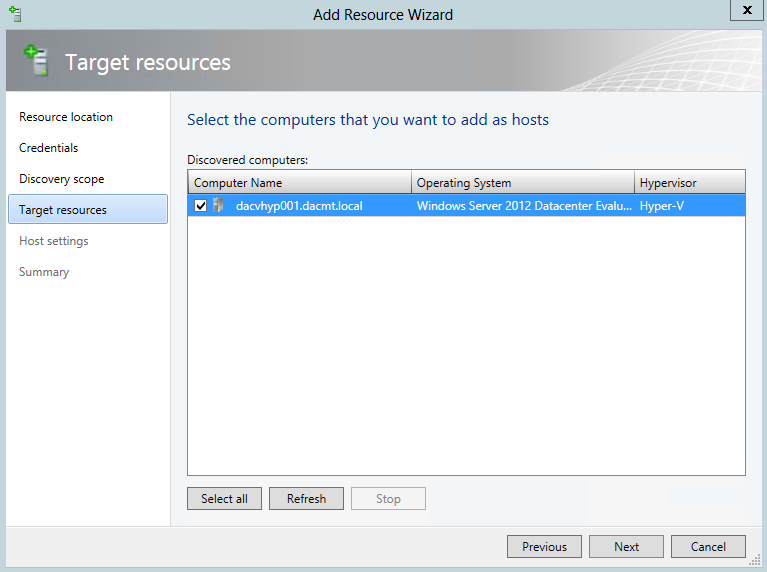
- Choose your Hyper V Server
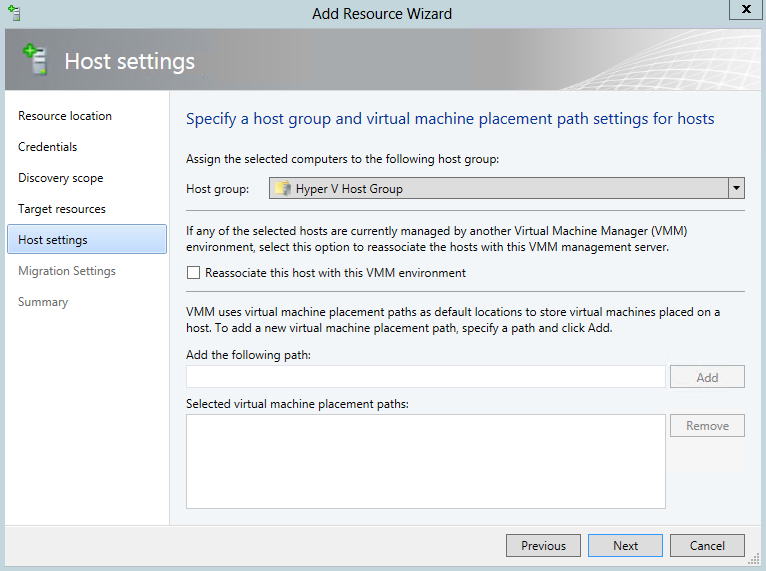
- Choose Host Group and Virtual Machine Placement
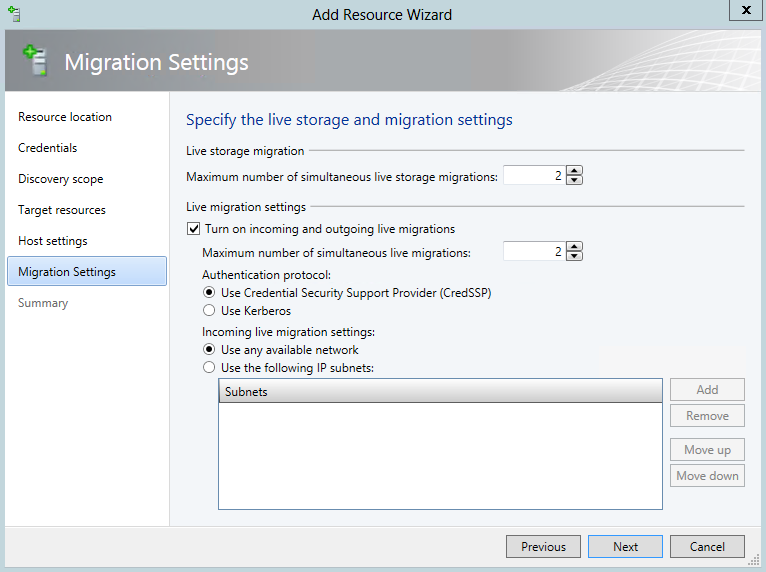
- Choose Migration Settings
- Check Summary and Confirm Details
- You will see the job start in the job window
- Check any warnings post addition
- See the articles below by Scott Lowe which walk you through VMM 2012
Links

