DHCP Failover Overview
DHCP failover in Windows Server 2012 enables administrators to deploy a highly resilient DHCP service to support a large enterprise without the challenges of setting up Failover Clustering. The main points to remember are…
- Provide DHCP service availability at all times on the enterprise network.
- If a DHCP server is no longer reachable, the DHCP client is able to extend the lease on its current IP address by contacting another DHCP server on the enterprise network.
- DHCP failover is not supported for more than two DHCP servers. The failover relationship is always comprised of two DHCP servers.
- For DHCP failover to function correctly, time must be kept synchronized between the two servers in a failover relationship. Time synchronization can be maintained by deployment of the Network Time Protocol (NTP) or any alternate mechanism. When the failover configuration wizard is run, it will compare the current time on the servers being configured for failover. If the time difference between the servers is greater than one minute, the failover setup process will halt with a critical error instructing the administrator to synchronize the time on the servers
The DHCP server failover feature provides the ability to have two DHCP servers provide IP addresses and option configuration to the same subnet or scope, providing for continuous availability of DHCP service to clients. The two DHCP servers replicate lease information between them, allowing one server to assume responsibility for servicing of clients for the entire subnet when the other server is unavailable. It is also possible to configure failover in a load-balancing configuration with client requests distributed between the two servers in a failover relationship.
DHCP failover in Windows Server 2012 provides support for a maximum of two DHCP servers, and the failover relationship is limited to IPv4 scopes and subnets. Network nodes using Internet Protocol version 6 (IPv6) typically determine their own IPv6 address using stateless IP auto configuration. In this mode, the DHCP server delivers only the DHCP option configuration, and the server does not maintain any lease state information. A high availability deployment for stateless DHCPv6 is possible by simply setting up two servers with identical option configuration. Even in a stateful DHCPv6 deployment, the scopes do not run under high address utilization, which makes split scope a viable solution for high availability.
DHCP Failover Architecture
You can have 2 modes of DHCP Failover
- Hot Standby
- Load Sharing
Hot standby mode
In hot standby mode, 2 servers operate in a failover relationship where an active server is responsible got leasing IP addresses and configuration information to all clients in a scope or subnet. The secondary server assumes this responsibility if there primary server becomes unavailable. A server is primary or secondary in the context of a subnet. For instance, a server that has the role of a primary for a given subnet could be a secondary server for another subnet
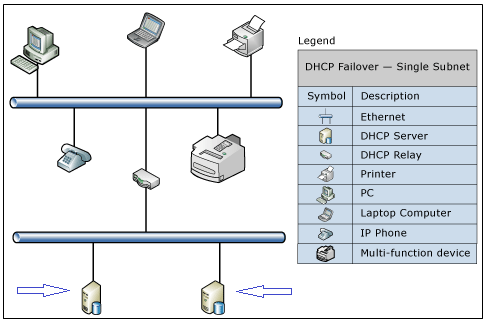
Hot standby mode of operation is best suited to deployments where a central office or data center server acts as a standby backup server to a server at a remote site, which is local to the DHCP clients (ex: hub and spoke deployment). In such deployments, it is undesirable to have a remote standby server service any clients unless the local DHCP server becomes unavailable. The figure below is an example of a hub and spoke deployment
Load Sharing Mode
In a load sharing mode deployment, which is the default mode of operation, the two servers simultaneously serve IP addresses and options to clients on a given subnet. The client requests are load balanced and shared between the two servers.
The load sharing mode of operation is best suited to deployments where both servers in a failover relationship are located at the same physical site. Both servers respond to DHCP client requests based on the load distribution ratio configured by the administrator
Instructions
- First of all we need to install DHCP on the first of the two DHCP Servers
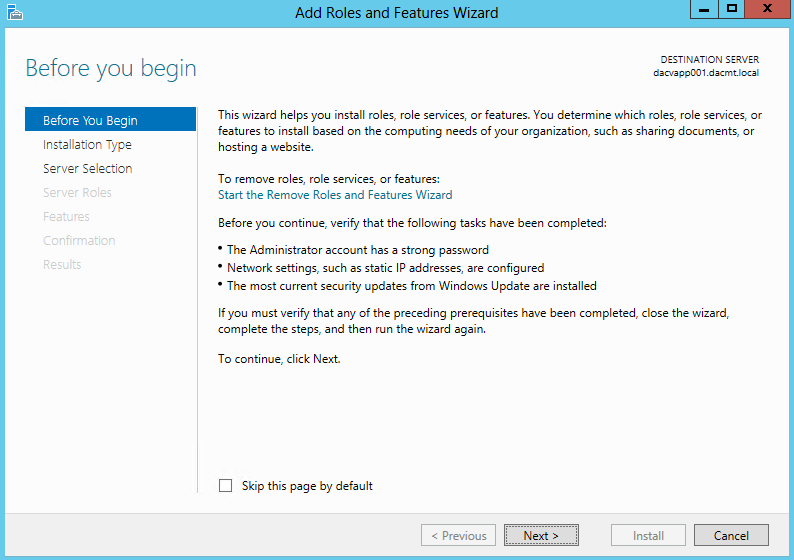
- Open Server Manager and click Add Roles and Features
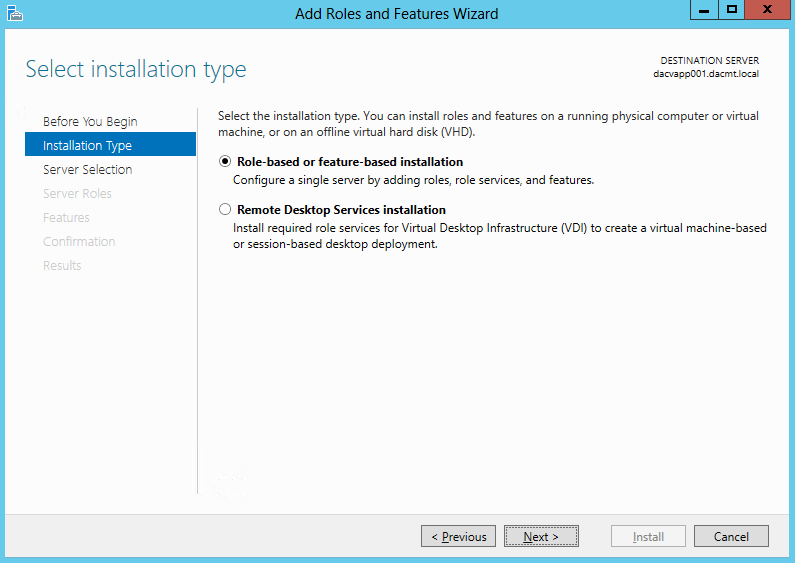
- Select Installation Type > Choose Role based or Feature based installation
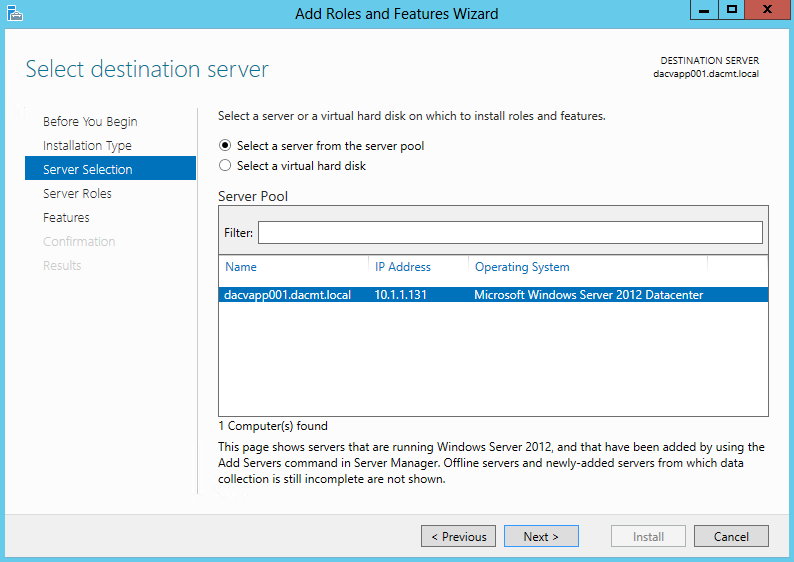
- Select Destination Server
- Select Server Role

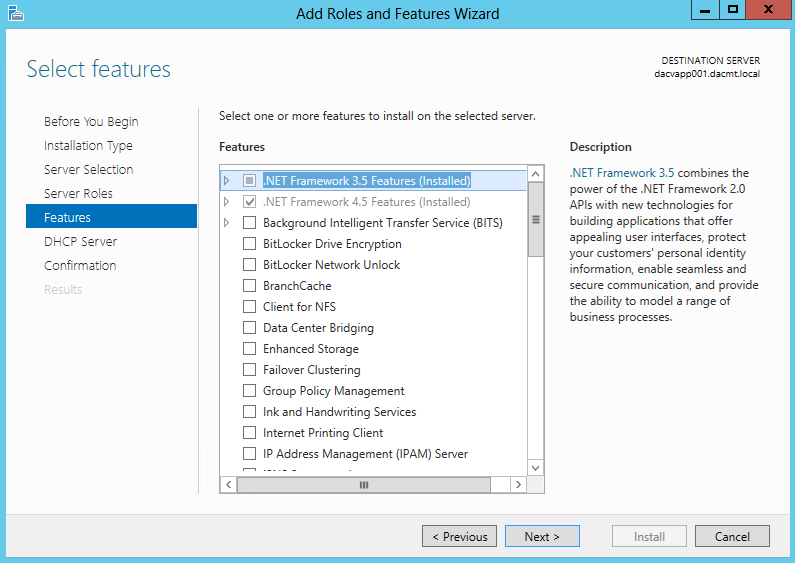
- Select Features
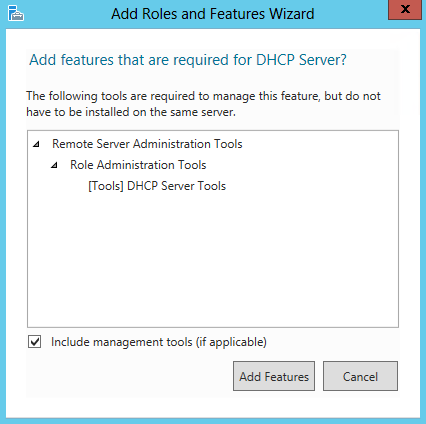
- Click Next on the Select Features Page
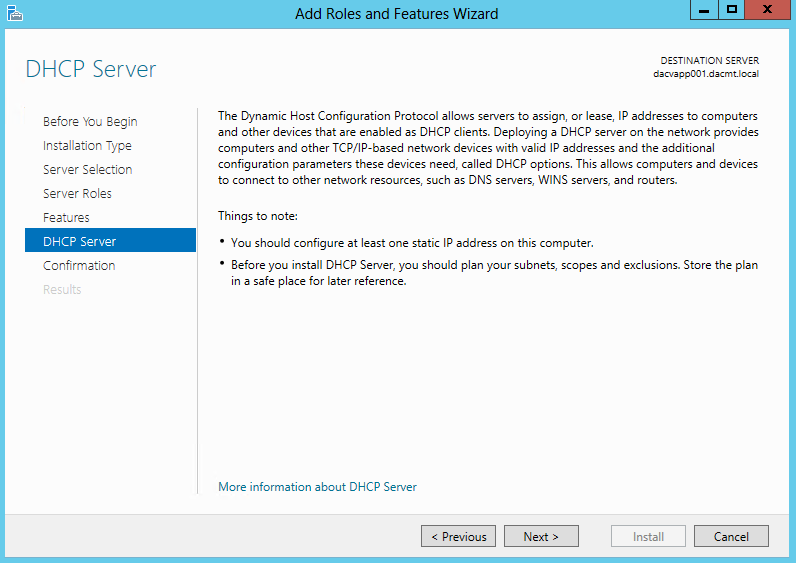
- Click Next on the DHCP Server Page
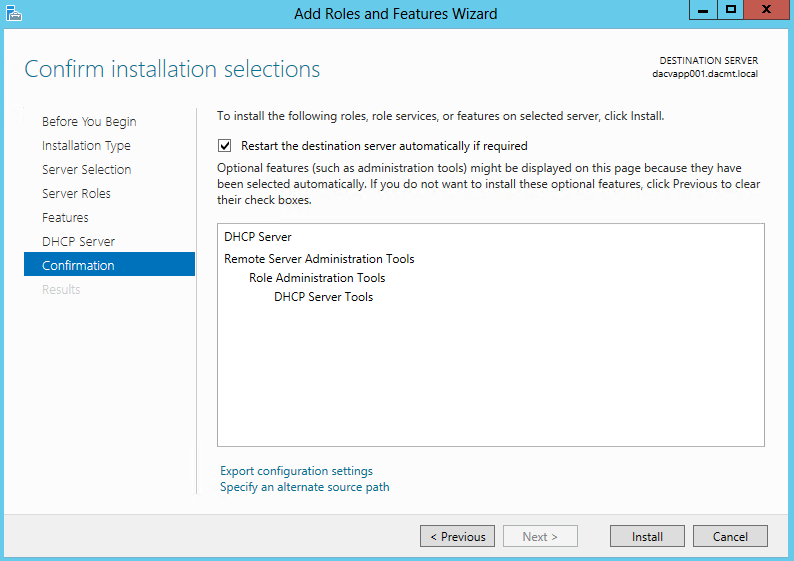
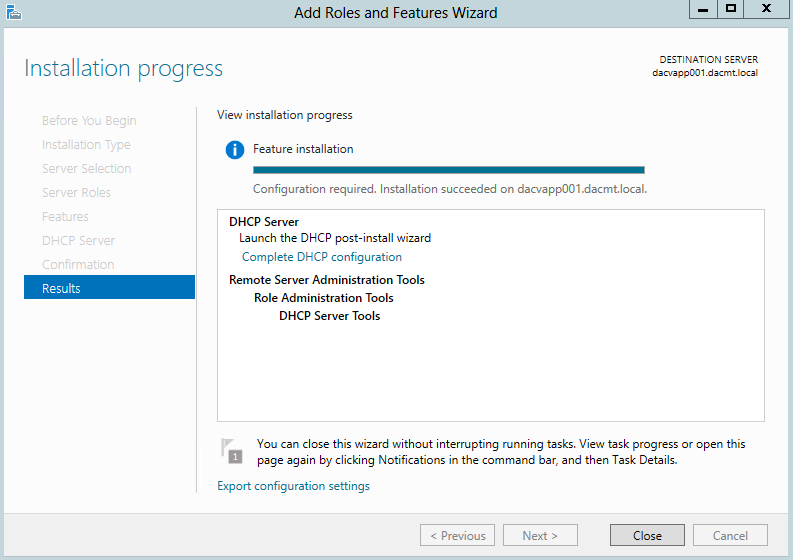
- Click Next and Install
- Once finished click Complete Configuration
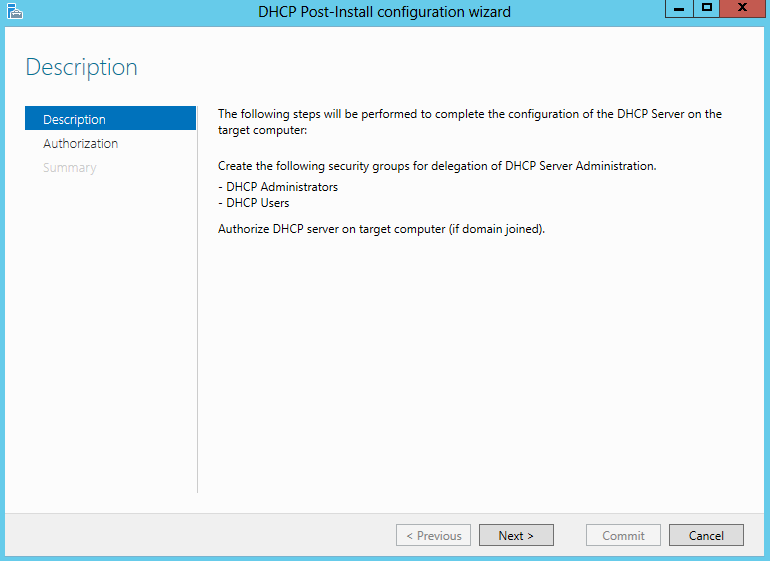
- Before DHCP can be used as a Failover partner, it must be authorised in Active Directory
- On the Post Installation Task screen click Next
- On the Authorisation screen, add your DHCP User or use the Administrator
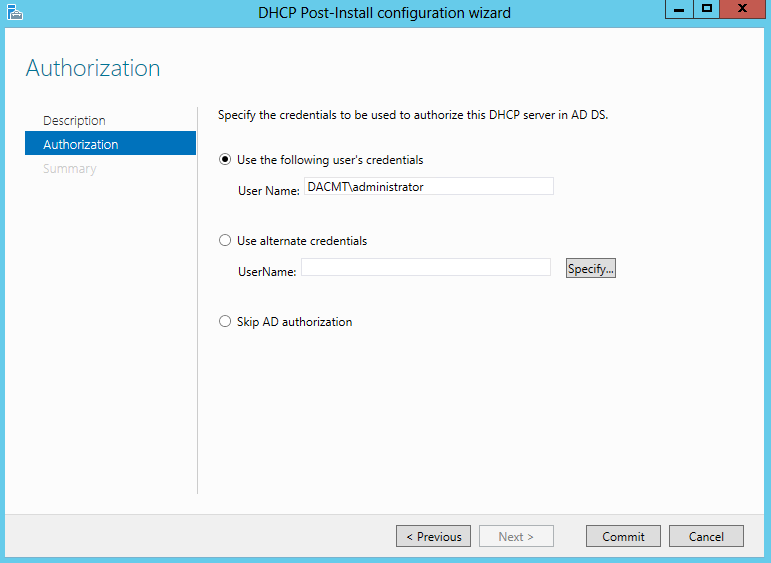
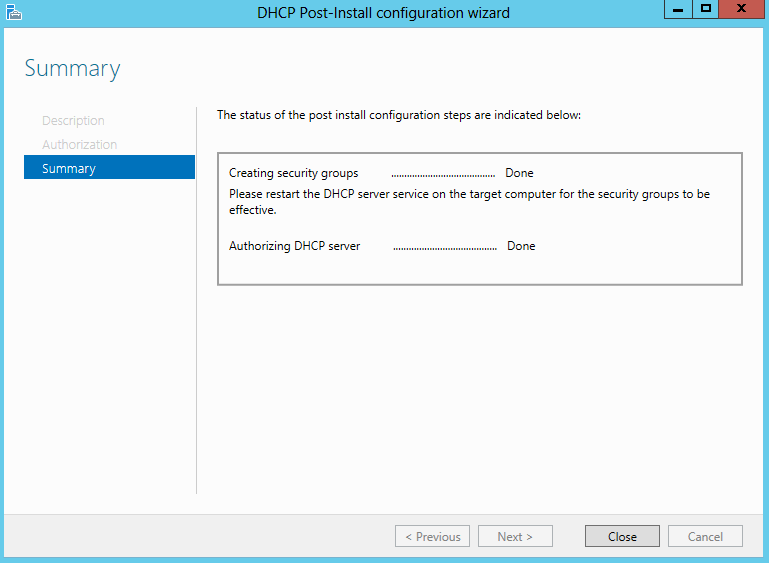
- Click Commit and check the results
- Now you need to do exactly the same steps on your second DHCP Server
- Go to the first DHCP Server and on the Server Manager menu bar, click Tools and then click DHCP. THE DHCP console opens.
- In the DHCP console tree, navigate to IPv4. Right-click IPv4 and then click New Scope. The New Scope Wizard opens.
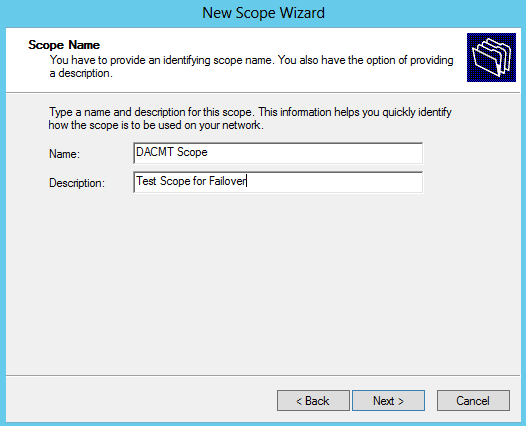
- Click Next and then type a name for the new scope next to Name DACMT Scope
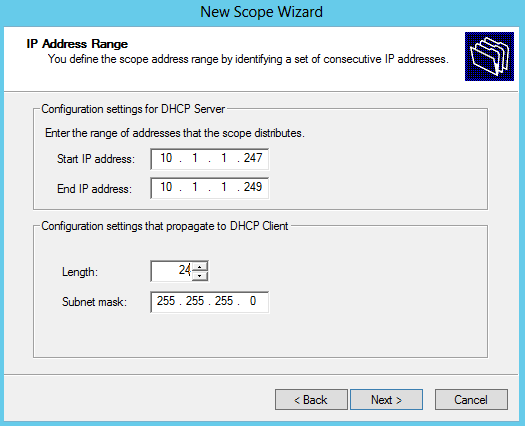
- Click Next and then in IP Address Range, type 10.1.1.247 next to Start IP address, type 10.0.0.249 next to End IP address, and type 24 next to Length. The value of Subnet mask will change automatically to 255.255.255.0
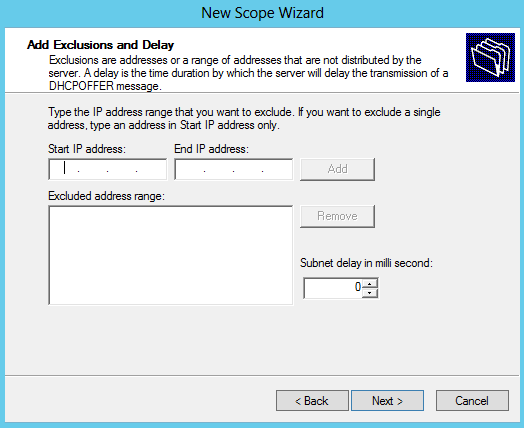
- Click Next, and then don’t add anything in Add Exclusions and Delay.
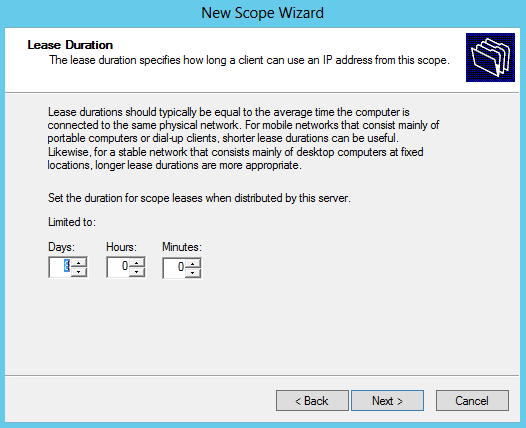
- Click Next and then in Lease Duration under Limited to enter 0 Days, 0 Hours, and 2 Minutes. This very short lease duration will simplify the DHCP failover demonstration.
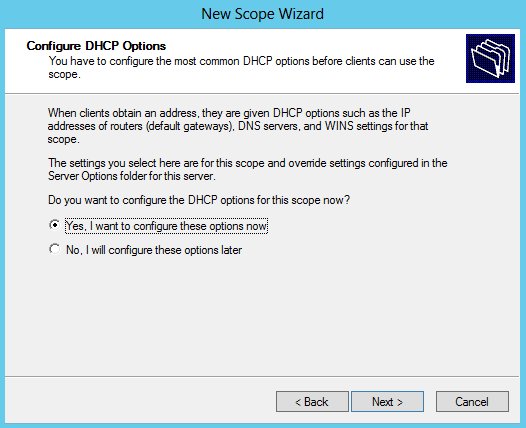
- Click Next to DHCP Options
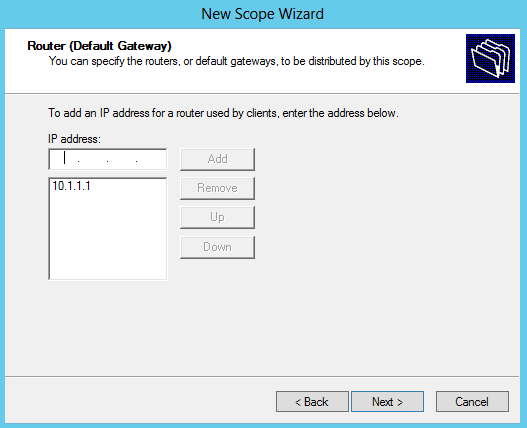
- Add in your Router name and click Add
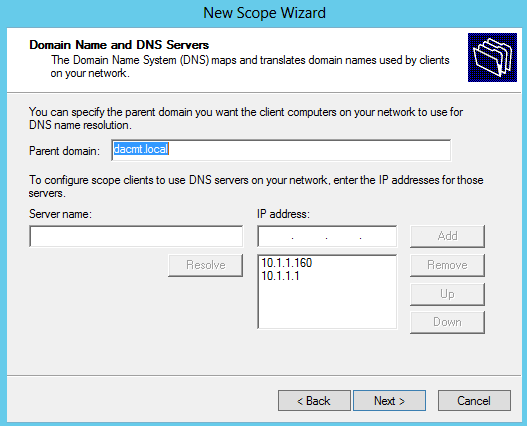
- In Domain Name and DNS Servers, verify that the Parent domain is dacmt.local and 10.1.1.160 is listed as the only DNS server. (Check your own Domain and DNS Server here!)
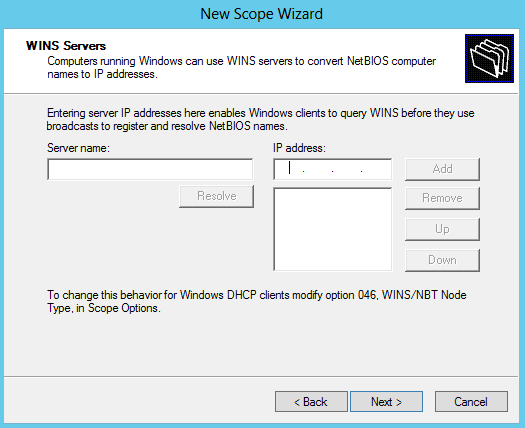
- Ignore WINS Servers for now
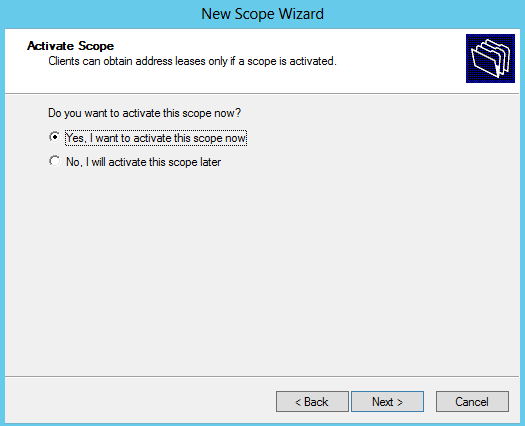
- Select yes to activate the Scope now
- In the DHCP console tree, right-click dhcp2.contoso.com, and then click Authorize.
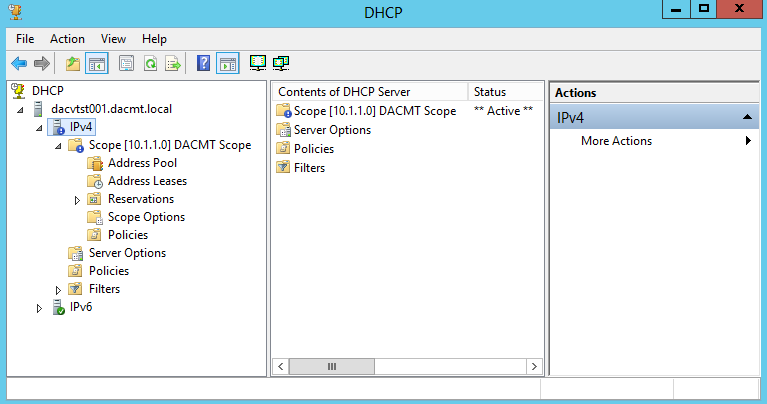
- Refresh the view in the DHCP console and verify that your DHCP Server is authorized and that the Scope is active.
- Next we are ready to configure Failover
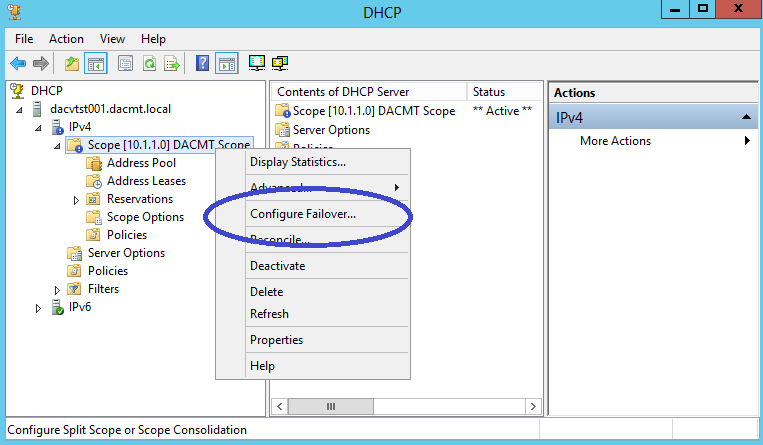
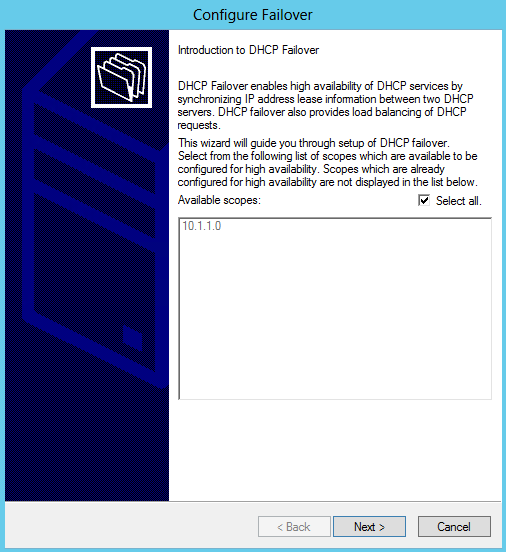
- On your second DHCP Server where you have activated and specified the scope, right click the scope and select Configure Failover
- The Failover wizard will open. Click Next
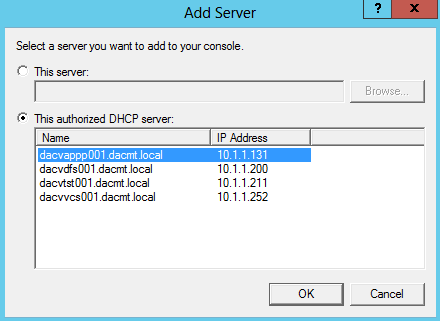
- Specify the partner server you want to use. Click Add
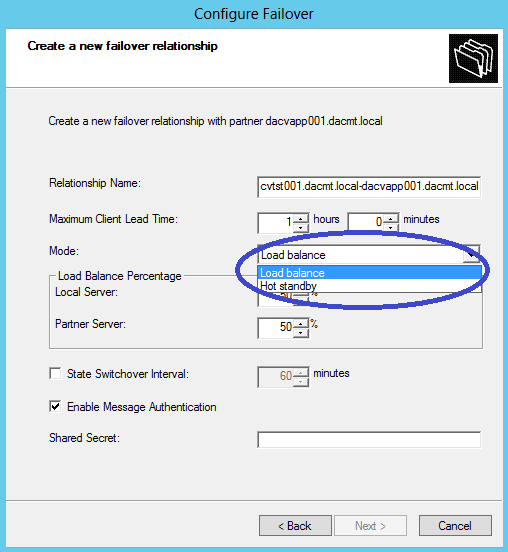
- The next screen is the Create a Failover Relationship and this is where we have the different modes. (Load Balance or Hot Standby)
- I am going to choose Load Balanced for now
- Type a shared secret for this failover relationship next to Shared Secret
- Change the value next to Maximum Client Lead Time to 0 hours and 1 minute
- The Maximum Client Lead Time (MCLT) is additional time provided to a DHCP client after expiration of a DHCP lease. The MCLT is transmitted from the primary to the secondary server in the CONNECT message, and is the maximum amount of time that one server can extend a lease for a client beyond the time known by the partner server.
- In a production environment, you should use a longer MCLT, such as 1 hour.
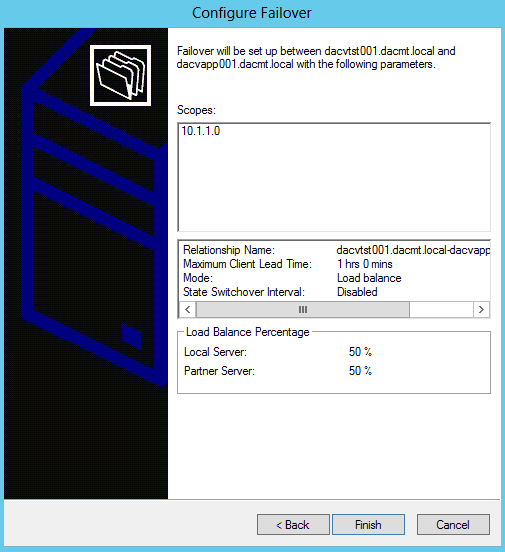
- So we should now look like the below screen
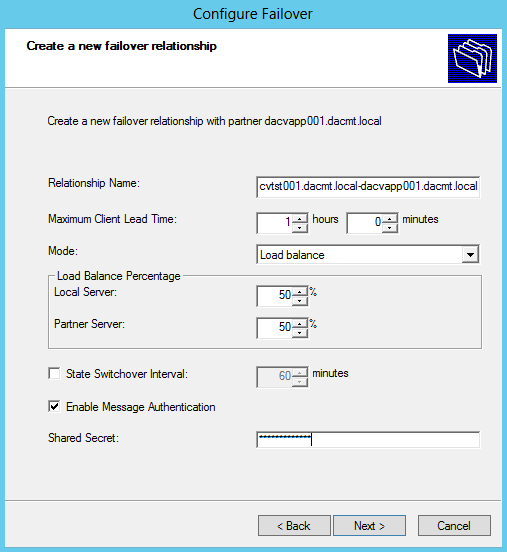
- Click Next and review the settings
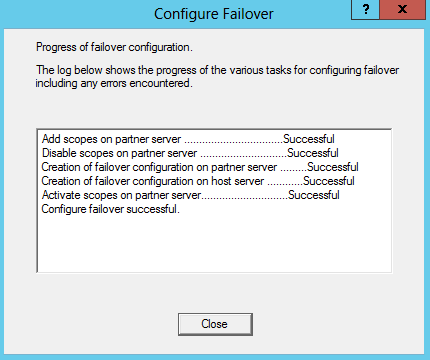
- Check everything ran successfully in the box which pops up below
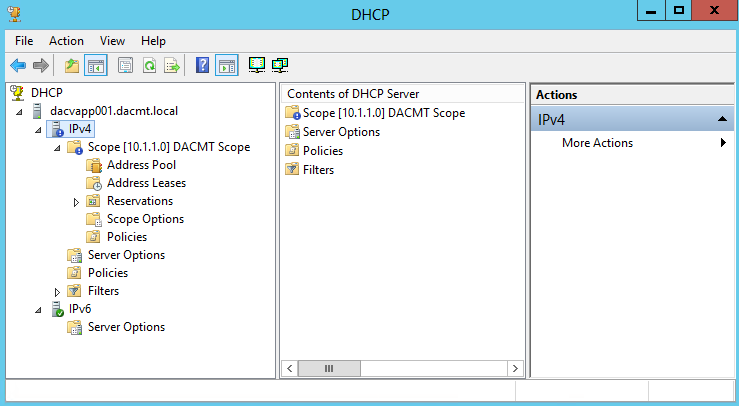
- On your first DHCP Server, refresh the DHCP console and verify that the same DHCP scope configuration that is present on the second DHCP Server is now present on here
- Voila, you have now set up one of the modes of DHCP Failover 🙂