Installing a new DC
- Install Windows Server 2012
- Click Manage > Install Roles and Features
- The Add Roles and Features Wizard will start
- Click Next
- Choose Role based or Feature installation
- Select the Server
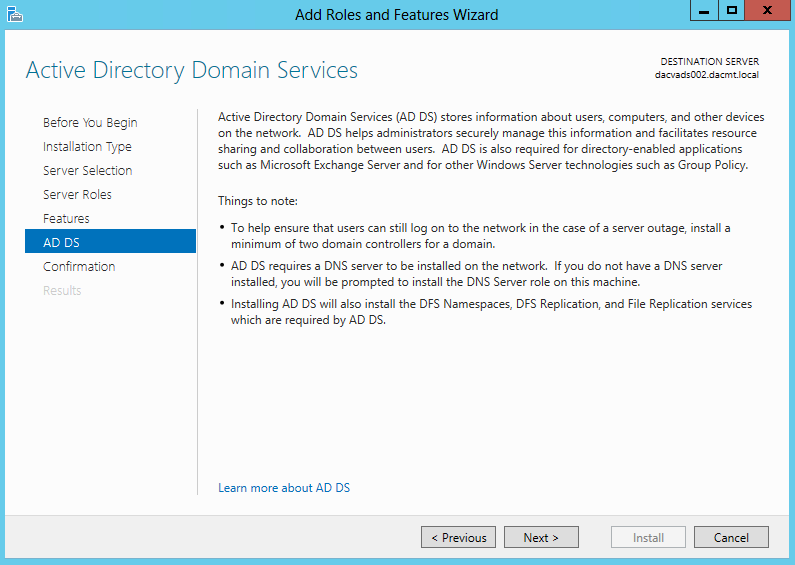
- Click Next and Choose Active Directory Domain Services
- A box will pop up as per below
- Click Add Features
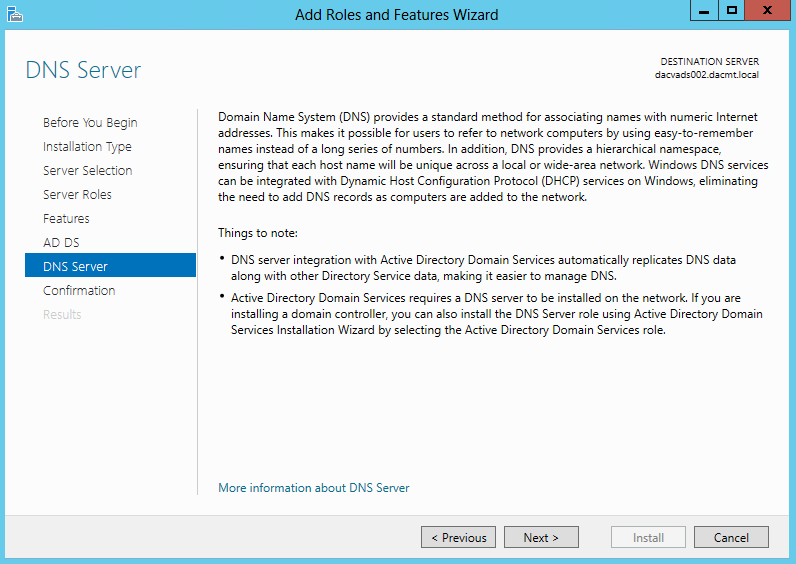
- Click DNS as well
- A box will pop up
- Click Add Features
- Click Next
- Read the Notes
- Read the Notes about the DNS Server
- Select Restart
- You will get the following message after selecting the checkbox for Restarting
- Click Install
- The final screen will show the progress of the install
- You can also Export Configuration Settings which are in the form of PowerShell commands allowing you to install from these to another DC in the future
- Click Export Configuration Settings
- Once AD Domain Services has been installed, you now need to promote this server to be a Domain Controller
- In Server Manager, you will see a notification triangle in the top right. Click this and you will get the following message
- Click Promote this server to a Domain Controller
- I am going to add this Domain Controller to my current domain dacmt.local
- Click Next
- Type in a Directory Services Restore Mode Password
- Click Next
- Click Next on the DNS Screen
- Choose your replication option
- Choose paths for the AD Files
- Note Best Practice would advise you to separate out these services on different redundant drives but this is just a demo so they all reside on the C Drive
- Check the Preparation Options
- Review Options
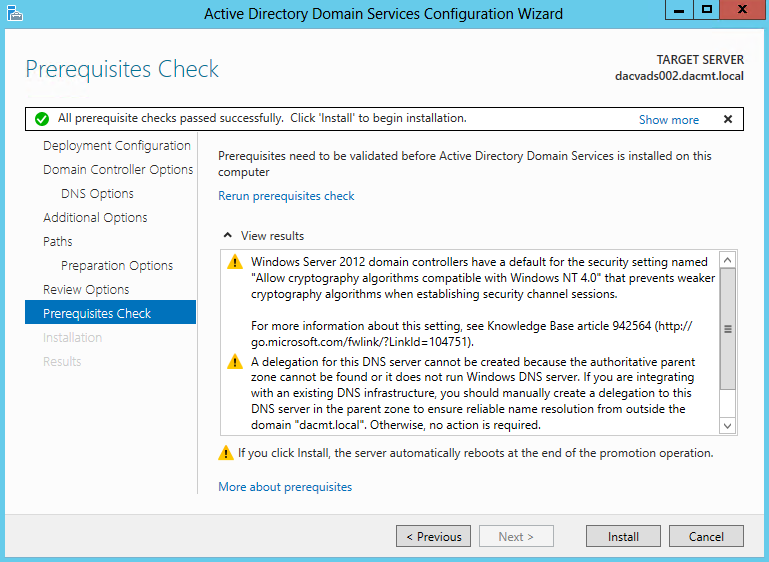
- Pre Requisites Check
- Click Install
- Reboot when Install is finished
- Once in Server Manager and you have chosen the AD DS role scroll down and you will see a section called Best Practices Analyzer. You can then go to Tasks and choose to run the BPA scan. This BPA scan can also be run from Windows PowerShell
Microsoft Technet Further Information


