This post follows on from the previous post regarding the setup of Microsoft Windows Clusters which will be required before you can set up Microsoft SQL Clustering
Pre Requisites
- You must have installed Microsoft .NET Framework on both nodes in the cluster – On the Windows Server, you can go to Add Features and select Microsoft .NET 3.5 SP1
- Create all necessary SQL Server Active Directory Groups for the relevant SQL Server Services (SQL Agent, DB Agent, Analysis Services) Note that Reporting Services/Integration Services are not cluster aware but you can install it to be used with just this server
- Make sure all patching and software updates are current
- You must be running Microsoft Enterprise/Datacenter edition
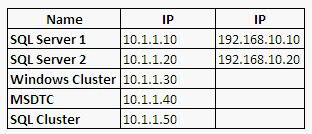
- Please see the table below for an example of the amount of NICs and different subnets required for a 2 Node Windows/SQL Cluster
Number of Nodes supported by SQL Server versions
Instructions for Node 1
- On Node 1, connect the SQL Server 2005/2008 ISO or installer
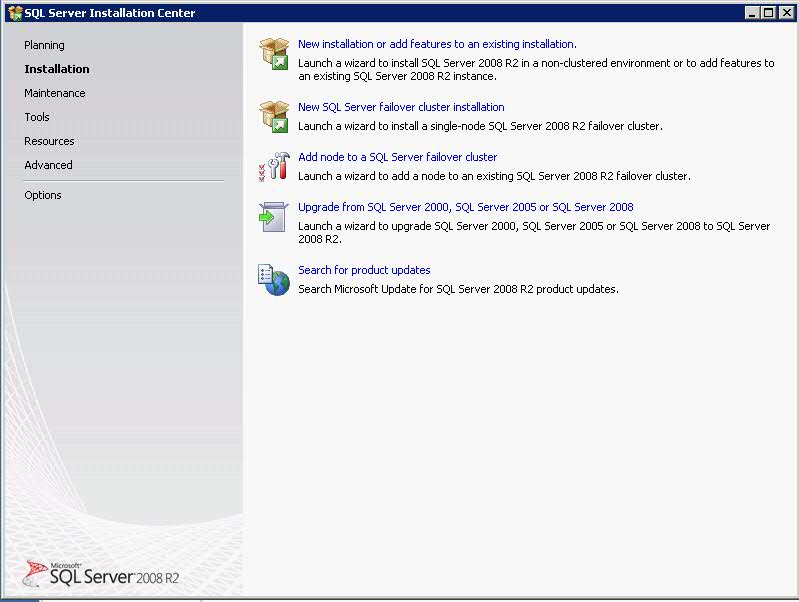
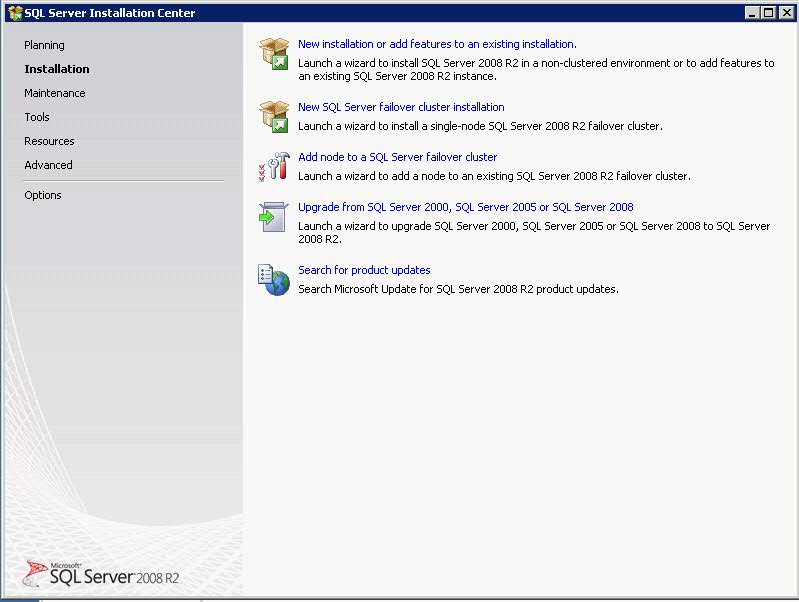
- Click Setup and choose New SQL Server Failover Cluster Installation
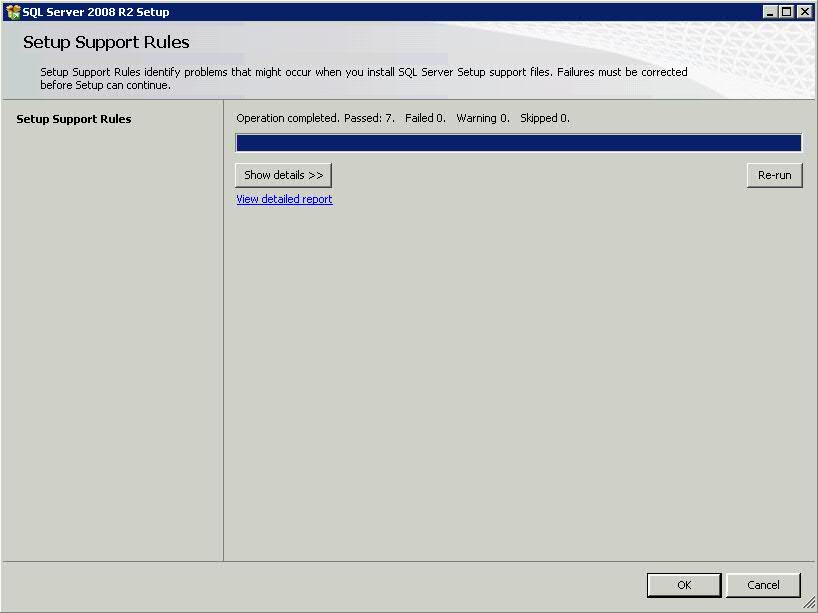
- Select to Install Setup Support Rules
- If you get a Network Binding error and your bindings all look correct with the LAN NIC at the top correctly then please try modifying the registry. It looks like sometimes the system takes the Virtual Cluster adapter to be the top binding but this is not visible from Network Connections Window when you go into Advanced settings
- Drill down to HKEY_LOCAL_MACHINE\SYSTEM\CurrentControlSet\services\Tcpip\Linkage and open up the Bind value and move the LAN ID to the top
- Setup Support Files
- Select Product Key
- On Feature, Select Database Engine Services, Replication Services and Analysis Services
- Note that Reporting Services/Integration Services are not cluster aware but you can install it to be used with just this server
- On Instance Configuration, you need to enter a SQL Server Network Name like SQLCLUSTER
- Keep the default instance or choose a new instance
- You can change the Instance Root Directory if you wish also *NEED TO CHECK THIS
- Click Next
- On the Cluster Resource Group, you can keep the settings
- In the Cluster Disk Selection, Select the disks you want to use for SQL DB and SQL Logs (Make sure both are ticked!!!)
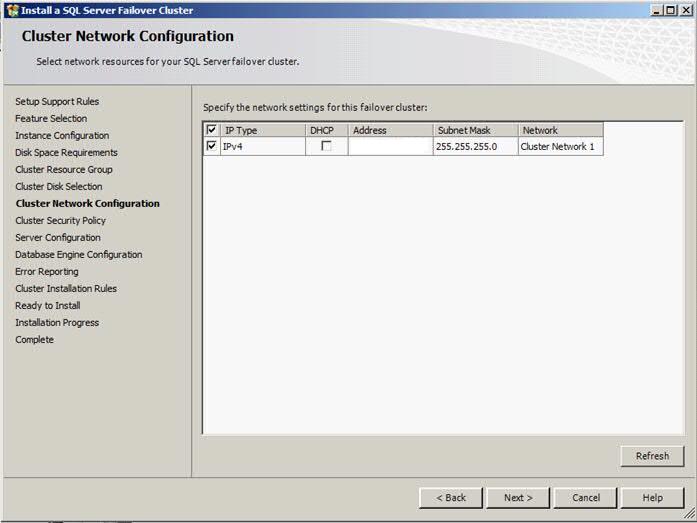
- Next the Cluster Network Configuration
- Untick DHCP and provide a new IP Address and Subnet
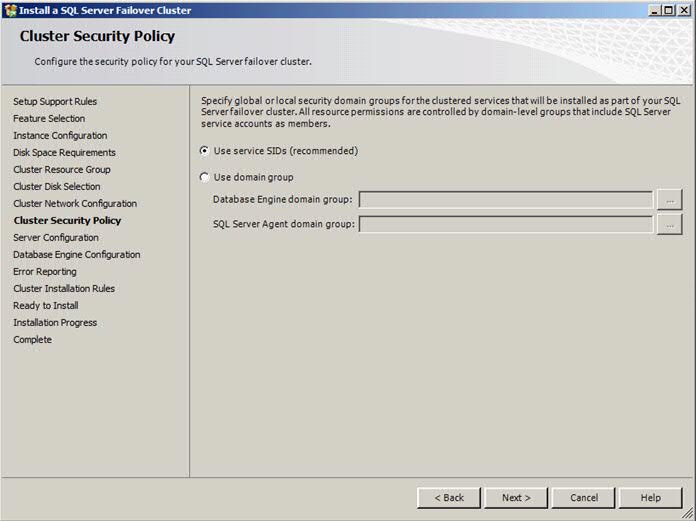
- On Cluster Security Policy, keep Use Service SSIDs
- On Service Accounts, please fill in the AD accounts you previously created for SQL Server Agent and SQL Server DB Engine
- Check Collation is as you want it – Usually Latin1_General_C1_AS
- In Database Engine Configuration, select Mixed mode and add a password for sa and add the current user
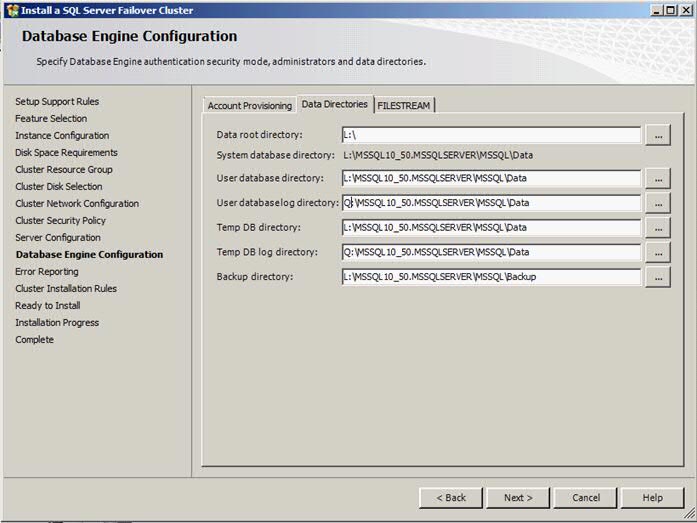
- Click the Data Directories Tab and configure these paths as appropriate
- Enable Filestream if you want
- On Error and Usage Configuration
- Next
- Next
- Install
Instructions for Node 2
- Choose Add Node to a SQL Server Failover Cluster
- Next
- Put in Product Key
- Accept Licensing
- Install Setup Support Files
- Check Setup Support Rules
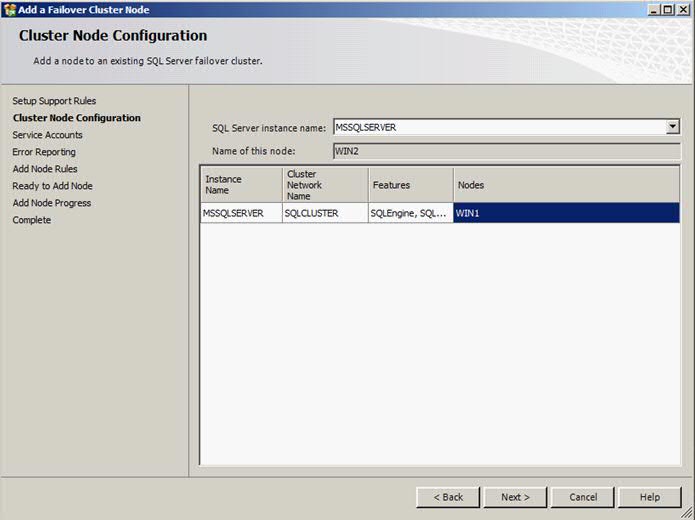
- On the Cluster Node Configuration, check this is all correct
- Enter password for SQL Server Engine and SQL Server Agent account
- Click Next on Error Reporting
- Click Next on Add Node Rules
- Click Install
- Complete and Close
Testing Failover
- Log into the SQL Server and open SQL Management Studio. Test a query against your DB
- Open Failover Cluster Manager
- Go to Services and Applications
- Click on SQL Server (Cluster Name)
- Select Move this Application or Service to another node.
- Once this has transferred, do the same query test on the second server and make sure everything works as expected.
- If so then Failover is working correctly
- Go to vCenter and create a new HA rule keeping these DB Servers running on separate hosts for the ultimate in failover 🙂
Note: If you find you want to clear the Event Logs post Installation and have a fresh start, then you will need to clear the logs from both servers then close Failover Cluster Manager and restart it.
Useful Articles

