Setup
This setup is all on my laptop running all virtual machines.
- VMware Workstation 8
- One Domain Controller
- One SQL 2008 Server
- One VMware vCenter Server
- 2 x ESXi 5 VMware servers
- One FreeNas VM (Also called FreeBSD)
Note: This does not work well on IE10. I used Firefox which was fine
What is NAS (Network Access Storage)?
Physically NAS is a hardware device with hard drives, and its accessible via network port. In production environment there are famous NAS brands, such as
These NAS devices support iSCSI, which is required for cluster and high availability setup for servers. But for the testing purpose in VMware we can’t have expensing physical NAS devices to configure cluster or high availability servers in VMware. So, there is some free open source NAS software where you can use a computer as NAS. These free storage virtualization software make your computer hard disk as network access storage and allow other clients to access the disk directly through network.
There re two free NAS softwares can be installed in your computer to make a NAS system.
This blog explains how you can install FreeNAS on VMware workstation virtual machine to enable iSCSI target disks. I would avoid using Openfiler if you want to test setting up Windows 2008 and Windows 2008 R2 clusters as Openfiler does not support SCSI-3 persistent reservation disks but FreeNAS supports SCSI-3 persistent reservation disks.
What is FreeNas?
FreeNAS can be used like a physical Network Storage in your physical or virtual environment
FreeNAS is a free network-attached storage server, supporting: CIFS (Samba), FTP, NFS, rsync, AFP protocols, iSCSI, S.M.A.R.T., local user authentication, and software RAID (0,1,5), with a web-based configuration interface. FreeNAS takes less than 64 MB once installed on CompactFlash, hard drive or USB flash drive. FreeNAS is currently distributed as an ISO image and in source form. Through version 7.x, it was possible to run FreeNAS from a Live CD, with the configuration files stored on an MS-DOS-formatted floppy disk or USB thumb drive. There is also a VMware disk image available (Last updated in 2006). With the release of 8.x, Live CD is not currently supported. FreeNas 8.x needs to be installed on a Compact Flash, USB, or dedicated hard drive. Using the dedicated hard drive will use that drive just for the operating system, and files cannot be stored on it.
Instructions
- First step is to download the software from SourceForge
- Create a new machine in VMware Workstation
- Choose FreeBSD or FreeBSD 64 depending on which one you are using
- Mount the FreeNas ISO
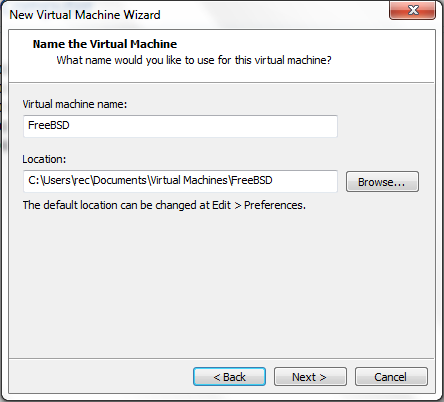
- Name your VM and choose the location
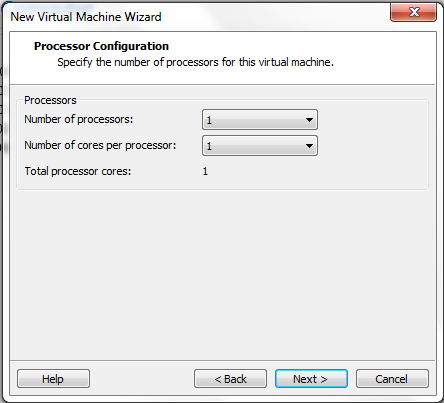
- Choose the Processors. I left mine at 1
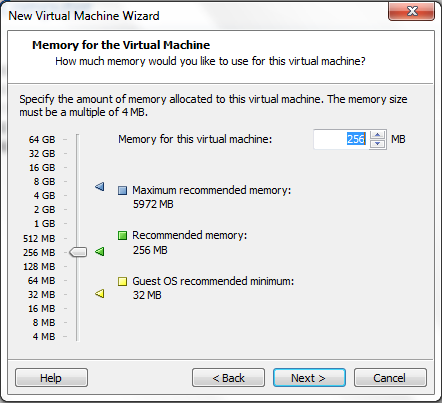
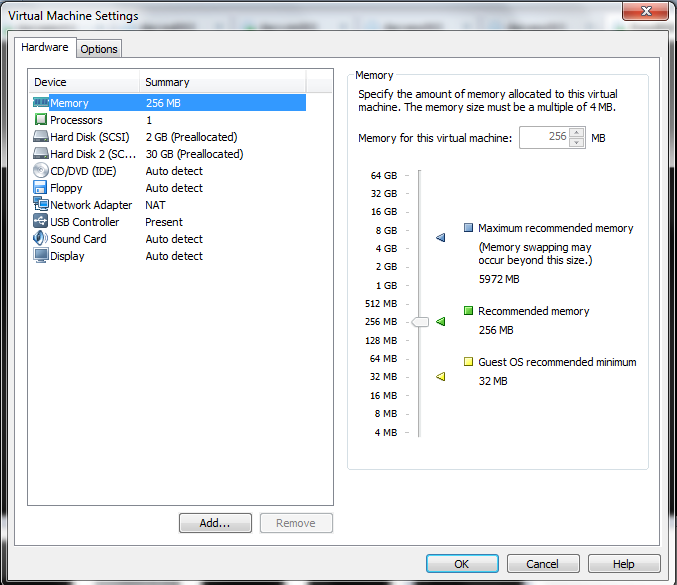
- Set minimum RAM 256 MB, recommended is 512MB memory for VM.
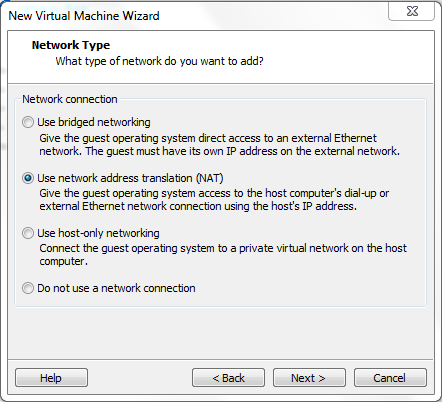
- Next choose your networking setup. I use NAT
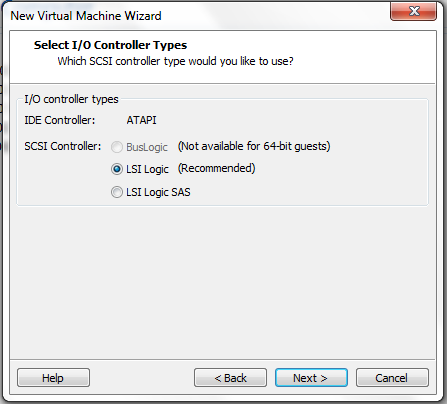
- Select I/O Controller Type as LSI Logic
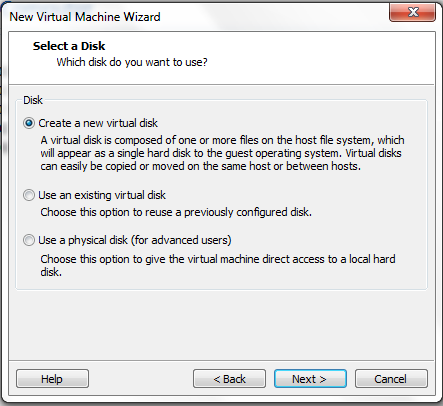
- Create a new Virtual Disk
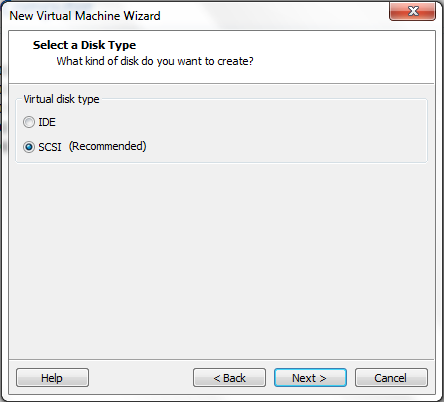
- Select a Disk Type
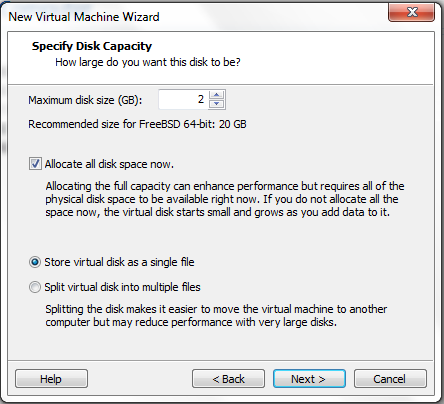
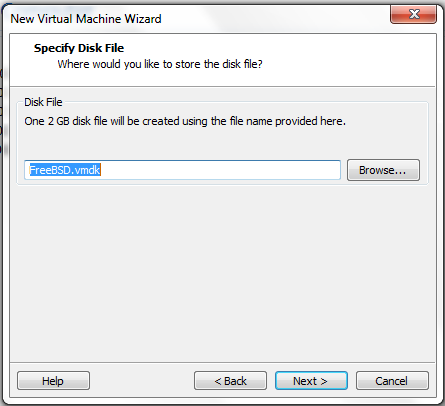
- I suggest adding one virtual hard disk of 2GB for the OS
- Check the disk names are correct
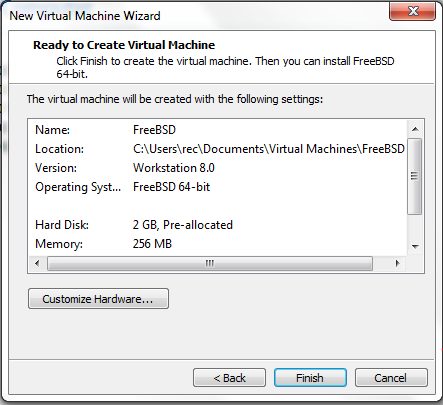
- Finish
- Power on the FreeNas VM
- Choose Option 1
- Select the Install Option
- Select the virtual hard disk to install in next screen. Press Yes to start
- Click Yes
- Once you have successfully installed FreeNAS 0.8 on VMware Workstation and received the following message, click OK to get back to the main menu screen then remove the ISO or attached software.
- Then reboot
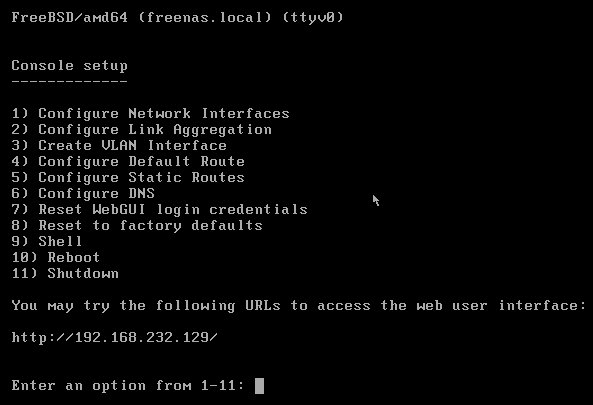
- After rebooting, you should get to the following page. Choose 1 to Configure Network Interfaces
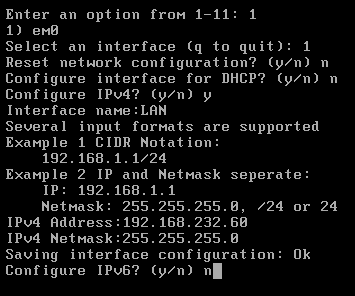
- Enter the following Details as per below changing to your relevant settings
- Add your extra disks to the FreeBSD VM in VMware Workstation. For example. I want to add 2 x 30GB Disk Drives to be used as iSCSI drives. 1 added so far in the screenprint below
- Log in to FreeNAS via a webpage using http://youripaddress, with root or admin login and freenas password. Note: It may log you in automatically
- You will land in completely different interface here. It’s totally changed from earlier FreeNAS versions.
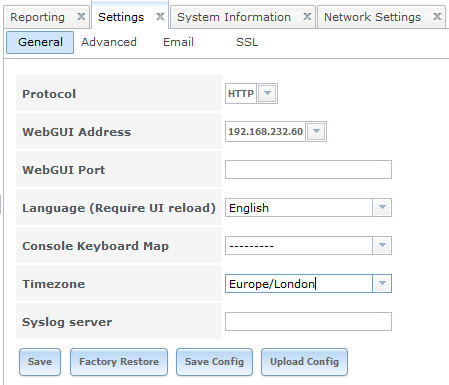
- First thing you have to do is, change the time zone in first screen. Go to System Settings and change the time zone and Web GUI Address to your IP Address
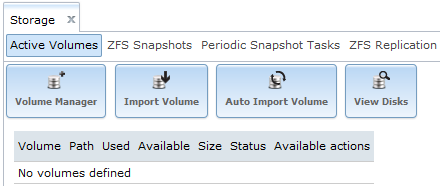
- Go back to your web interface for FreeNas and click Storage. It should look like the below screen-print
- Click View Disks
- Click Edit
- I left my 30GB disk as da0
- Serial Blank
- Description – Whatever you want
- HDD Standby – Always On
- Advanced Power Management – Disabled
- Acoustic Level – Disabled
- Enable Smart
- Smart Extra Options Blank
- Click Storage
- Click Volume Manager
- Type vmware or whatever name you want
- Select the disk – You have to actually select the disk
- Click Add Volume and it will run and show you the below screen post completion
- Add the 2nd 30GB Drive as you wish. I am only setting up 2 x 30GB drives as I want to test the new features of VMware 5 in the new post to this which requires shared storage as can be provided by FreeNas
- Next you can check out my other post on FreeNas and setting up these disks to be used in VMware
- http://www.electricmonk.org.uk/2012/08/08/configure-freenas-for-sharing-and-iscsi-and-vmware-esxi/
Documentation
http://www.freenas.org/images/resources/freenas8.2/freenas8.2_guide.pdf
YouTube Links

